SpaceONE 설치
이 문서는 로컬 머신 혹은 AWS EC2 인스턴스에 SpaceONE을 직접 설치하고 SpaceONE API 사용 환경을 구성하는 방법을 안내합니다.
환경 구성 및 설정
환경 구성
SpaceONE 설치에 앞서 기본적인 환경 구성이 필요합니다. 필요한 라이선스별 지원 버전 정보는 아래 표를 참고하세요.
| 이름 | 상태값 |
|---|---|
| OrbStack 또는 Docker Desktop | Kubernetes Enabled |
| Helm | Version 3.11+ |
환경 설정
1) Namespace 생성
Kubernetes에서 SpaceONE을 배포할 네임스페이스를 생성합니다.
2) Role 및 RoleBinding 적용
rbac.yaml 파일은 기본적으로 개별 사용자의 역할에 따라 컴퓨터 또는 네트워크 리소스에 대한 액세스를 규제하는 수단으로 사용됩니다.
CLI를 통해 아래 명령을 실행하여 파일을 다운로드하세요.
3. Helm Chart 설치
1) YAML 파일 다운로드
Helm Chart를 설치하기 위한 values.yaml 파일을 다운로드합니다.
2) Helm Chart 다운로드
3) Helm 설치
4) Pod 확인
설치가 끝나고 난 이후, Pod가 생성되었고 상태가 Running 중인지 확인합니다.
NAME                                       READY   STATUS             RESTARTS        AGE
board-6785c9fb6d-rxcch                     1/1     Running            0               14m
config-5956655ccc-rnz9n                    1/1     Running            0               14m
console-7d4595758b-md8f6                   1/1     Running            0               14m
console-api-56f4496f7d-tvgq7               2/2     Running            0               14m
console-api-v2-rest-644b847b57-cqjm7       2/2     Running            0               14m
cost-analysis-659ff5d88f-ckds7             1/1     Running            0               14m
cost-analysis-scheduler-8474c56c95-57qpj   1/1     Running            0               14m
cost-analysis-worker-7bc667f5b4-qwjn9      1/1     Running            0               14m
dashboard-759ccd74b7-dh4rf                 1/1     Running            0               14m
file-manager-85dbb6c46b-sz5g6              1/1     Running            0               14m
identity-644b45c8df-6dzwx                  1/1     Running            0               14m
inventory-6bd9df778b-kwfl4                 1/1     Running            0               14m
inventory-scheduler-5455f95c99-vkrrm       0/1     CrashLoopBackOff   7 (2m57s ago)   14m
inventory-worker-67d7599f5b-9m52m          1/1     Running            0               14m
mongodb-7fd58fcf75-lkhp6                   1/1     Running            0               14m
monitoring-7b94cc8db8-zg2km                1/1     Running            0               14m
monitoring-rest-86d785f565-z6ztm           2/2     Running            0               14m
notification-6f96487ddb-rcm6h              1/1     Running            0               14m
notification-scheduler-77789bb9fd-gpjvx    1/1     Running            0               14m
notification-worker-f567c5c77-2kwfp        1/1     Running            0               14m
plugin-598865d6dc-s5mb9                    1/1     Running            0               14m
plugin-scheduler-c9bdbd94f-94lwl           0/1     CrashLoopBackOff   7 (2m55s ago)   14m
plugin-worker-584d7b6b59-q6cn6             1/1     Running            0               14m
redis-646677656f-gc5sg                     1/1     Running            0               14m
repository-54dc68fb4f-rmjgb                1/1     Running            0               14m
secret-5d7c9b86bf-nk4js                    1/1     Running            0               14m
spacectl-54b4d5d5cb-p5k7d                  1/1     Running            0               14m
statistics-5fd4bcb4cc-6z5jh                1/1     Running            0               14m
statistics-scheduler-687fd4ccb-blxqx       0/1     CrashLoopBackOff   7 (3m22s ago)   14m
statistics-worker-7d97f6cf4d-k9l4p         1/1     Running            0               14m
supervisor-scheduler-7b5cd9c9f9-zszj7 2/2 Running 0 14mschedulerPod의 경우Running상태가 아닌 것(CrashLoopBackkOff또는Error)이 정상입니다.- 최초 설치시,
Running상태가 되기까지 2~3분 정도 소요됩니다. - spaceone-initializer를 설치
후에
inventory-scheduler,plugin-scheduler,statistics-schedulerPod가Running상태로 변경됩니다.
4. spaceone-initializer 설치
CLI를 통해 아래 명령을 실행하여 파일을 다운로드하세요.
1) YAML 파일 다운로드
initializer.yaml 파일을 다운로드하여 SpaceONE 설치에 필요한 초기화를 수행합니다. 자세한 사항은 spaceone-initializer를 참조하세요.
2) Helm 설치
3) Helm 값 설정
초기화를 완료하면 Pod 로그에서 시스템 토큰을 가져올 수 있습니다.
Initializer의 Pod 이름을 확인하려면 먼저 아래 명령을 실행하여 cloudforet 네임스페이스에 대한 모든 Pod 이름을 표시합니다.
3-1) 표시된 Pod 중에서 initializer-spaceone-xxxxx-xxxxx으로 된 Pod의 이름 전체를 복사합니다.
NAME                                       READY   STATUS             RESTARTS        AGE
spacectl-54b4d5d5cb-l8mlq                  1/1     Running            0               8m21s
board-6785c9fb6d-bhvw6                     1/1     Running            0               8m21s
redis-646677656f-6ctpz                     1/1     Running            0               8m21s
notification-6f96487ddb-gmr9h              1/1     Running            0               8m21s
mongodb-7fd58fcf75-bwf8w                   1/1     Running            0               8m21s
statistics-worker-7d97f6cf4d-ds4wn         1/1     Running            0               8m21s
monitoring-7b94cc8db8-hsmfs                1/1     Running            0               8m21s
statistics-5fd4bcb4cc-z8mmv                1/1     Running            0               8m20s
repository-54dc68fb4f-tzmrl                1/1     Running            0               8m21s
notification-scheduler-77789bb9fd-9gbv6    1/1     Running            0               8m20s
file-manager-85dbb6c46b-k9t5h              1/1     Running            0               8m20s
plugin-598865d6dc-slpf4                    1/1     Running            0               8m18s
monitoring-rest-86d785f565-5djpd           2/2     Running            0               8m20s
plugin-worker-584d7b6b59-zs2pd             1/1     Running            0               8m21s
notification-worker-f567c5c77-fjpxg        1/1     Running            0               8m19s
supervisor-scheduler-7b5cd9c9f9-p2cbb      2/2     Running            0               8m21s
config-5956655ccc-9f7xf                    1/1     Running            0               8m19s
console-7d4595758b-s5r4x                   1/1     Running            0               8m19s
console-api-56f4496f7d-zpgrj               2/2     Running            0               8m19s
cost-analysis-659ff5d88f-slftb             1/1     Running            0               8m17s
inventory-worker-67d7599f5b-pjz2b          1/1     Running            0               8m17s
identity-644b45c8df-cnjht                  1/1     Running            0               8m17s
cost-analysis-scheduler-8474c56c95-7q55x   1/1     Running            0               8m17s
cost-analysis-worker-7bc667f5b4-fz468      1/1     Running            0               8m17s
console-api-v2-rest-644b847b57-v97fw       2/2     Running            0               8m18s
inventory-6bd9df778b-sg998                 1/1     Running            0               8m17s
dashboard-759ccd74b7-xw7v2                 1/1     Running            0               8m17s
secret-5d7c9b86bf-njvkg                    1/1     Running            0               8m16s
statistics-scheduler-687fd4ccb-sg9xl       0/1     CrashLoopBackOff   6 (2m29s ago)   8m20s
inventory-scheduler-5455f95c99-fft6h       0/1     CrashLoopBackOff   6 (2m29s ago)   8m17s
plugin-scheduler-c9bdbd94f-v6742           0/1     CrashLoopBackOff   6 (2m26s ago)   8m19s
initialize-spaceone-kle4o-c96ws 0/1 Completed 0 95skubectl logs 명령을 실행하려면 Pod(예시: initialize-spaceone-kle4o-c96ws) 상태가 Completed 여야 합니다. 만약 Pod가 Completed 된
상태가 아닌 INITIALIZING 상태에서 아래 작업을 진행하면 오류가 발생합니다.3-2) kubectl logs 명령어 뒤에 복사한 Pod 이름을 붙여넣기 합니다. 그리고 제일 아래에 나오는 API
KEY인 eyJ…. 값을 복사합니다.
3-3) release-1-12.yaml의 값을 편집합니다. TOKEN의 값인 'CHANGE_ME'를 위에서 복사한 API KEY인 eyJ...로 대체합니다.
...

global:
  namespace: cloudforet
  supervisor_namespace: cloudforet
  shared_conf:
    TOKEN: 'CHANGE_ME'
3-4) helm 차트를 업그레이드합니다.
3-5) 업그레이드한 후 label이 app.kubernetes.io/instance이고 값이 cloudforet인 Pod를 cloudforet 네임스페이스에서 삭제합니다.
5. Pod 확인
initialize-spaceone Pod를 제외한 모든 Pod가 Running 상태로 변경되었다면 모든 설정이 완료된 것입니다.
6. 포트포워딩
로컬 머신에 Cloudforet을 설치하면 Amazon ALB 또는 NGINX 수신 컨트롤러와 같은 Ingress 객체가 제공되지 않습니다. 대신 kubectl port-forward를 사용할 수 있습니다.
(각각 8080, 8081, 8082 포트로 포트포워딩하고 백그라운드에서 실행합니다.)
이슈가 생겼을 경우 아래 명령어를 통해 해당 포트에서 실행 중인 프로세스를 종료할 수 있습니다.
kill $(ps aux | grep 'kubectl port-forward' | awk '{print $2}')7. Cloudforet 시작
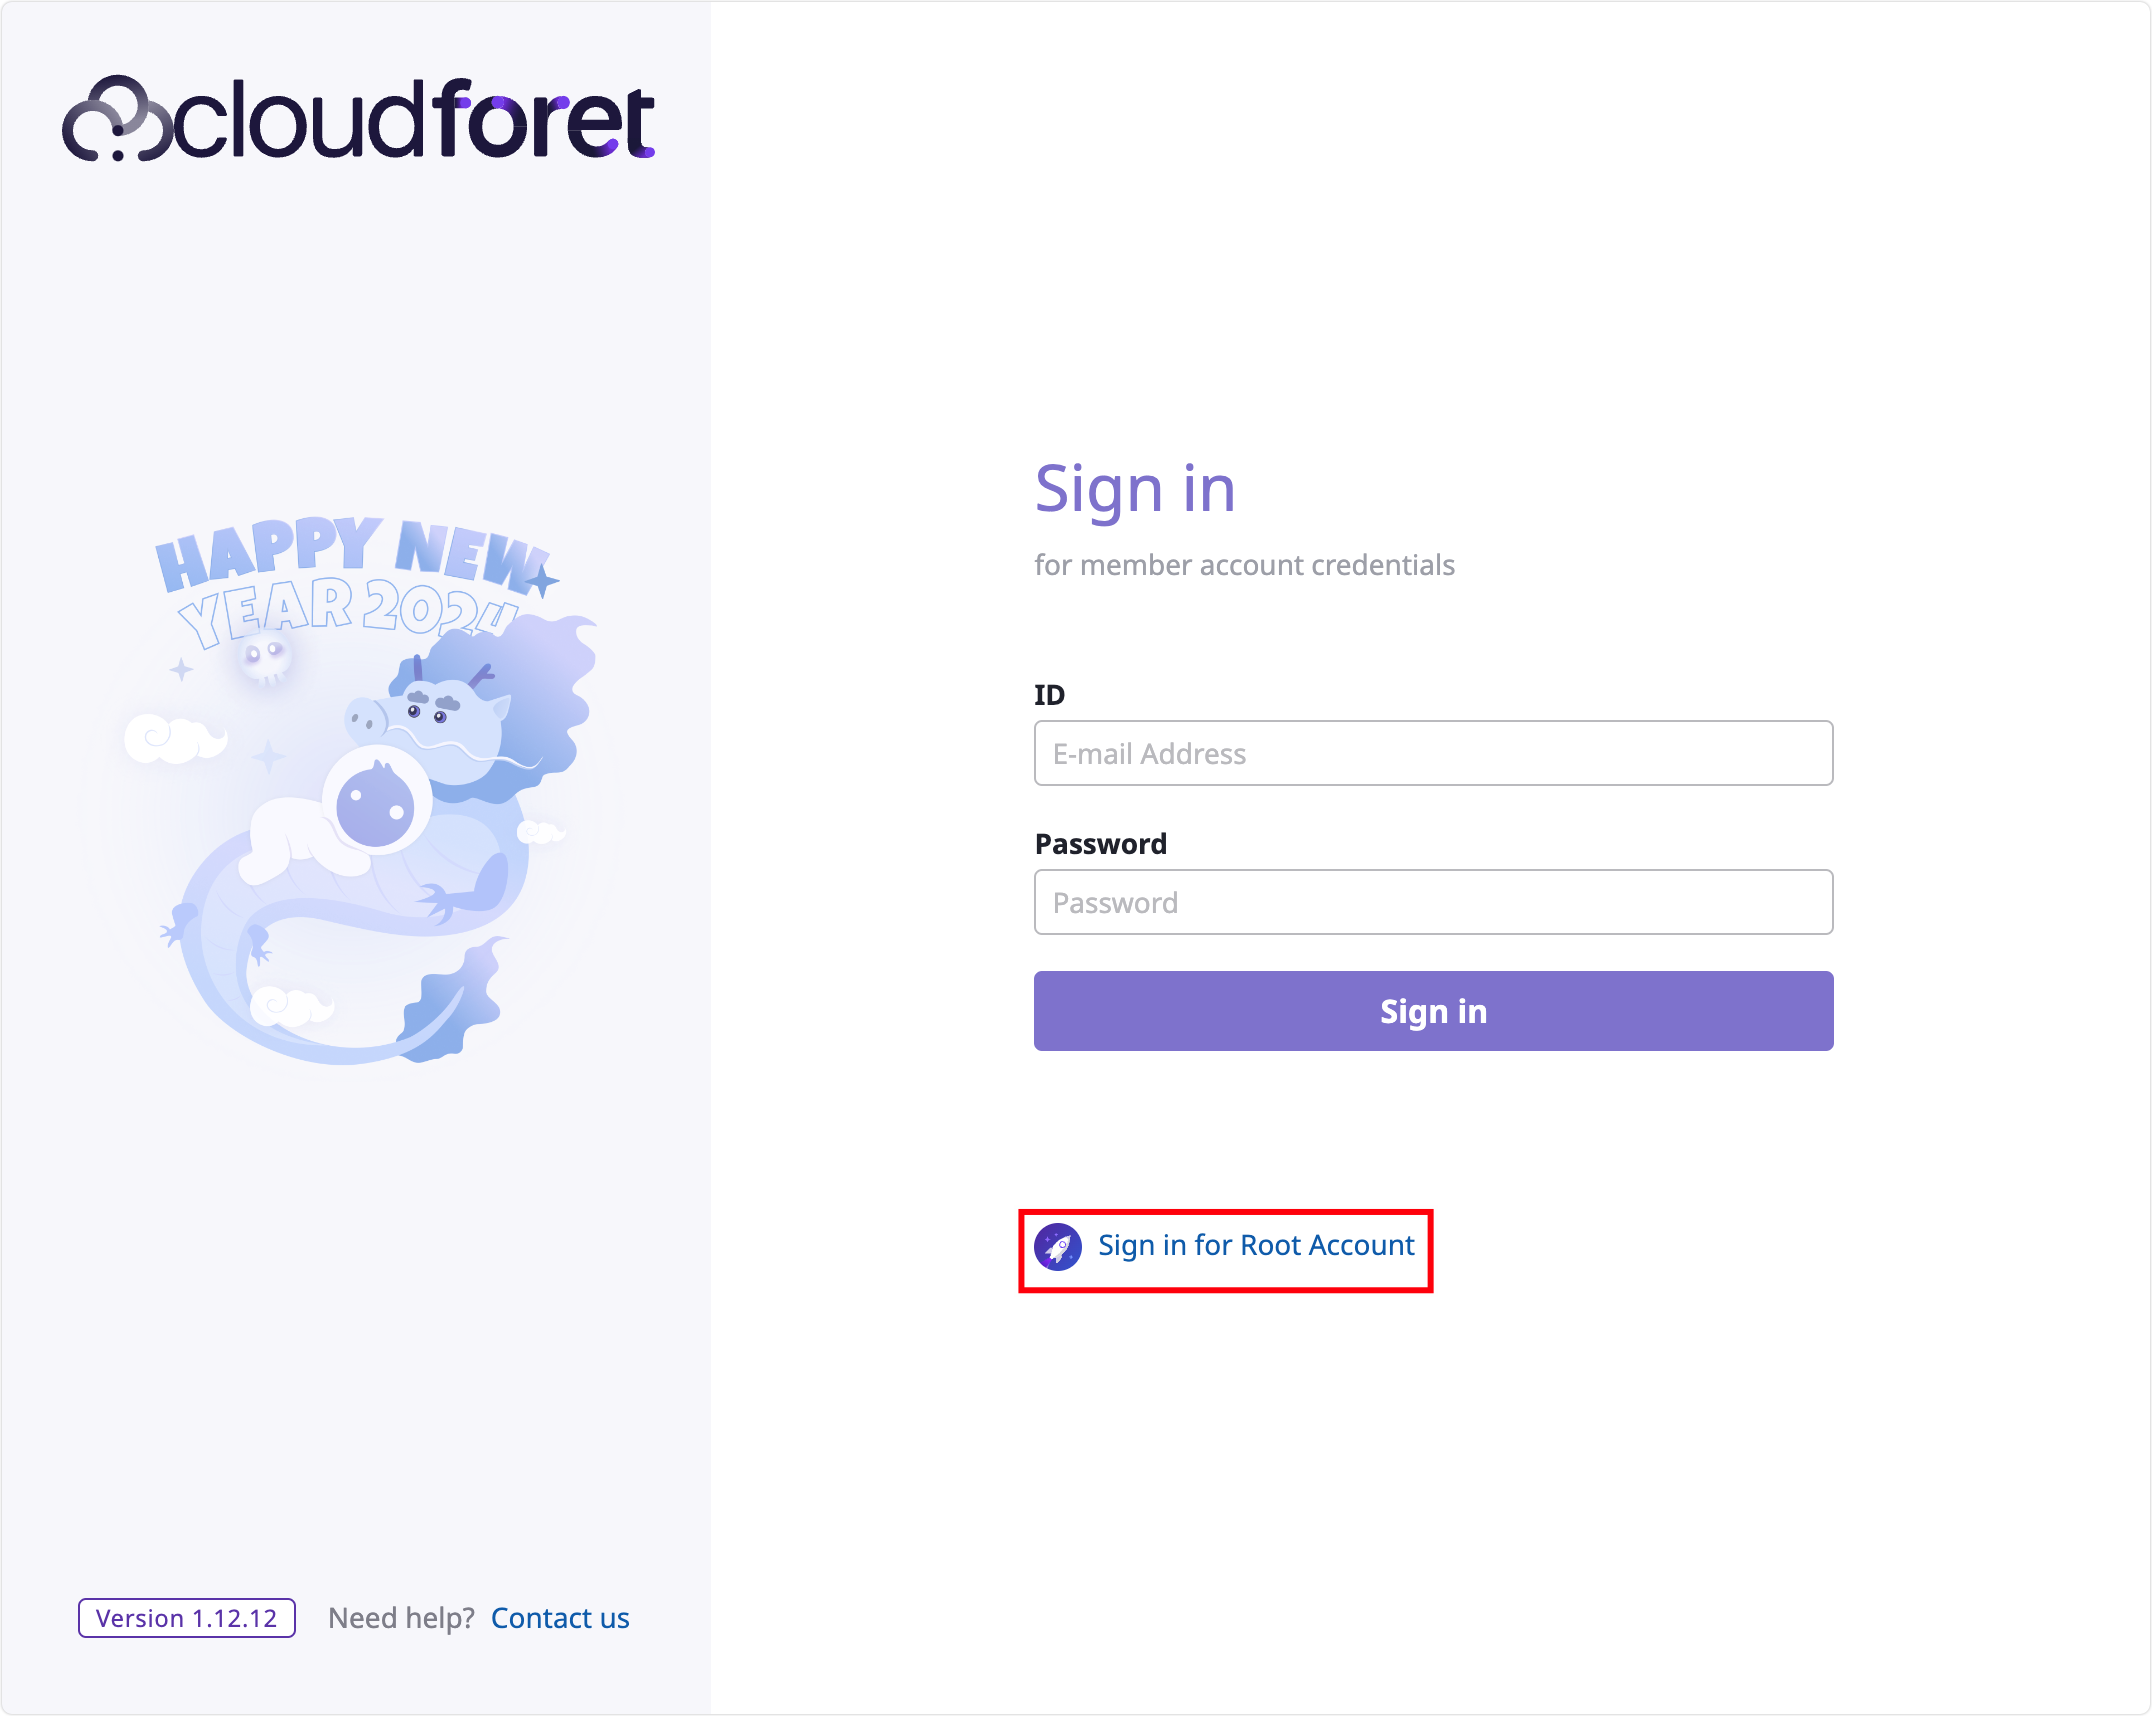
설치가 완료되었다면 Cloudforet를 시작할 수 있습니다. 브라우저로 http://127.0.0.1:8080 에 접속합니다. (EC2 유저는 http://[your_ec2_server_ip]:8080 에 접속합니다.)
1) 계정 로그인
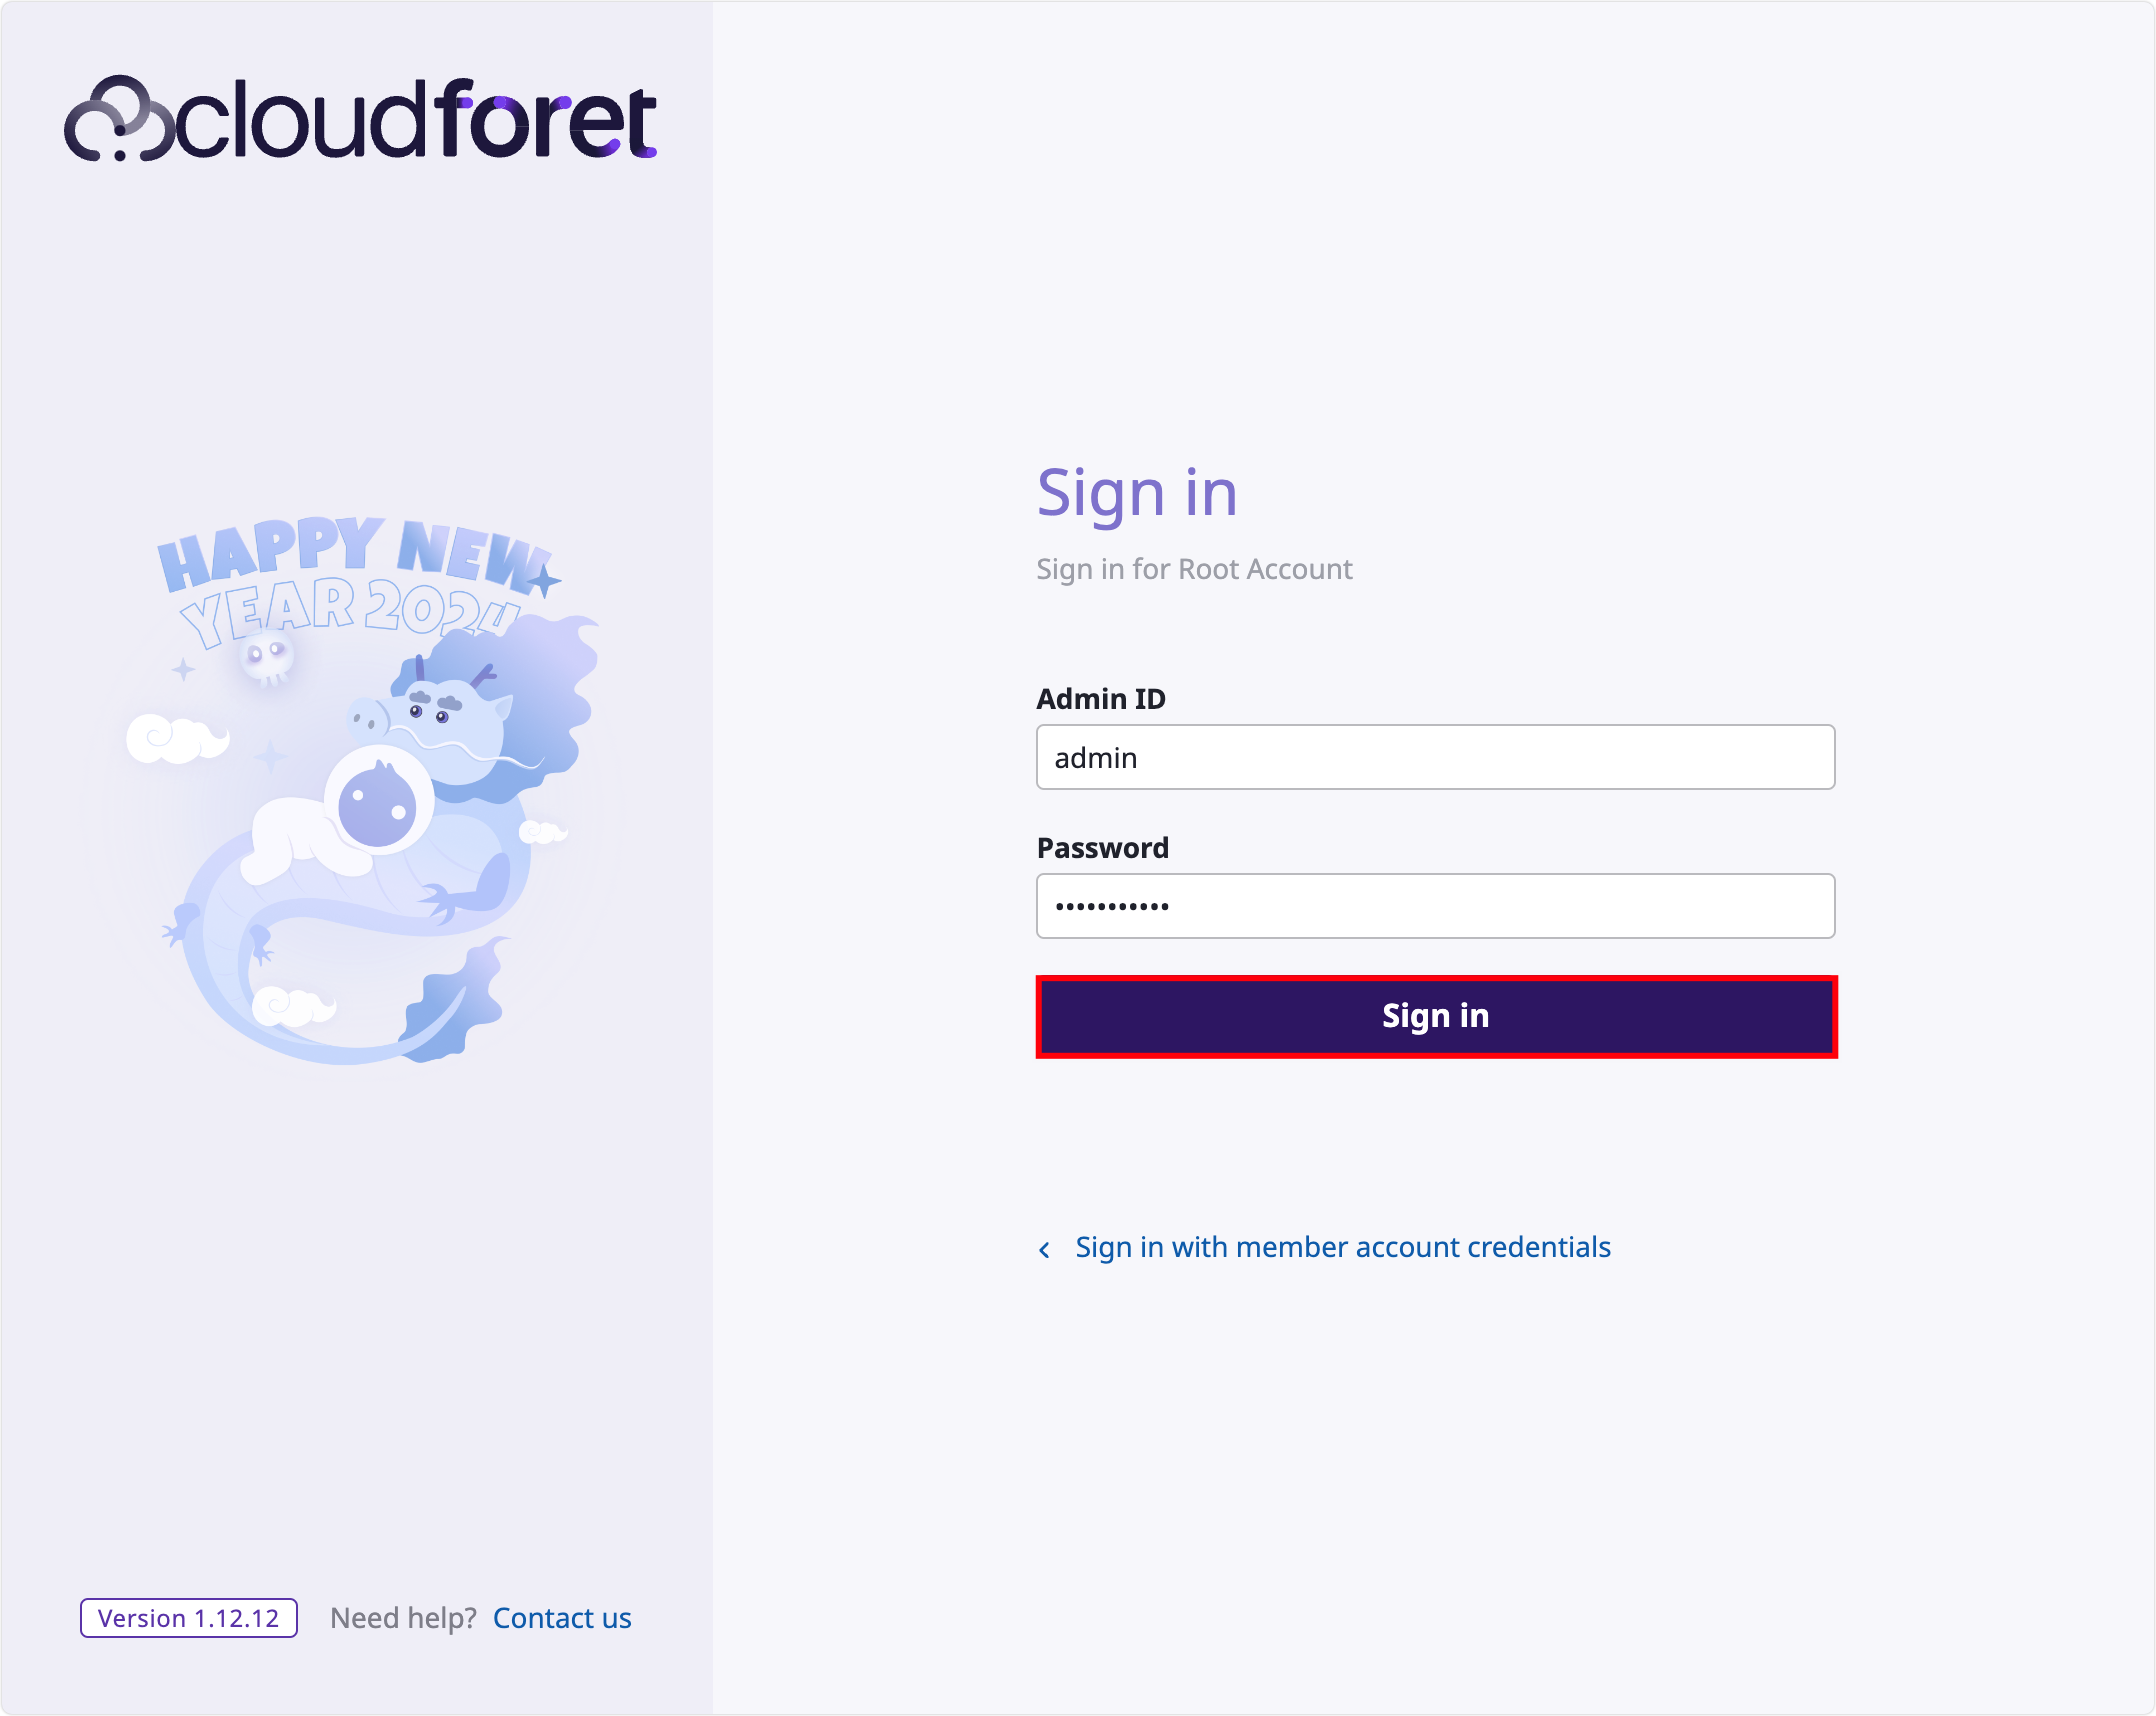
“Sign in for Root Account"를 클릭합니다.
다음 계정으로 로그인합니다.
| ID | Password |
|---|---|
| admin | Admin123!@# |
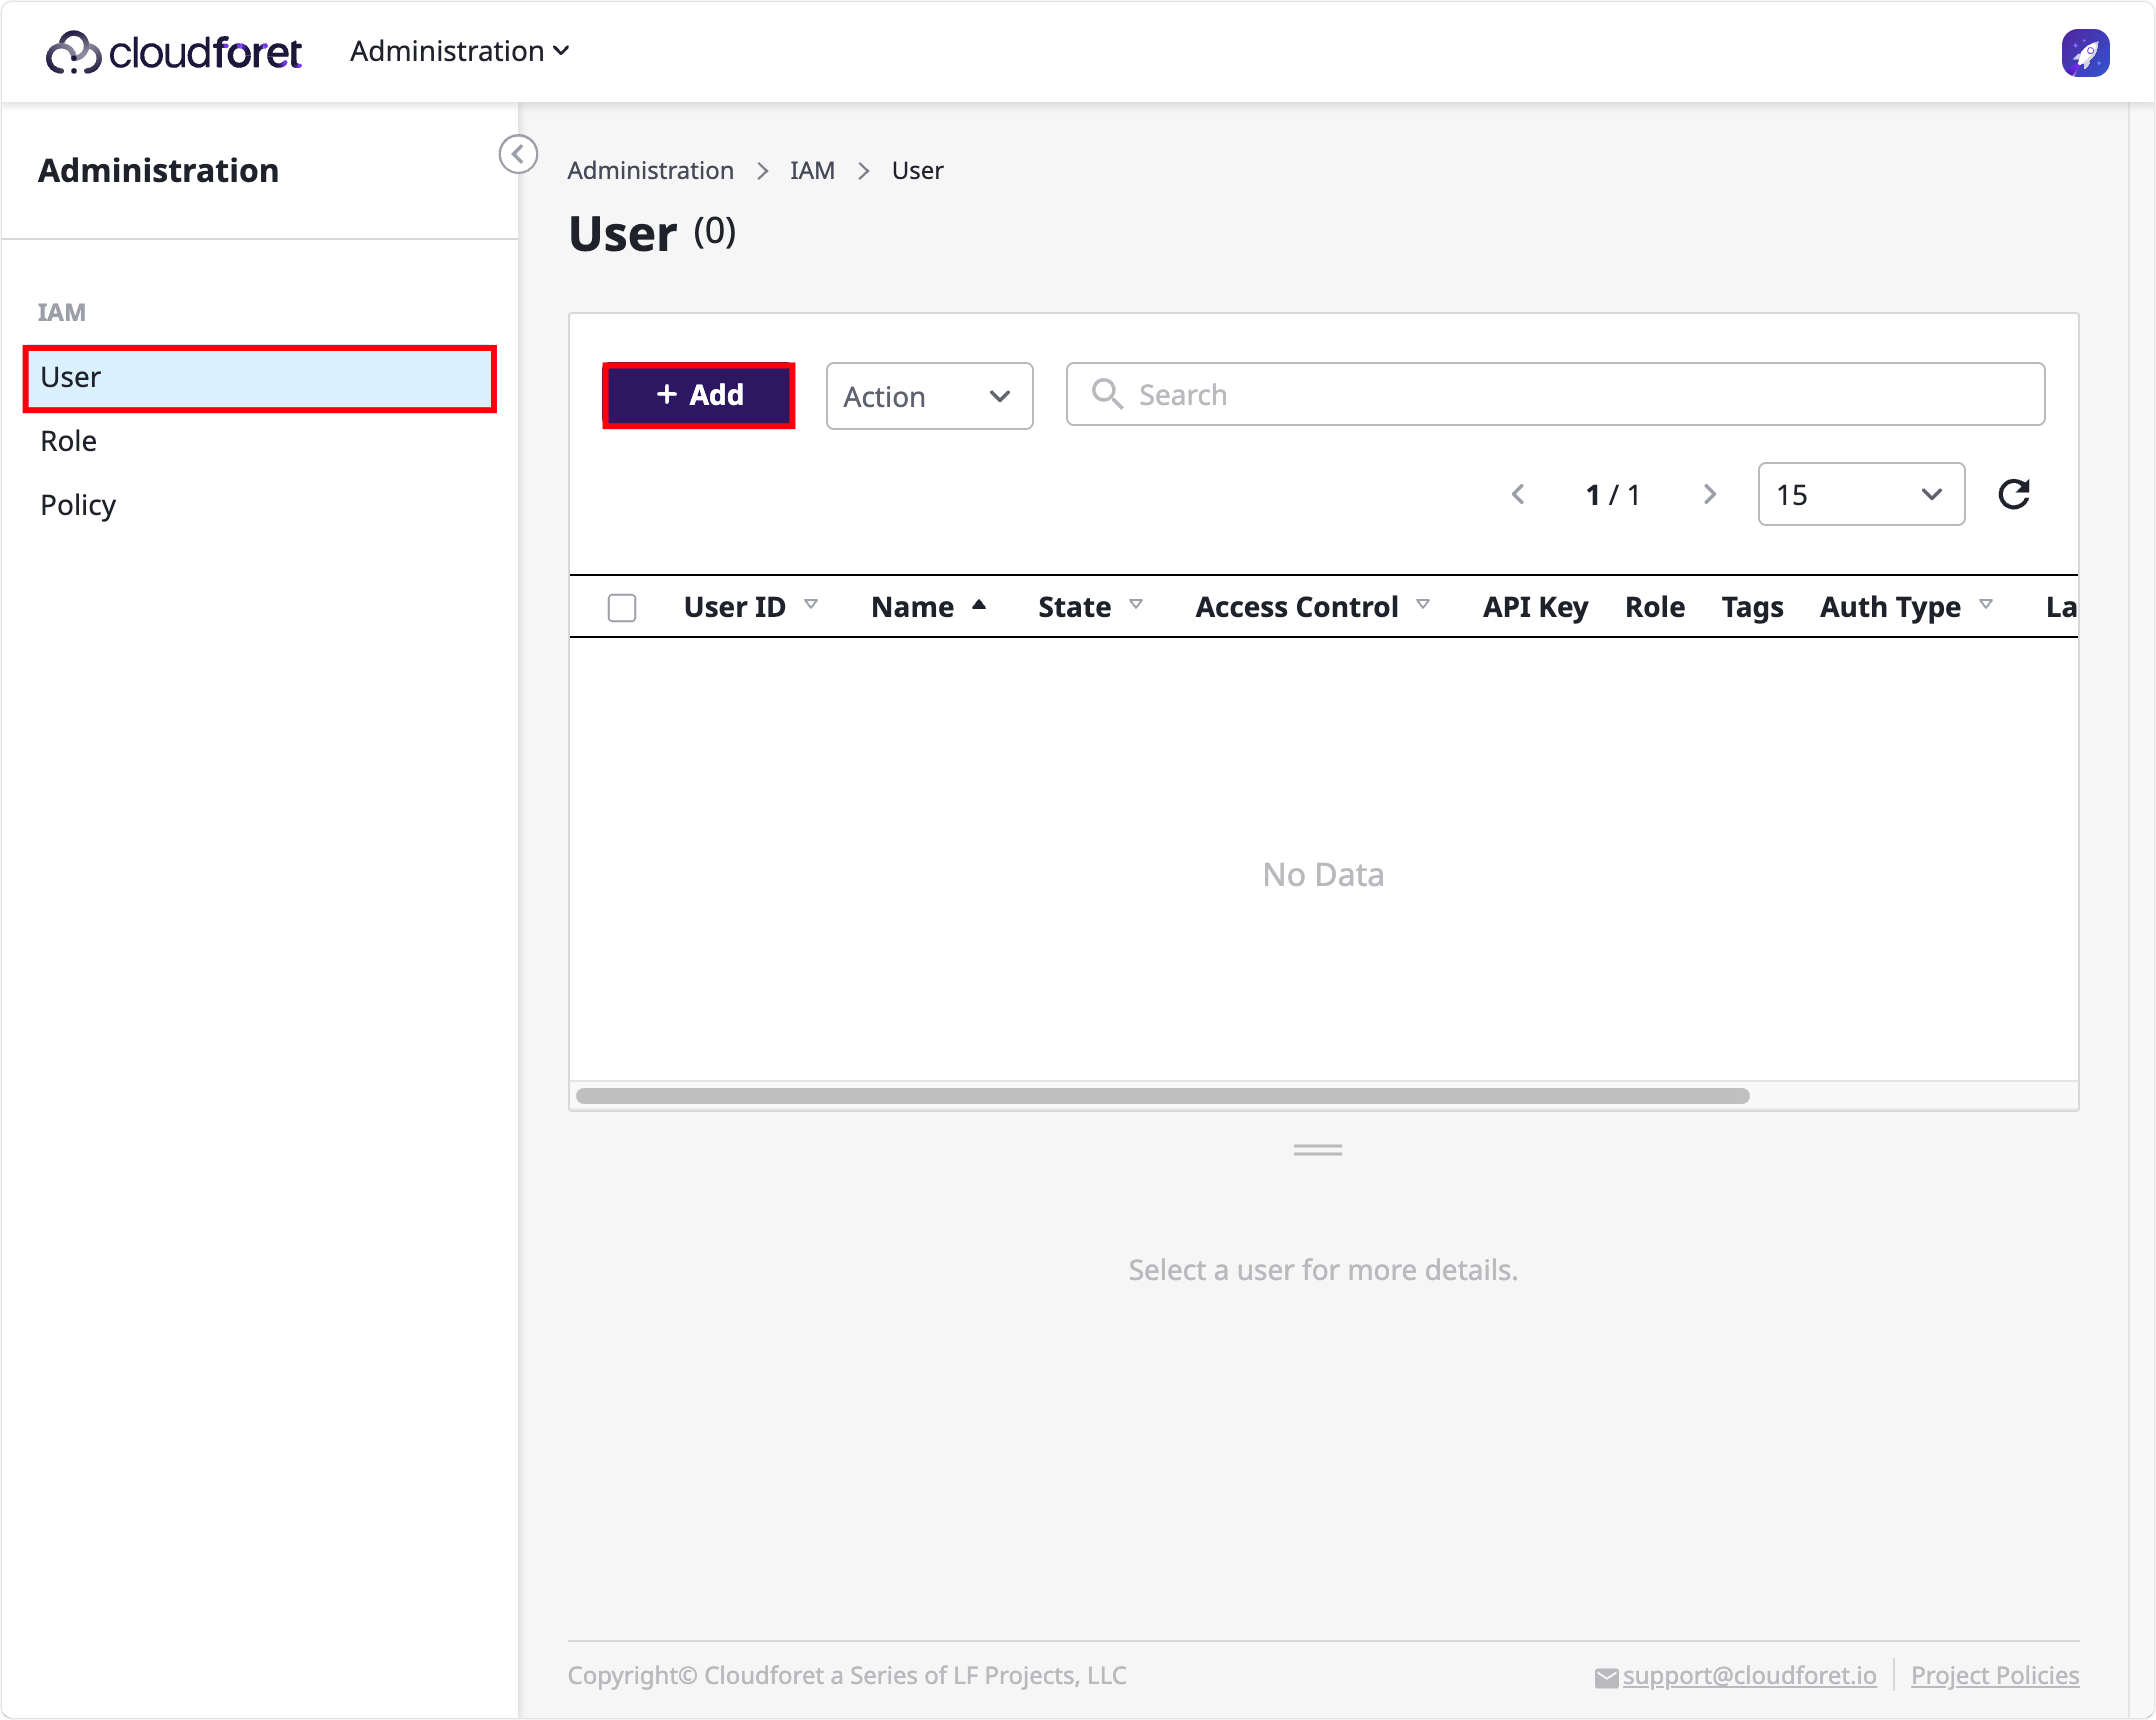
2) 사용자 페이지로 이동
로그인 후 Administration > IAM > User로 이동합니다. [+ Add] 를 클릭합니다.
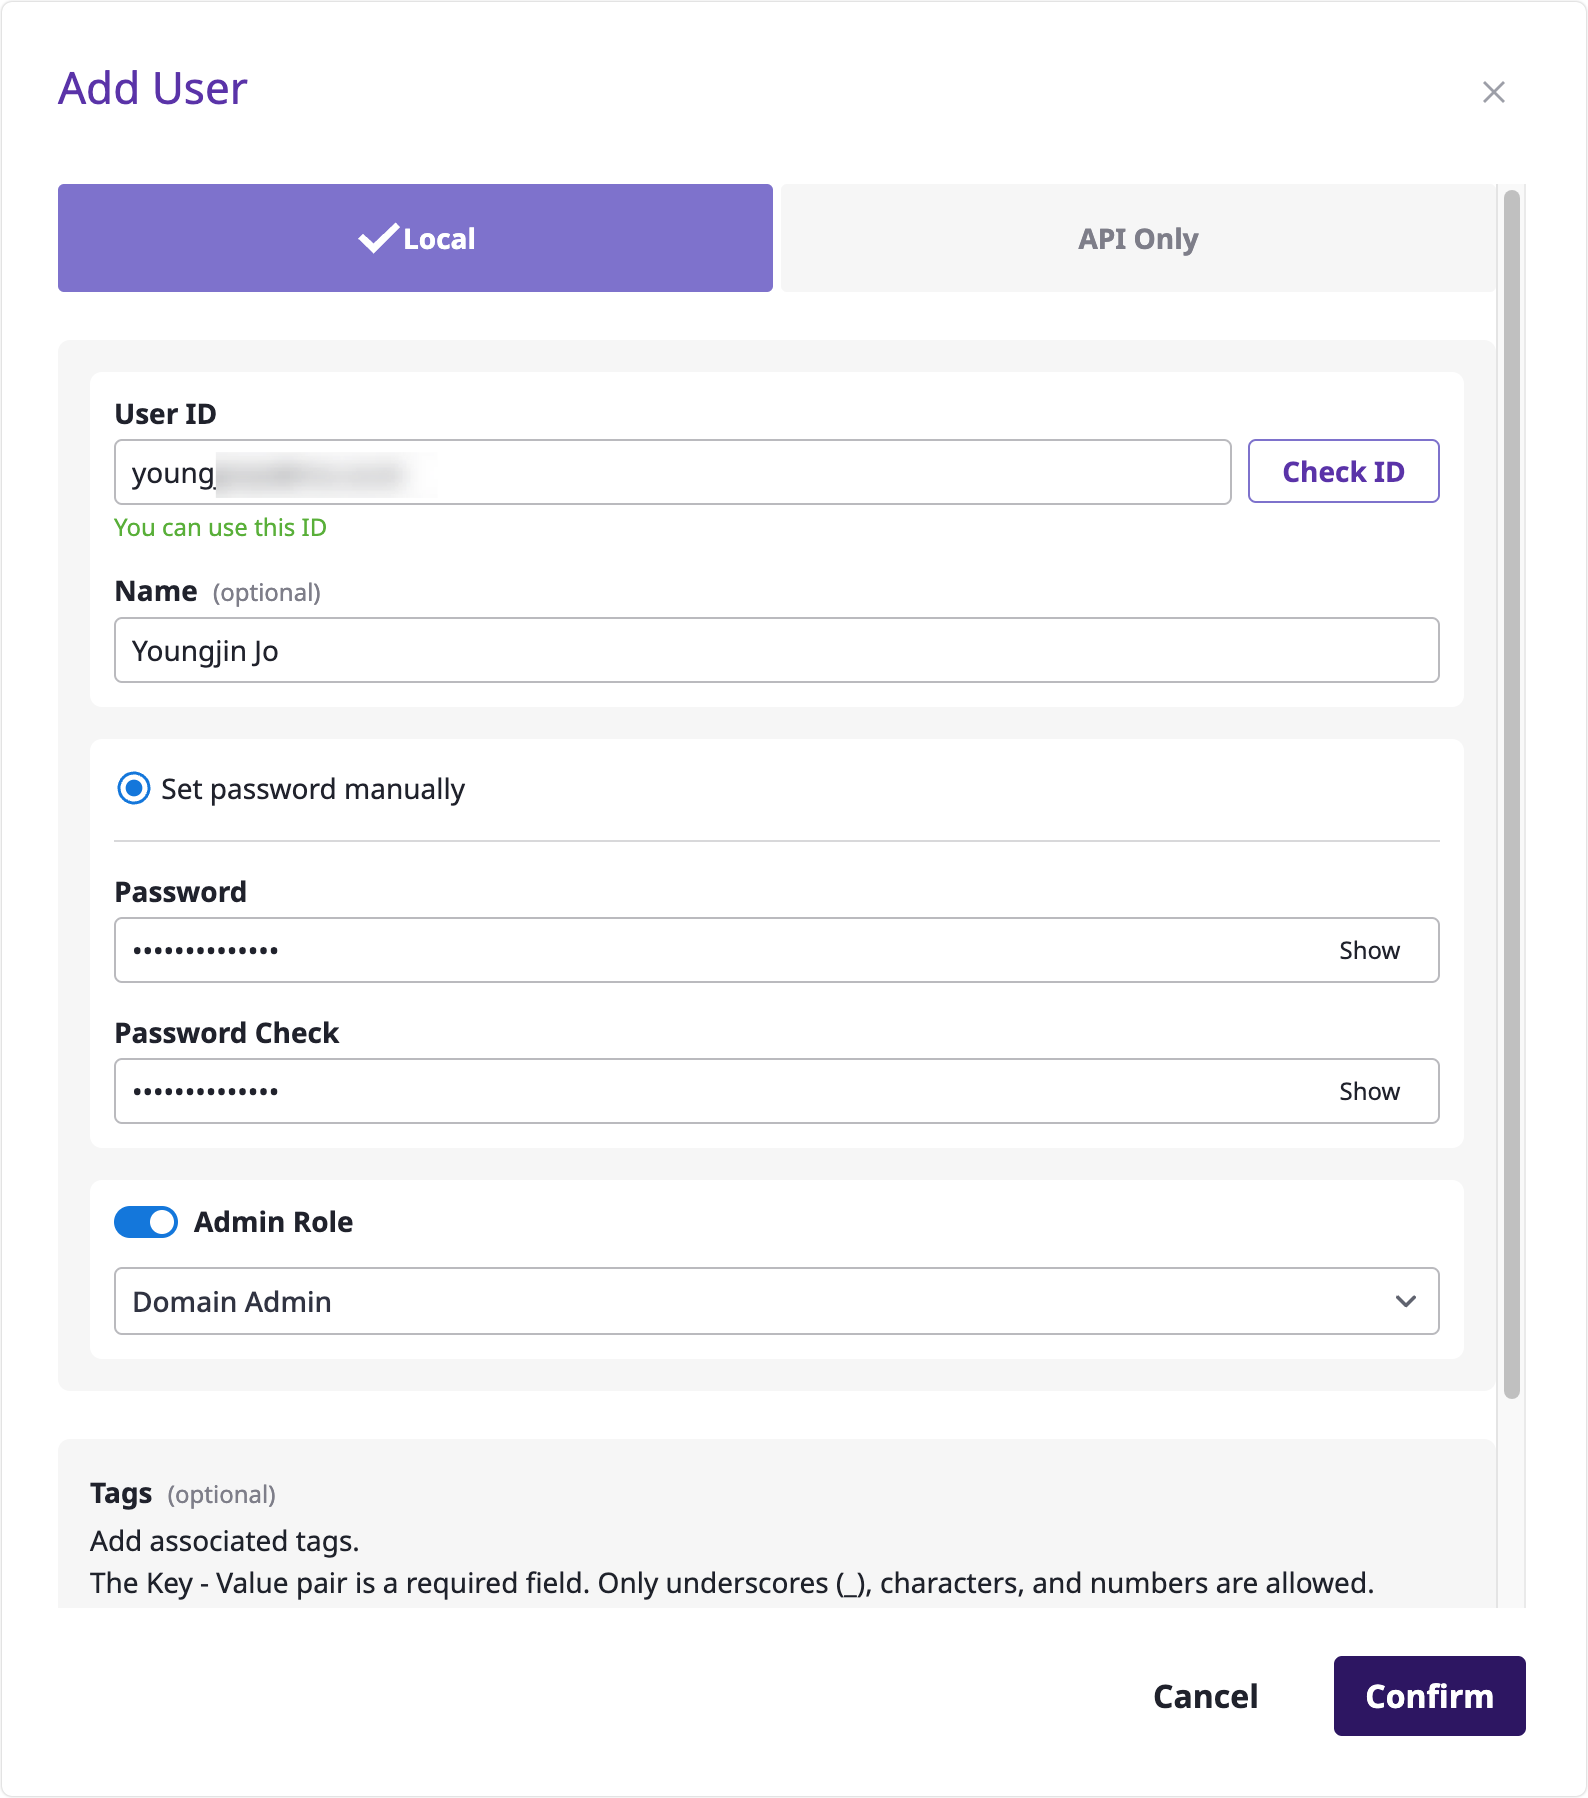
3) 사용자 추가
사용자 ID, 이름, 비밀번호 등 기본적인 정보를 입력 후 [Confirm 또는 확인] 버튼을 눌러 사용자를 추가합니다.
4) 추가된 사용자로 로그인
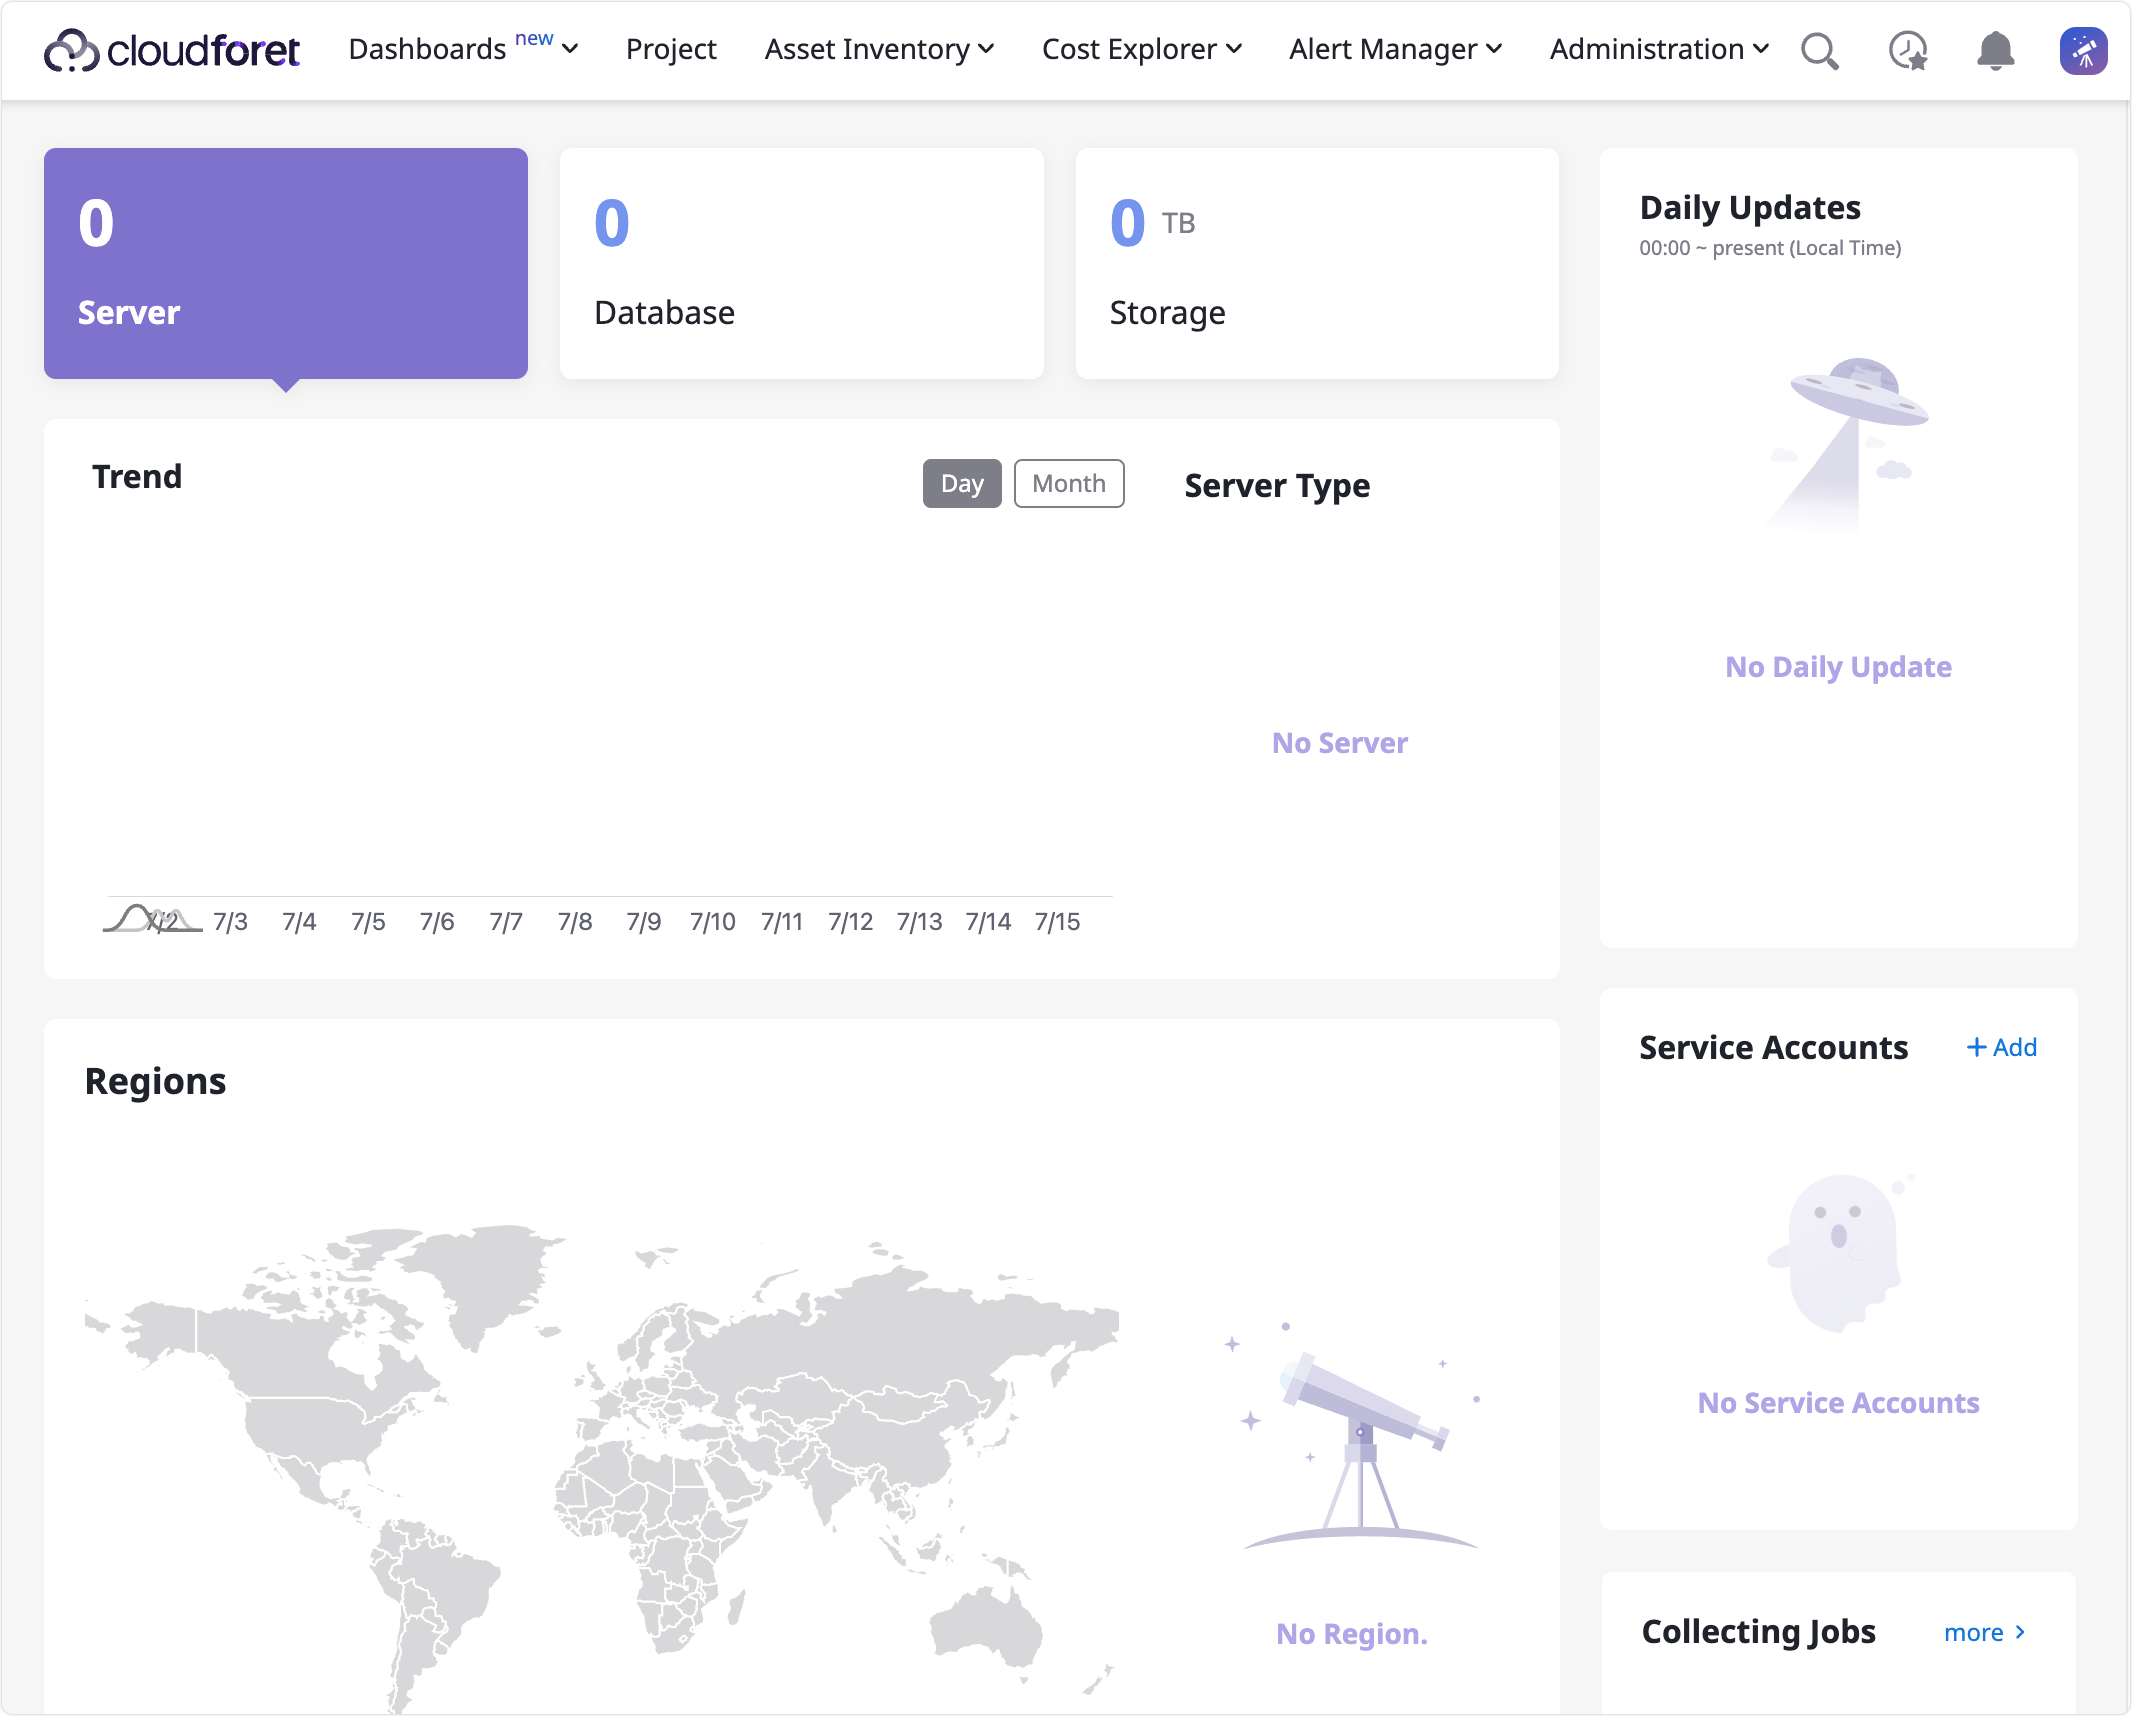
사용자 추가를 진행했다면, 기존 계정(admin 계정)에서 로그아웃 후 새롭게 생성한 사용자로 로그인을 진행합니다. 다시 로그인 페이지로 돌아와 생성한 유저로 로그인했을 때 아래와 같이 홈 화면이 나오면 이제 SpaceONE API를 사용할 준비가 되었습니다.
8. 마이페이지
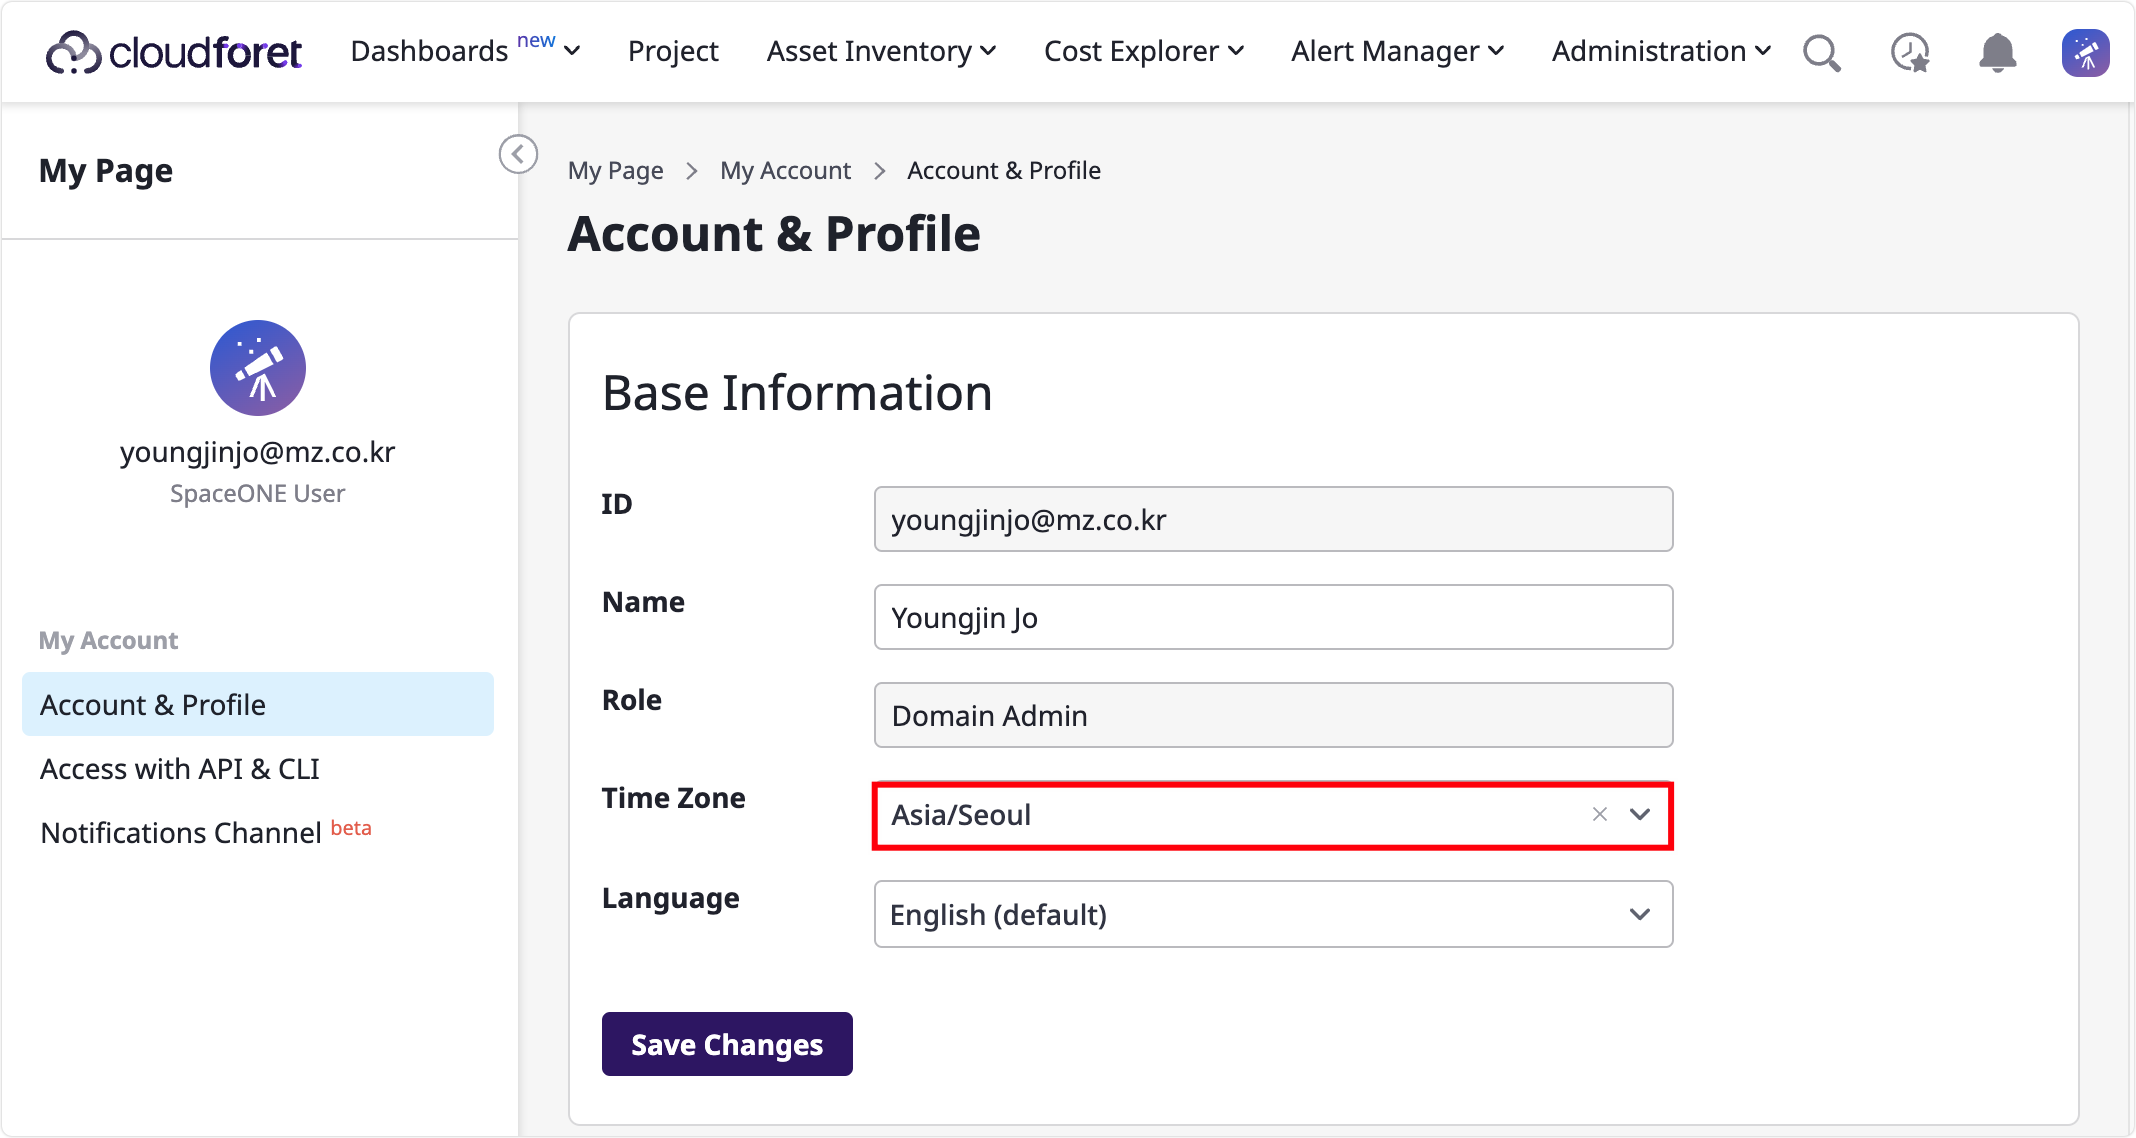
1) 계정 & 프로필
Profile > Go to My Page > Account & Profile > Time Zone 에서 사용자의 시간대를 변경할 수 있습니다.
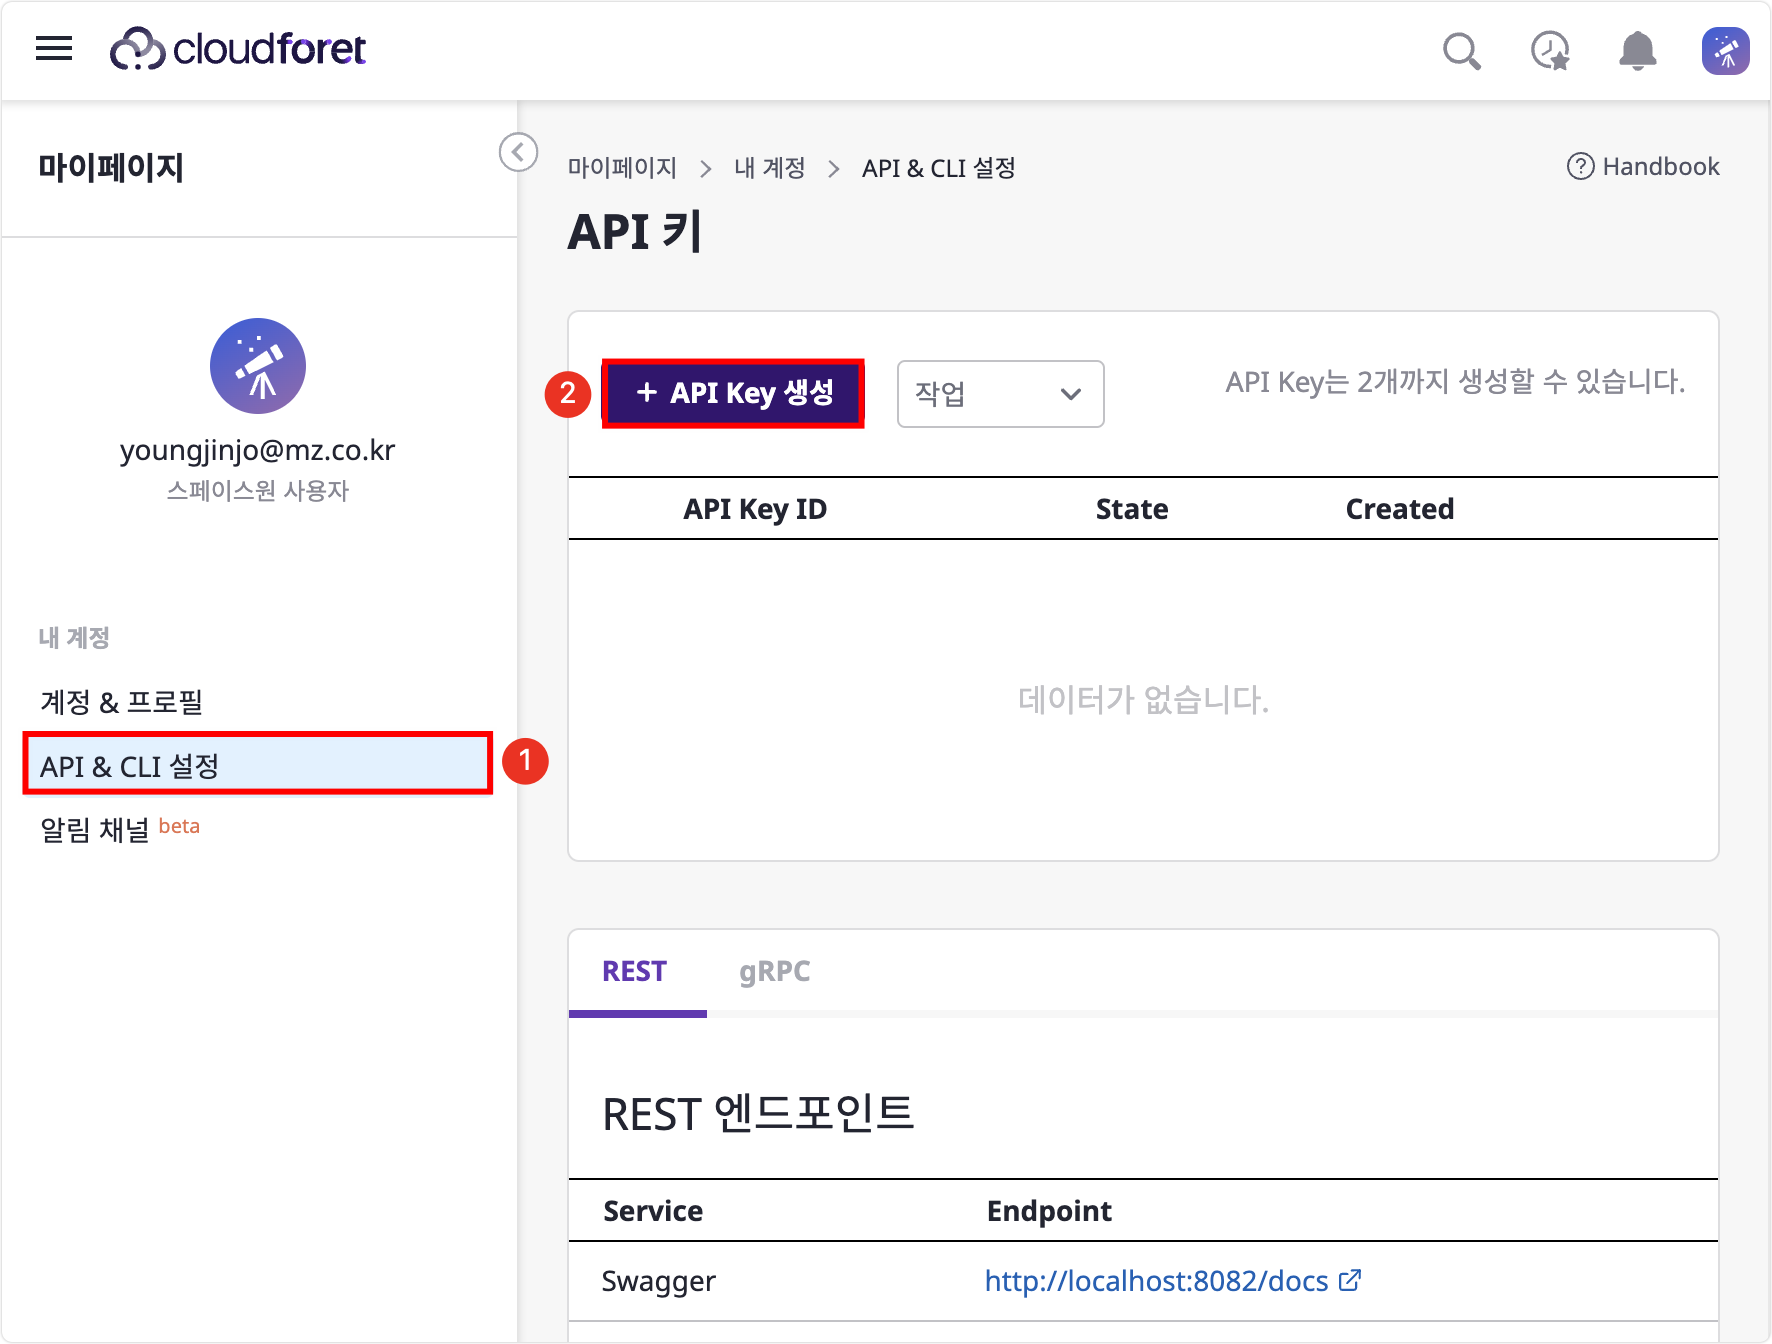
2) API & CLI 설정
마이페이지 > API & CLI 설정 메뉴에서 [API Key 생성] 버튼을 클릭합니다.
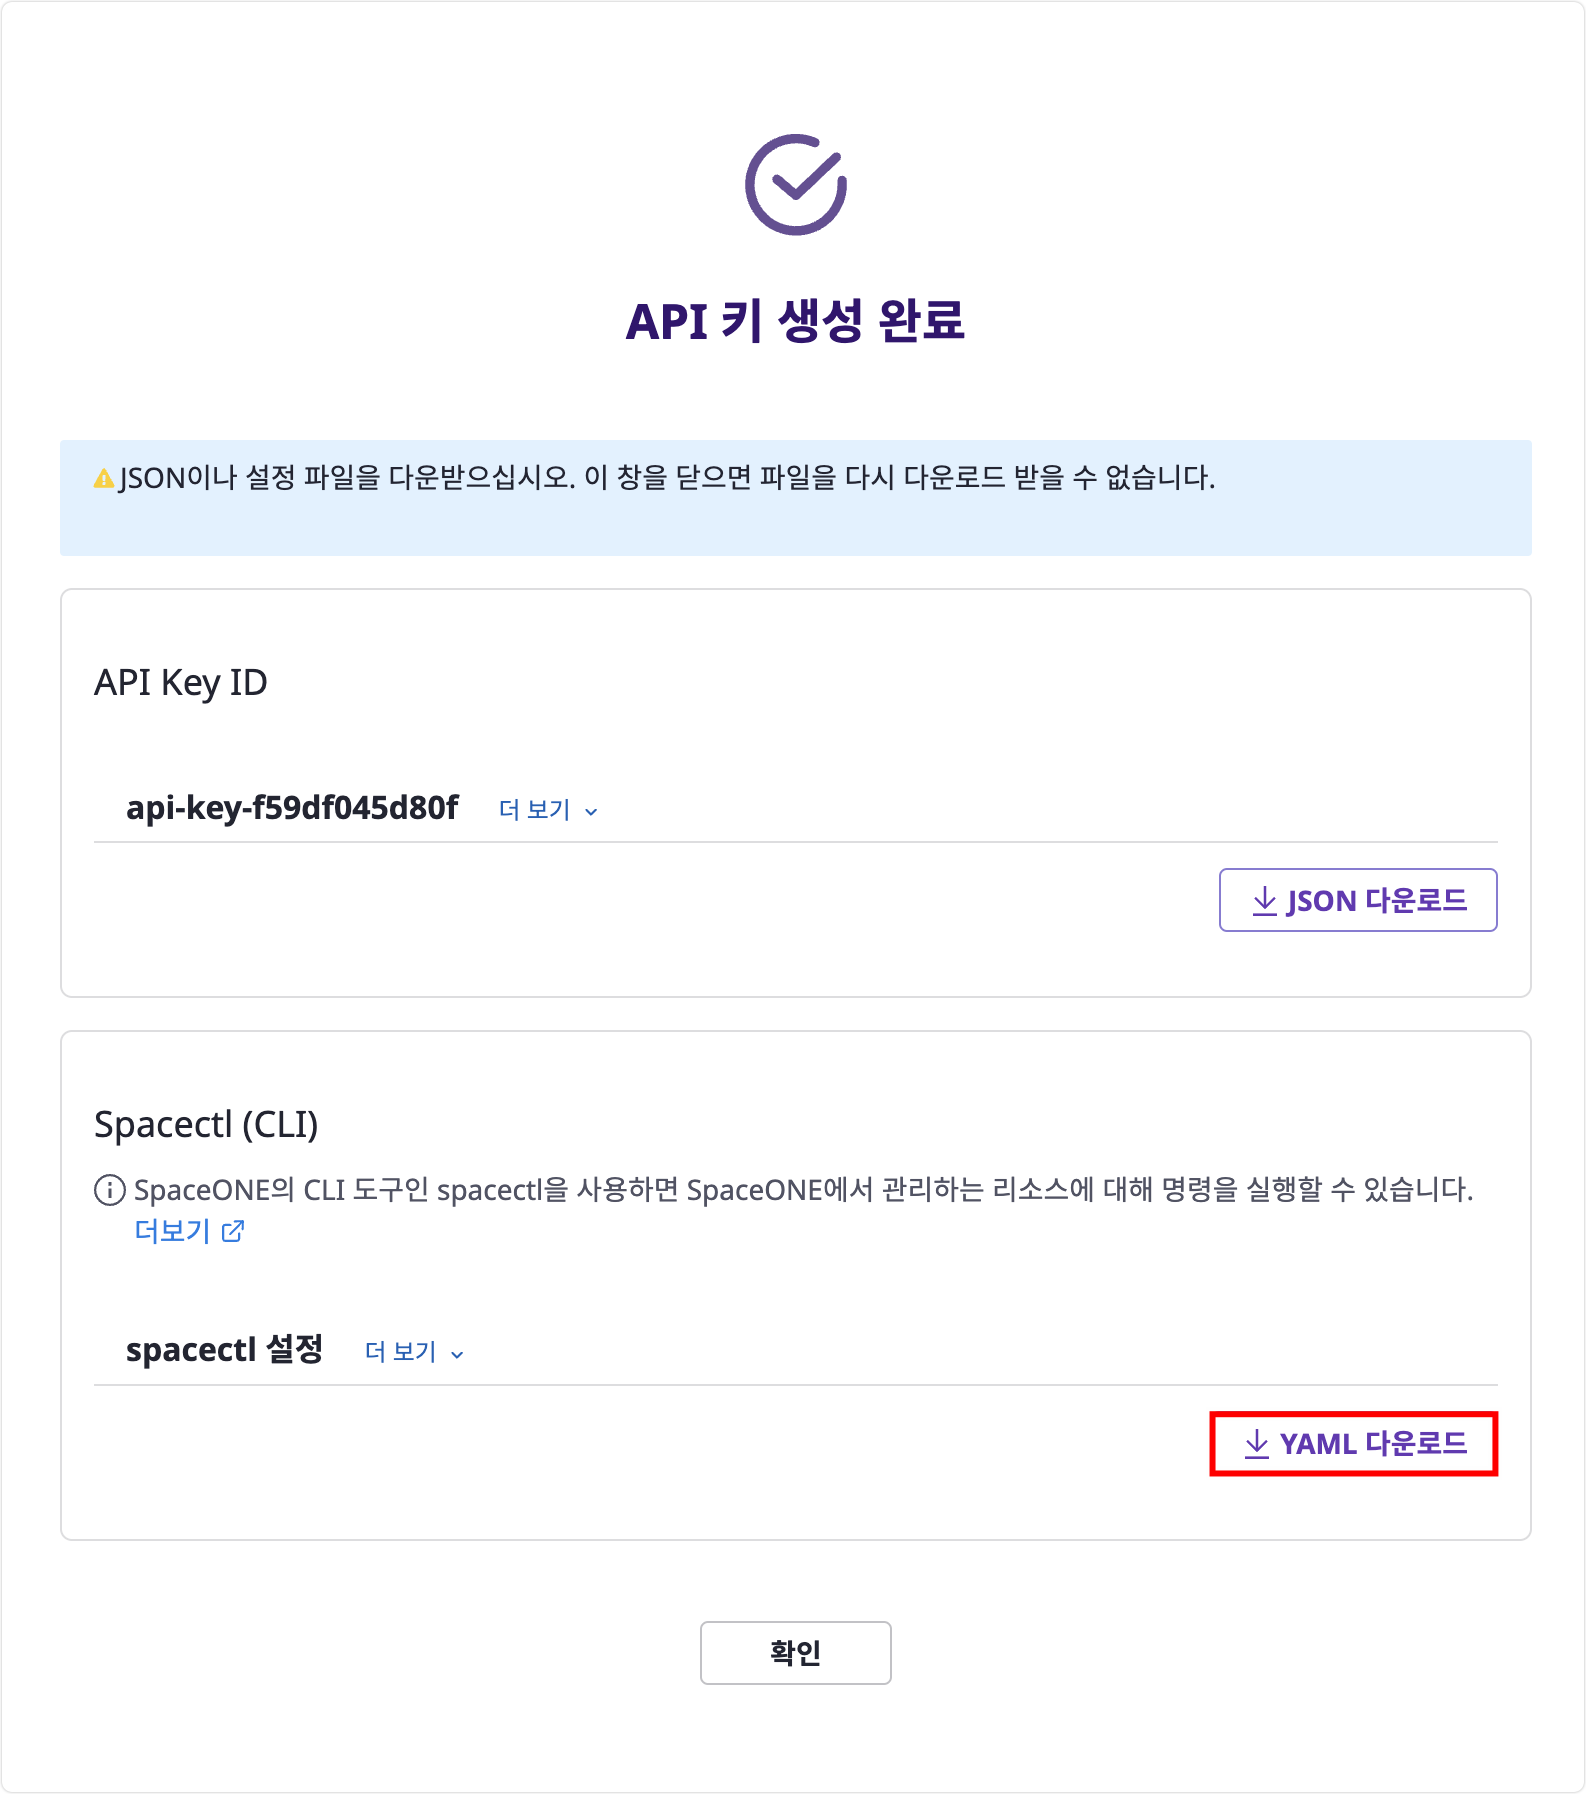
spacectl을 설정하기 위한 2가지 방법(JSON 또는 YAML)이 있지만 YAML로 설정하는 방법을 알아볼 예정입니다. API 키 생성 완료 모달에서 Spacectl (CLI) >
[YAML 다운로드] 버튼을 클릭합니다. 다운로드를 하면 spacectl_config.yml 파일이 다운로드됩니다.
9. spacectl 환경 설정
| 언어 및 패키지 | 버전 정보 |
|---|---|
| Python | 3.11+ |
| spaceone-core | 2.0+ |
| spaceone-api | 2.0+ |
1) 패키지 설치
2)spacectl 설치
spacectl은 SpaceONE에서 관리하는 리소스에 대한 명령을 실행할 수있는 커맨드라인 도구(CLI)입니다.
지원되는 모든 설정 및 명령에 대한 자세한 내용을 알고 싶으시다면 spacectl
문서를 참조하세요.
3) config 초기화
3-1) 이곳에서 다운로드 받은 spacectl_config.yml을 이용하여 spacectl config를 초기화 합니다.
Environment의 이름은 사용자가 원하는 이름으로 설정할 수 있습니다. (여기서는 로컬 테스트를 진행할 예정이기 때문에 local로 명시하였습니다.)
3-2) spacectl config init 명령어를 입력하였다면, root 디렉터리에 .spaceone 디렉터리가 생성됩니다. .spaceone 디렉터리의 구조는 아래와 같습니다.
- local.yml
spacectl config init이후에 Environment를 새로 생성할 때마다environments디렉터리에 해당 Environment의 이름으로 YAML 파일이 생성됩니다.environment.yml파일의 경우 현재 Environment를 보여주는 파일입니다.local.yml파일을 확인합니다.
api_key: eyJ...
endpoints: { }
3-3) local.yml 파일을 열어 확인해보면 api_key의 경우 eyJ... 로 시작하는 TOKEN이 있고, endpoints 의 경우 {} 와 같이 비어있는 상태일 것입니다.
비어있는 상태라면 gRPC 통신을 할 수 없으므로 gRPC 엔드포인트를 설정합니다.
4) 엔드포인트 설정
이 설정은 gRPC 서버가 로컬 머신에서 50051 포트로 실행중일 때 해당 엔드포인트로 통신하기 위한 설정입니다. 이름은 plugin으로 설정하였습니다.
api_key: eyJ...
endpoints:
  plugin: grpc://localhost:50051
이제 플러그인 개발을 위한 환경 설정이 완료되었습니다. 플러그인 개발 문서는 이곳를 참조하세요.
Cloudforet 삭제
Cloudforet 삭제를 원하시면 다음 명령을 사용하여 설치된 cloudforet를 제거할 수 있습니다.