Users
The Users page allows you to invite and manage users within a workspace.
Inviting Users
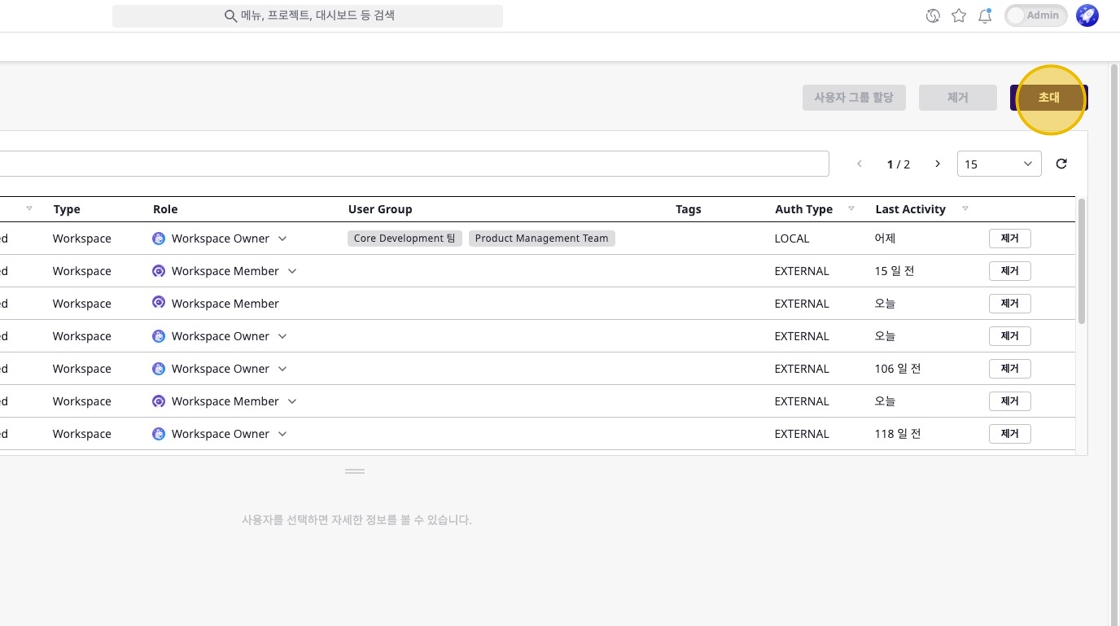
Open User [Invite] Modal
Click the [Invite] button in the top right of the users menu.
Enter User Information
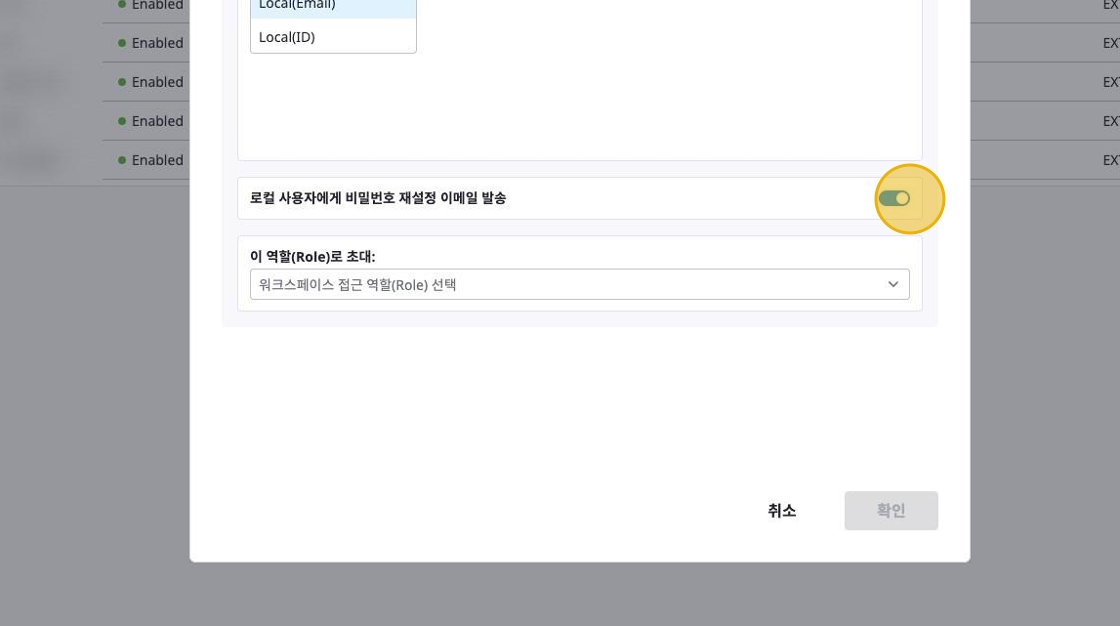
Authentication Type & User ID: Select the user’s authentication method and enter their email or ID.
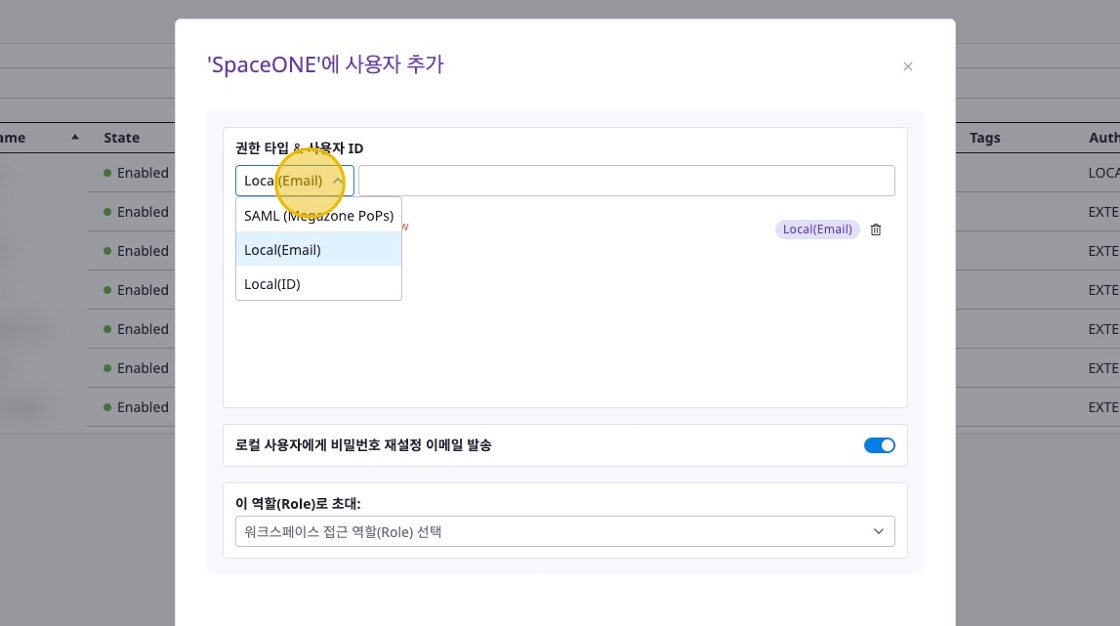
- Existing Users: Invite domain users using the search box
- Local: Email and ID-based local accounts
- If additional SSO like Google, Keycloak, etc. is configured in the domain, enter according to that format
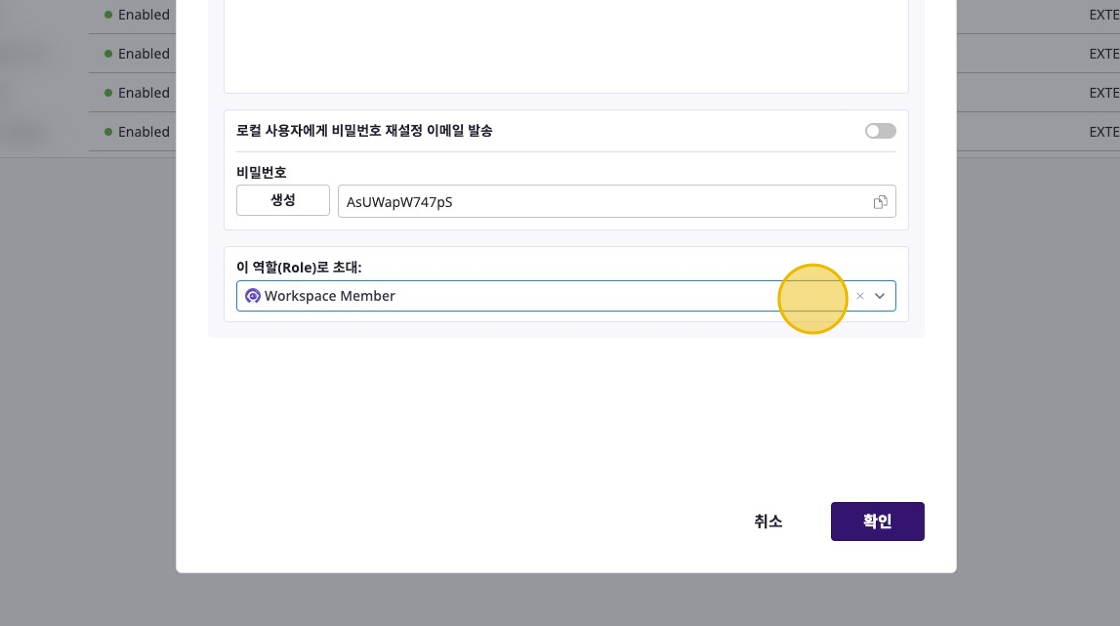
Generate Password (Optional)
For Local user accounts, you can automatically generate a password by clicking the [Generate] button.
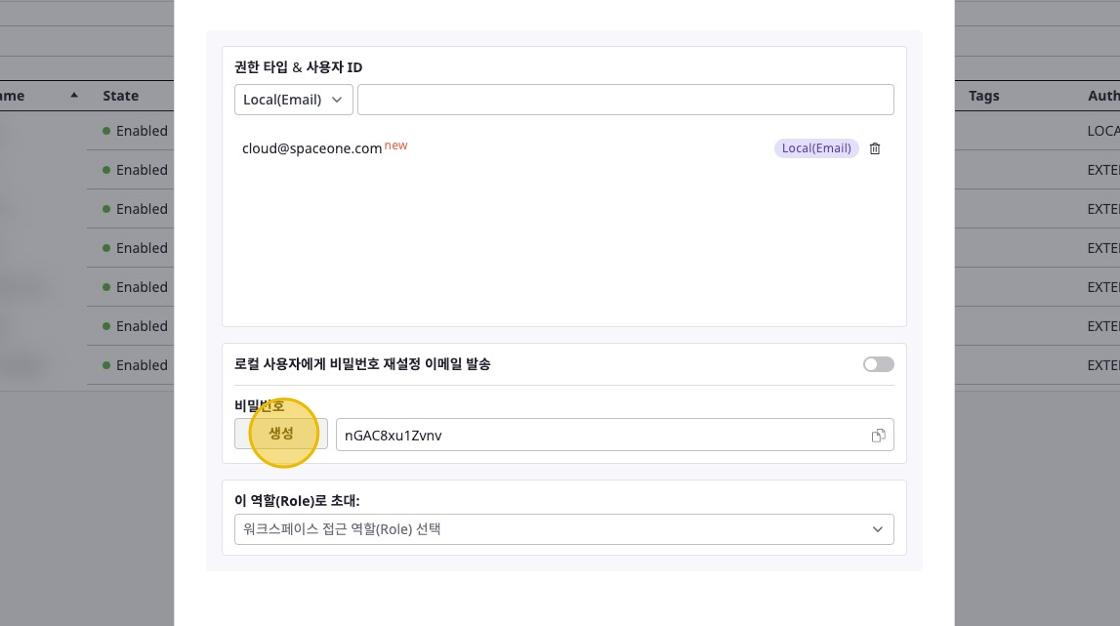
Or, if needed, you can send a password reset email.
Select Role
Choose the workspace access permissions for the invited user.
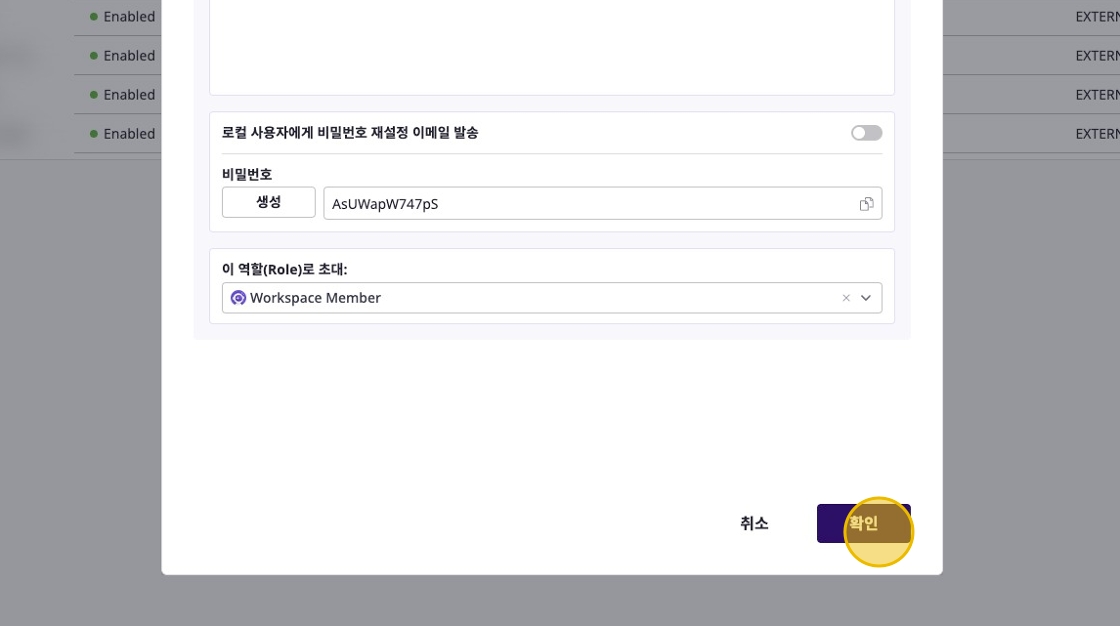
Complete Invitation
After entering all information, click the [Confirm] button to complete the invitation.
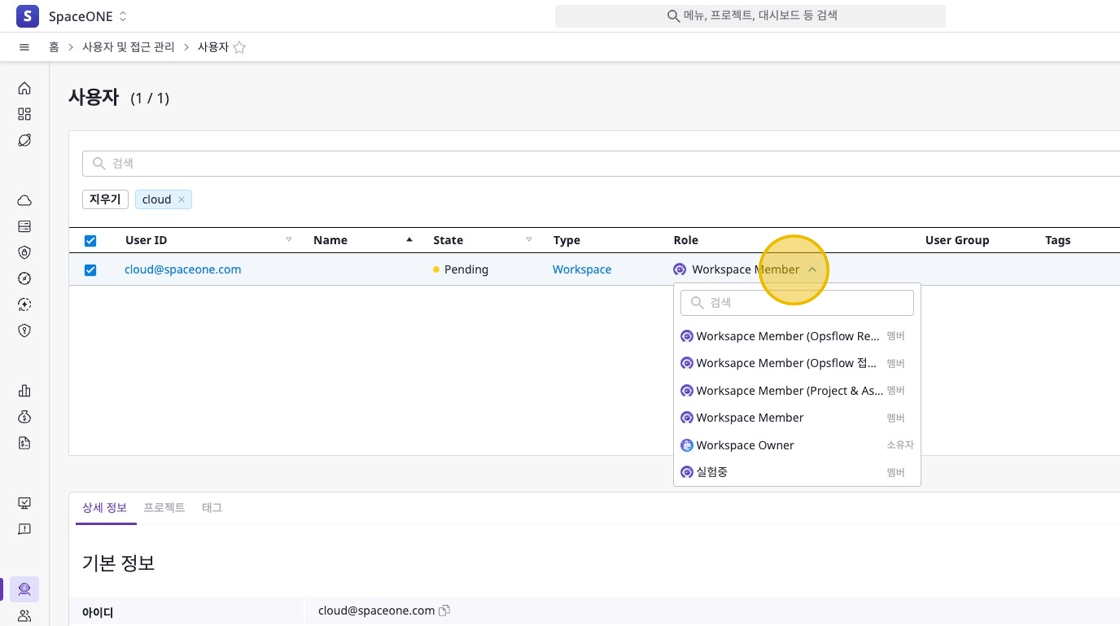
Modifying User Roles
To change a user’s role, click the current role in the [Role] column and select a new role from the dropdown list.
The changed role is applied immediately, and the user’s permissions are updated.
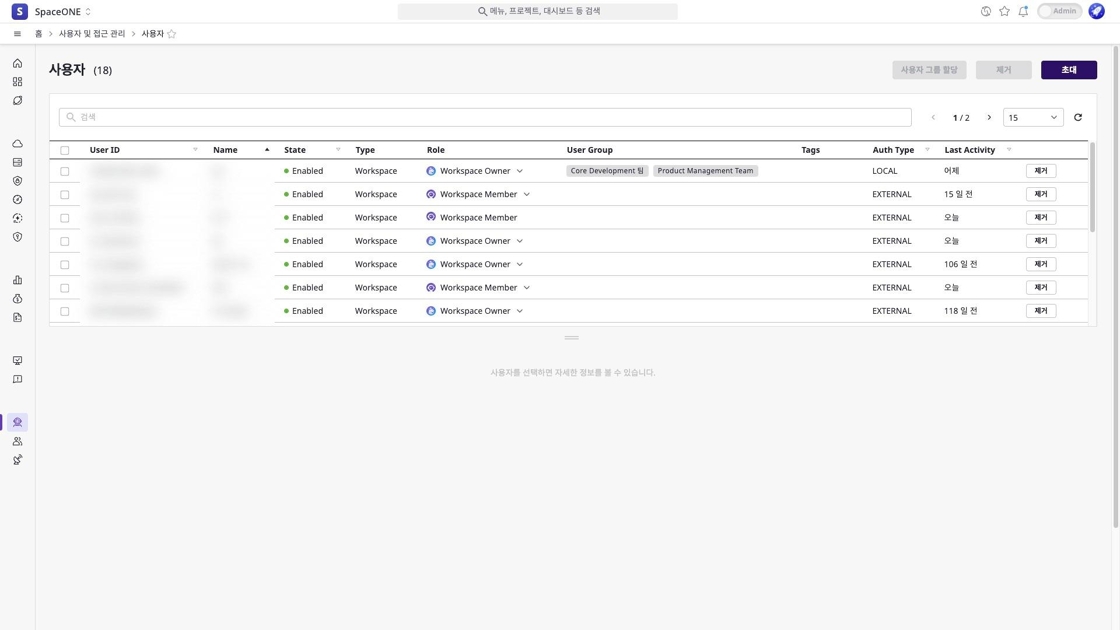
Viewing User Details
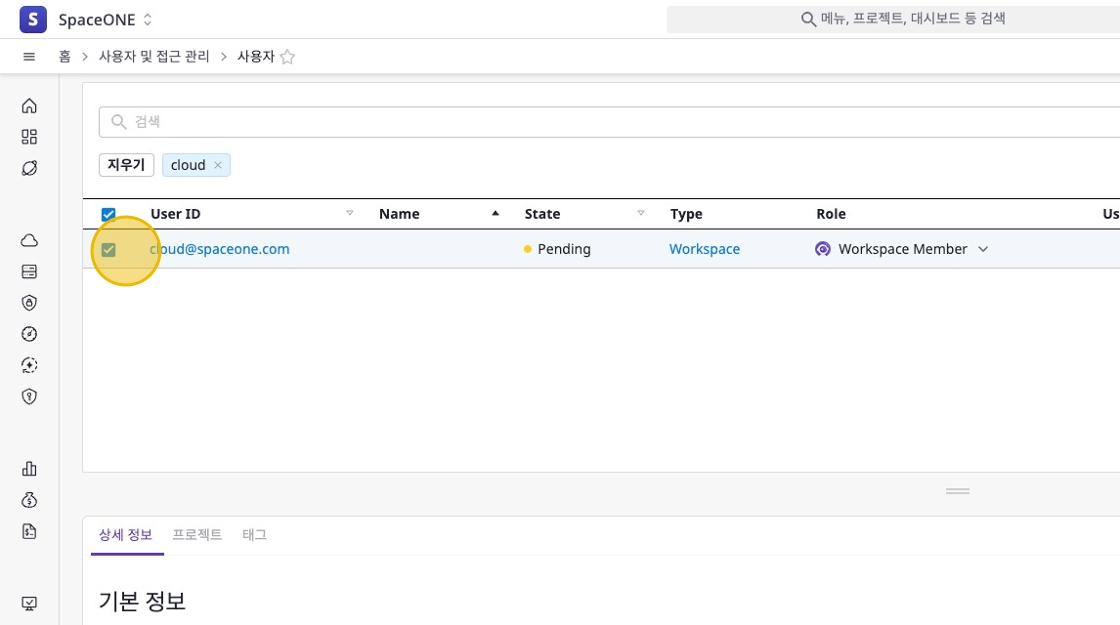
Select User to View
Select the user you want to view from the user list.
Check Detailed Information
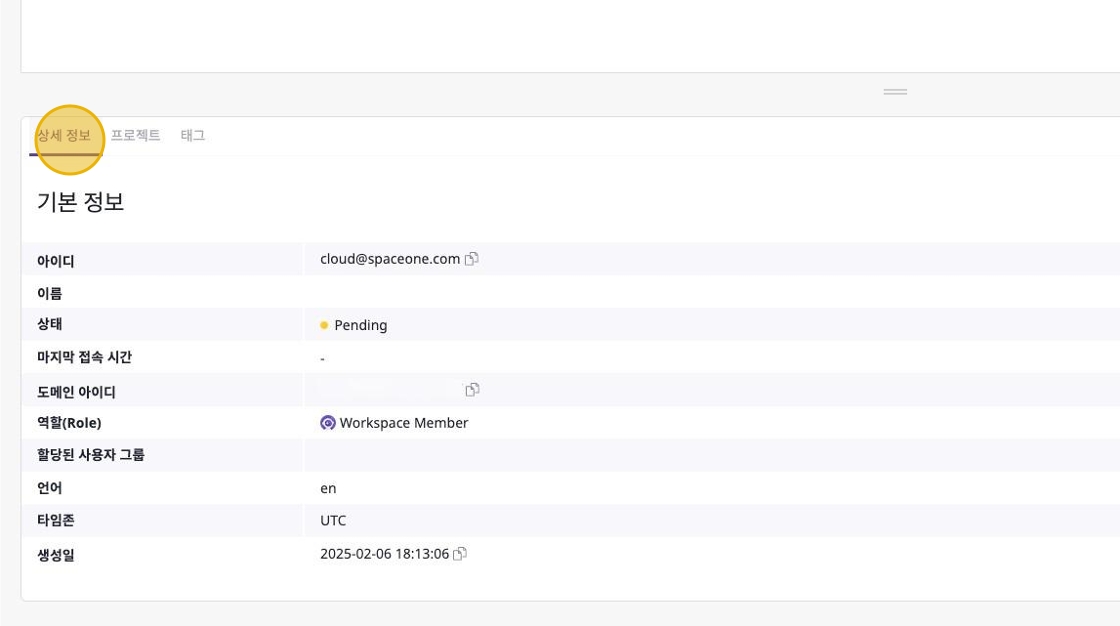
- ID: The user’s unique identifier.
- Status: The current status of the user account. (e.g., Active, Pending)
- Domain ID: The unique identifier of the domain the user belongs to.
- Role: Displays the role the user belongs to.
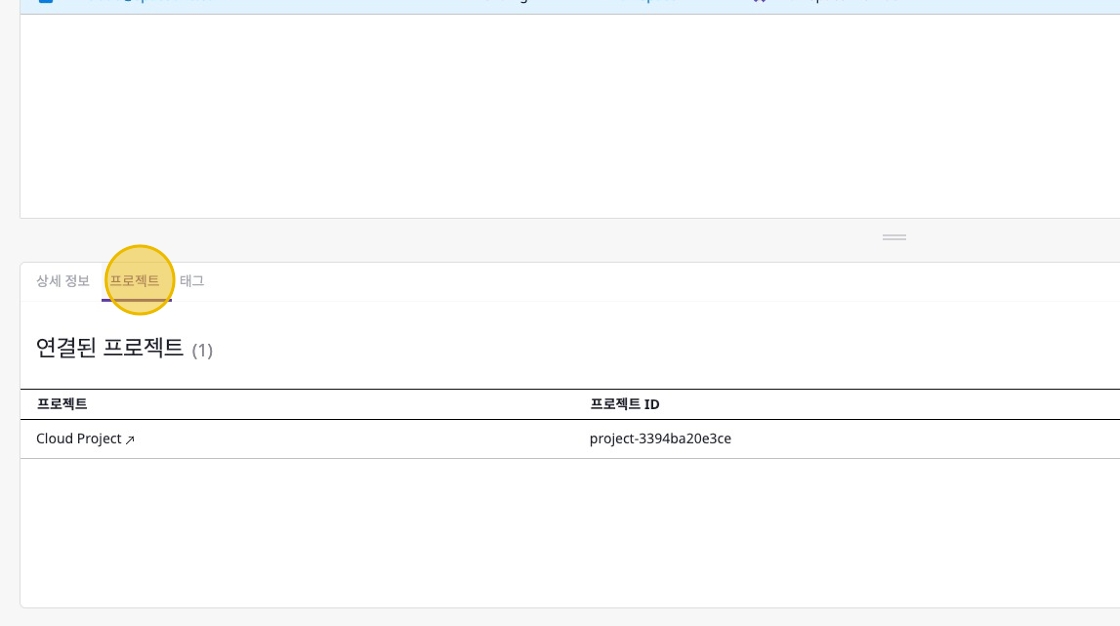
Check Associated Projects
Displays the list of projects the user can access.
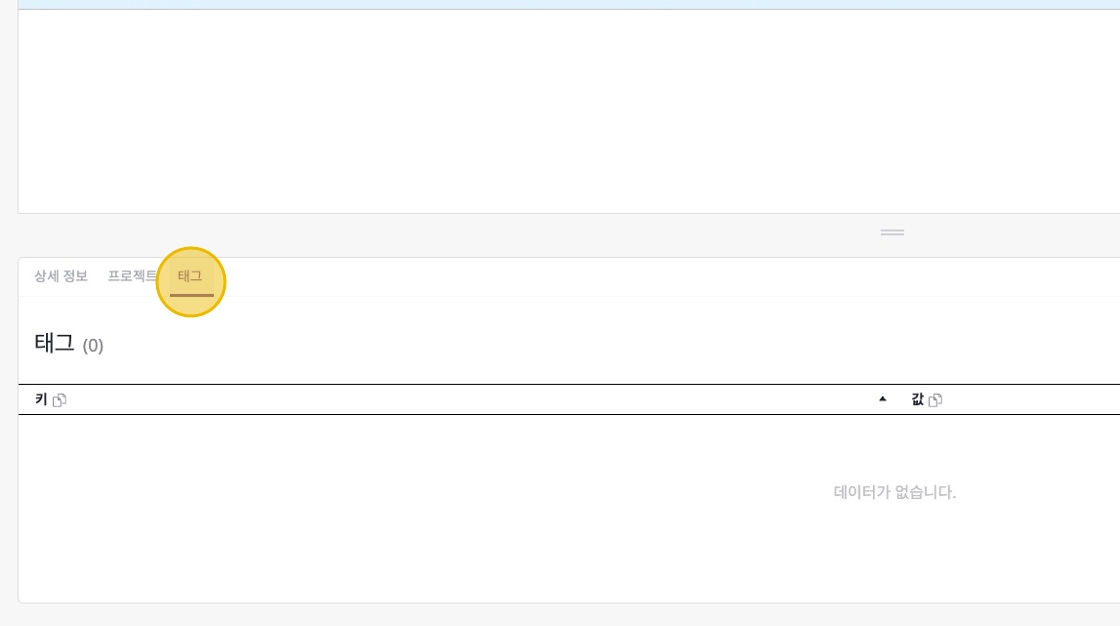
Check Tags
You can view the list of tags assigned to the user.
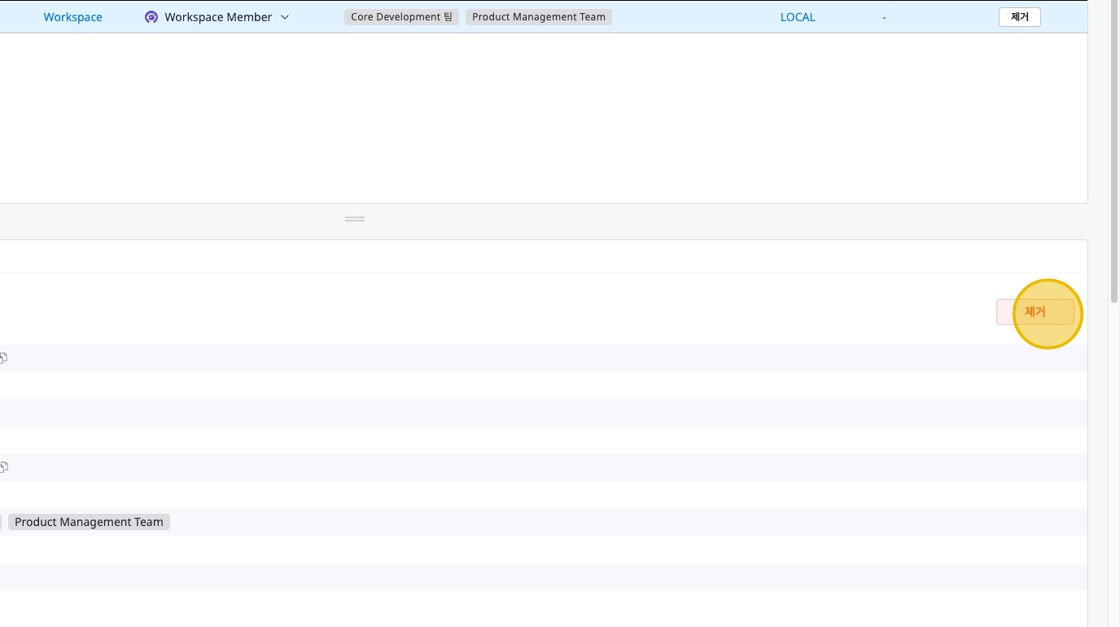
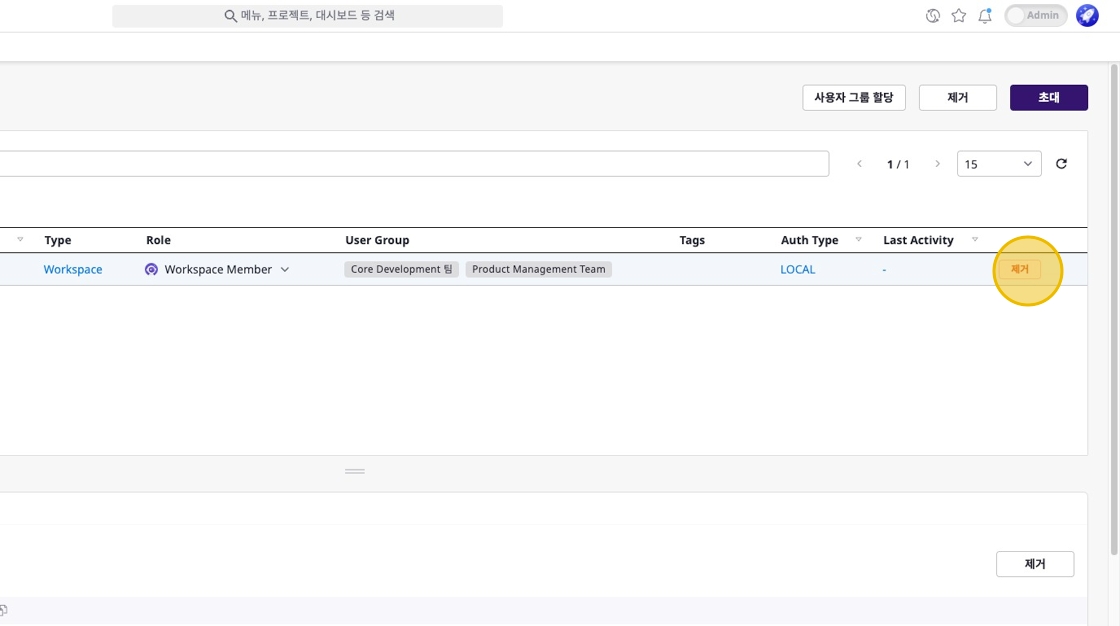
Removing Users
There are three ways to remove users:
- Select the user to remove from the user list, then click the [Remove] button.
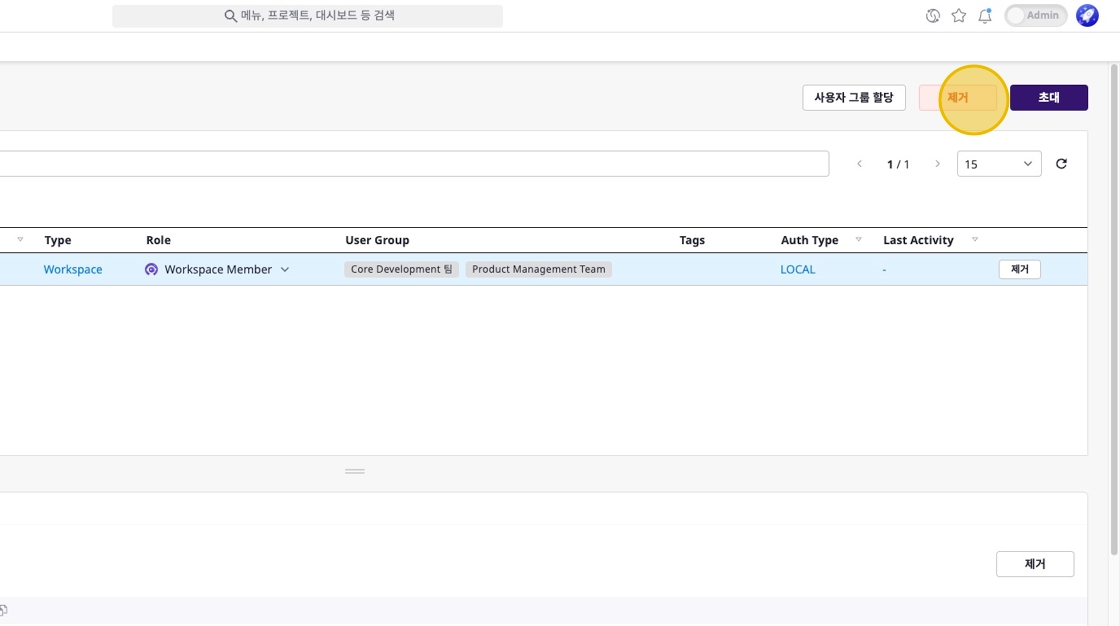
- Click the [Remove] button on the right of the user’s row in the user list.
- Select the user, then click the [Remove] button in the [Details] tab.