Create Collector
Creating a Collector
Navigate to Collector Creation Page
Click the [+ Create] button in the top left.

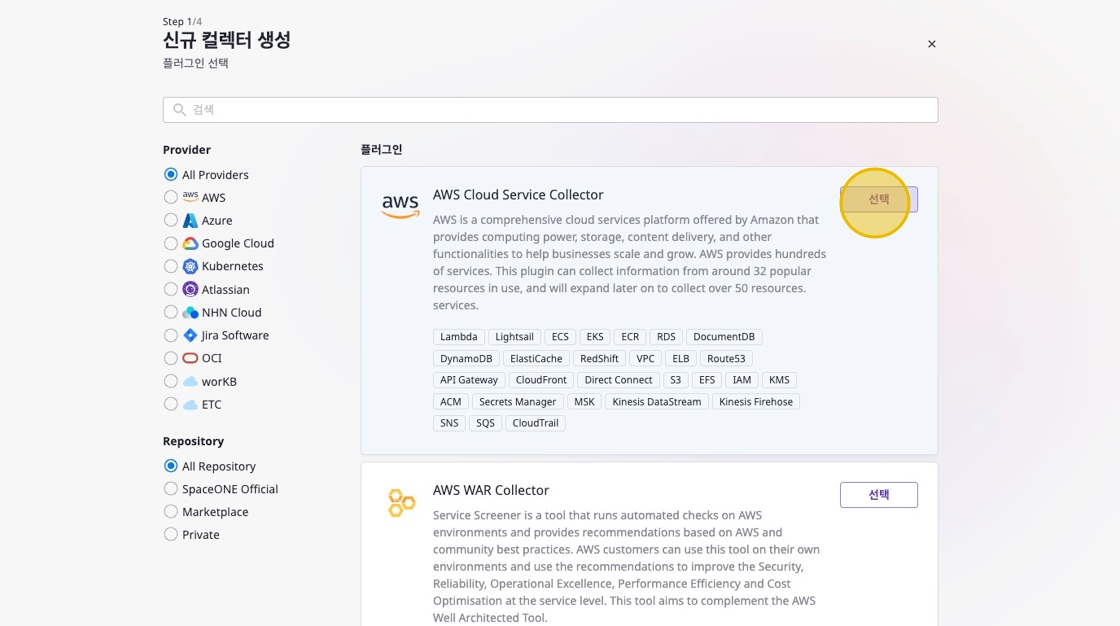
Select Plugin on [Create New Collector] Page
Find the desired collector plugin from the plugin list page and click the [Select] button.
Enter Collector Name and Select Version
Enter a name for the collector, select a version, then click the [Continue] button.
(Some collectors may require selecting a specific cloud provider.)
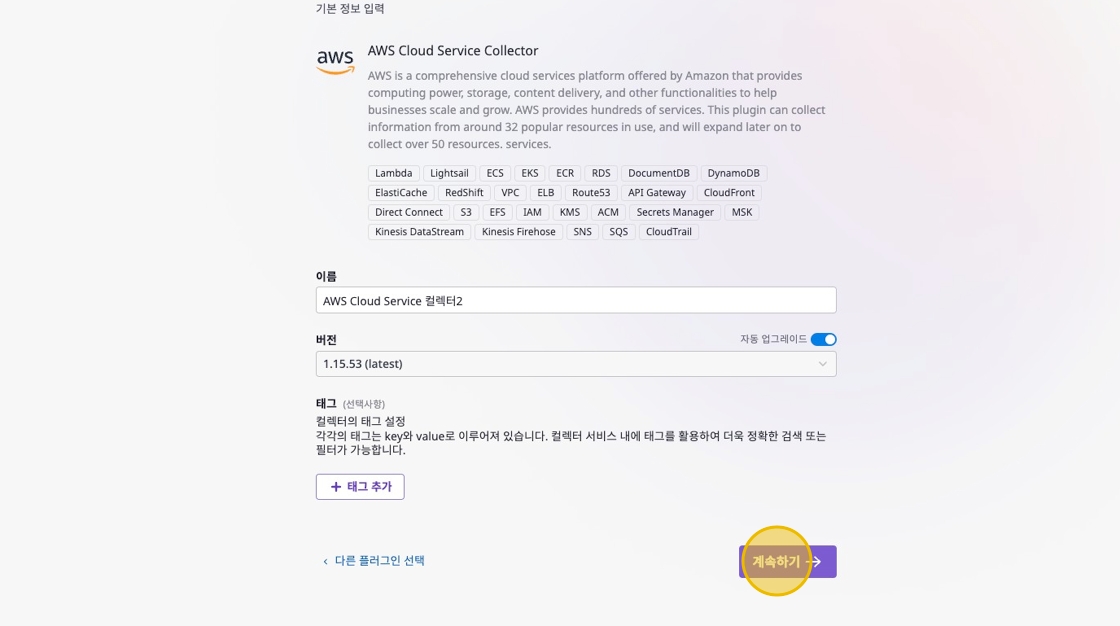
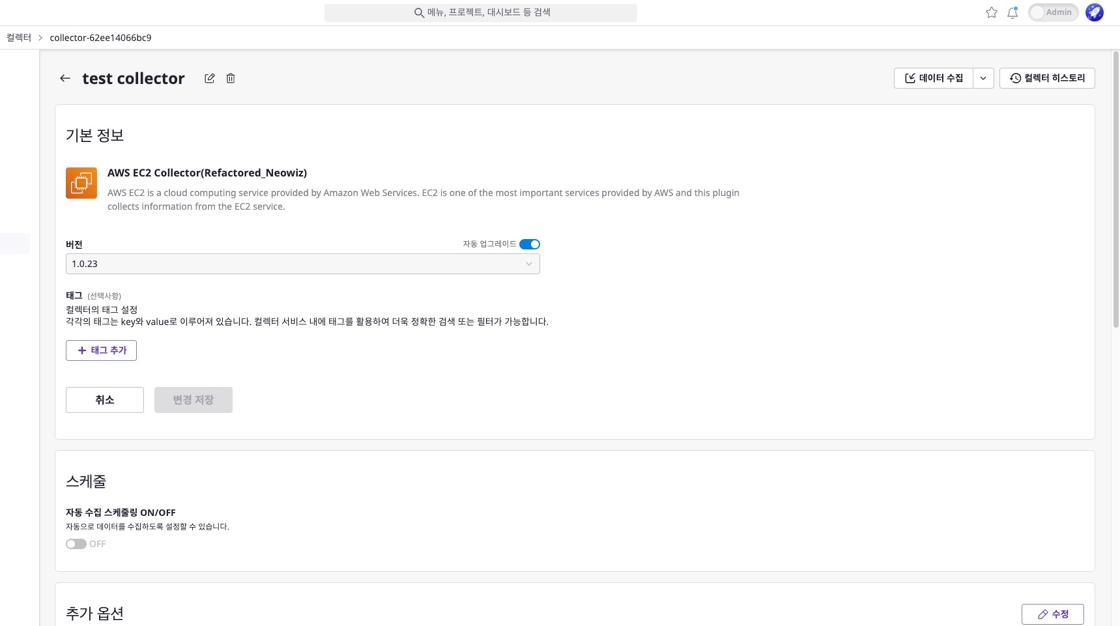
Version and Auto Upgrade
Version refers to the version of the collector plugin selected earlier. When auto upgrade is disabled, you can select a specific version. In this case, data will always be collected using the specified plugin version.
Conversely, when auto upgrade is enabled, data will always be collected using the latest plugin version.
Configure Advanced Collector Settings
Configure additional options for the collector.
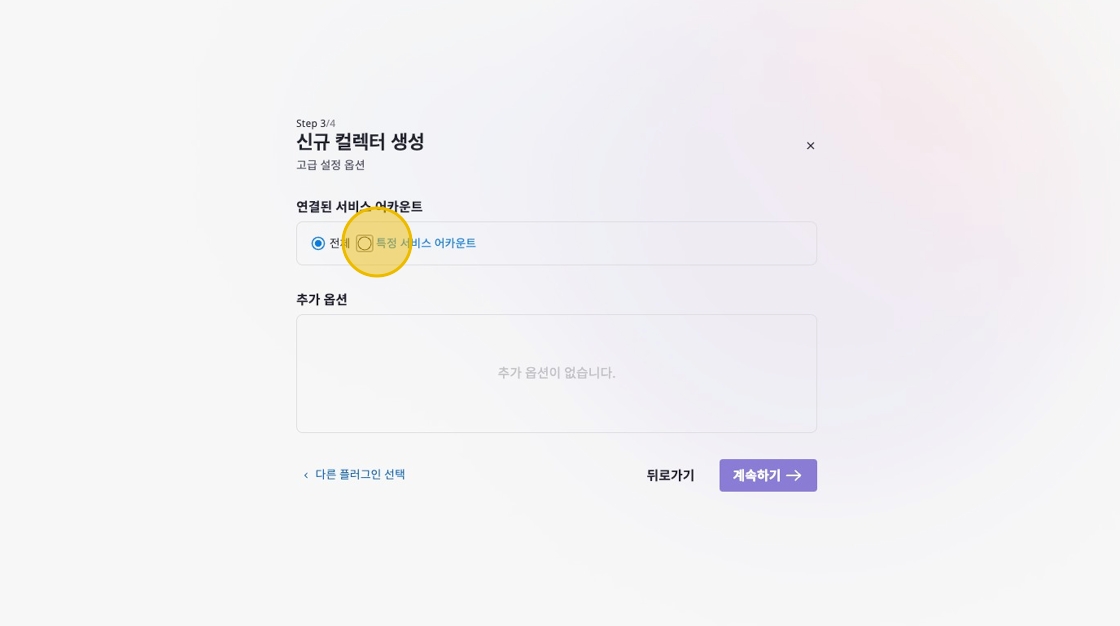
- Connected Service Accounts: Select all or specific service accounts. If set to all, service accounts related to the collector’s provider will be automatically selected for collection.
- Additional Options: Additional options vary by collector and may not be available in some cases.
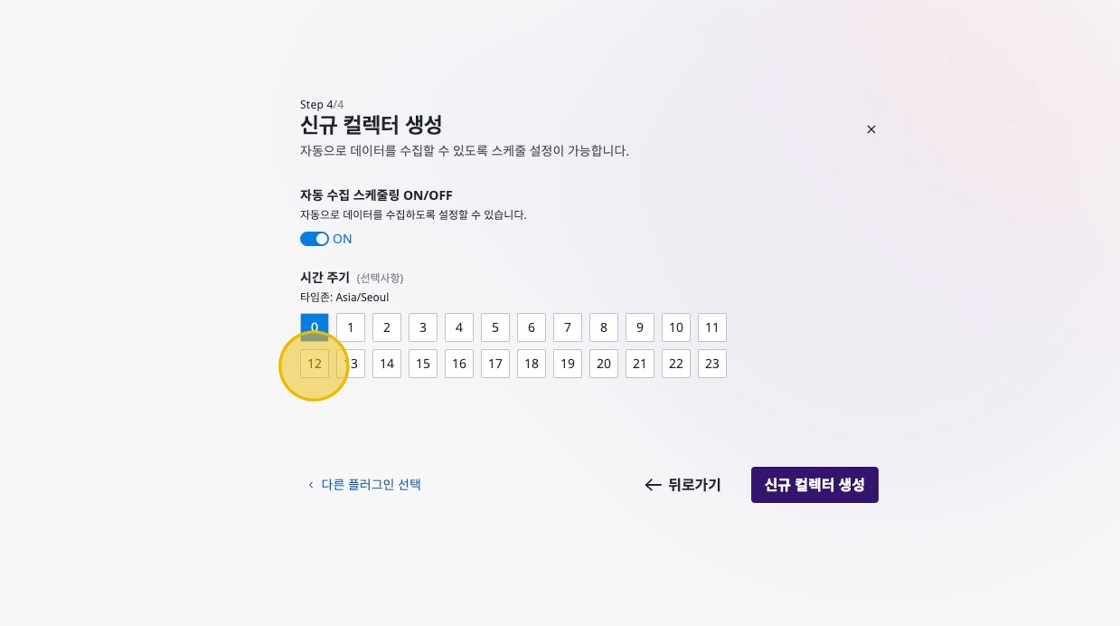
Set Collector Schedule
You can set up scheduling for automatic daily data collection.
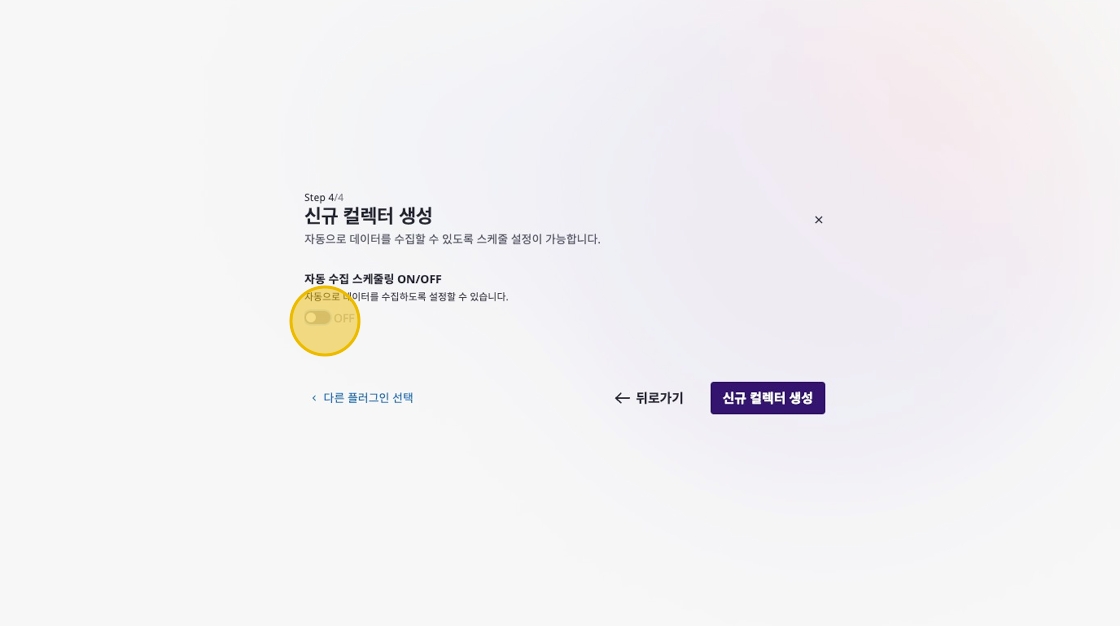
When automatic collection scheduling is enabled, data collection will proceed according to the selected time.
Complete Collector Creation
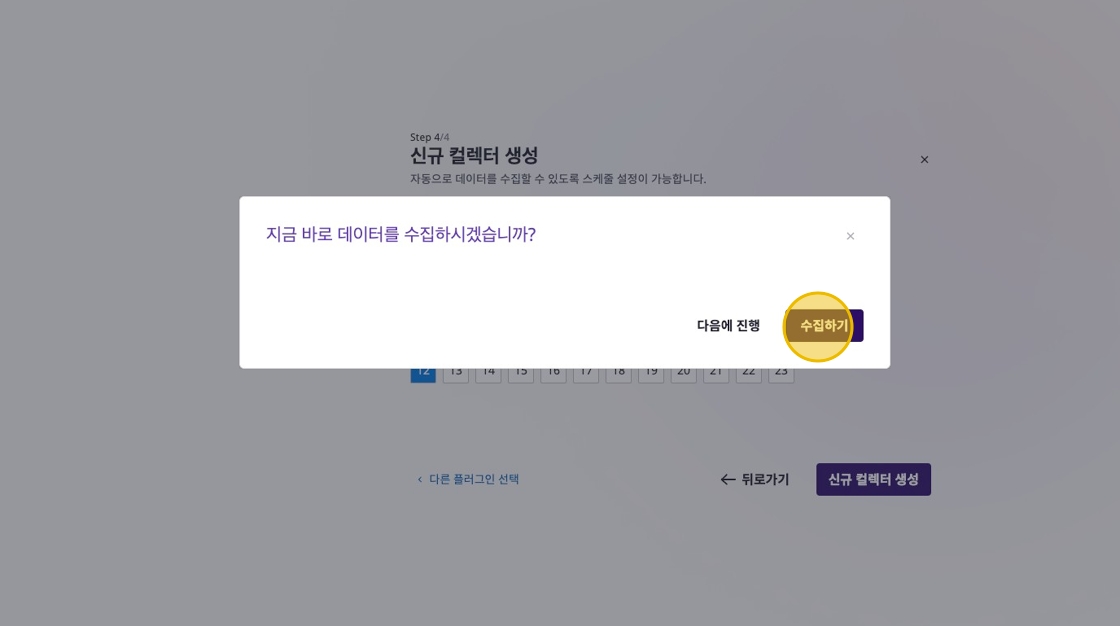
After completing all steps, click the [Create New Collector] button to finish creating the collector.
Once the collector is created, you can start data collection immediately.
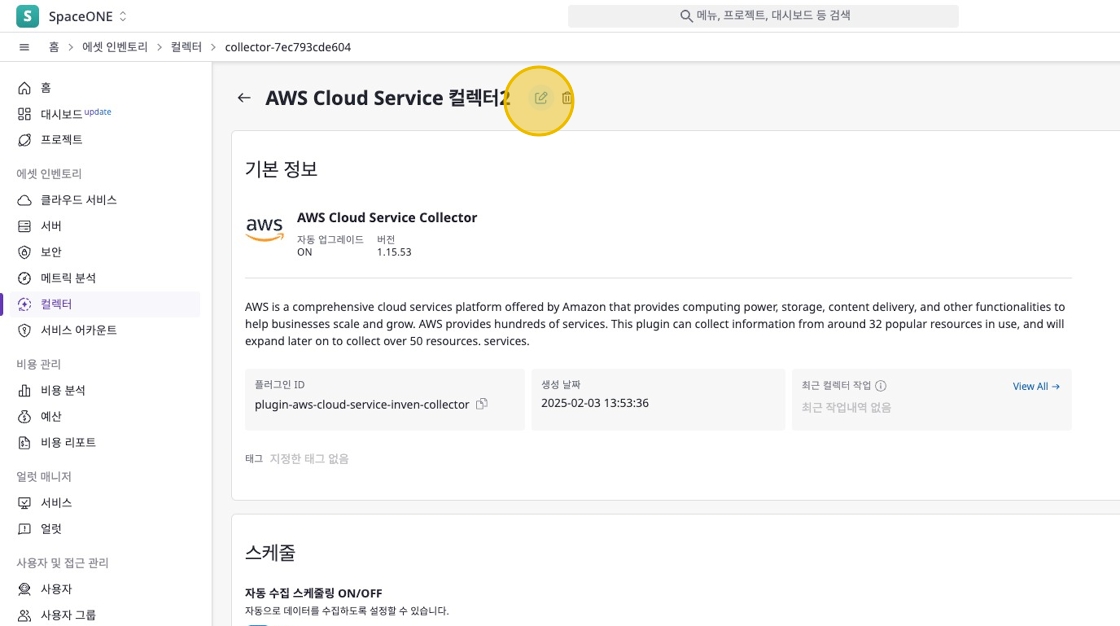
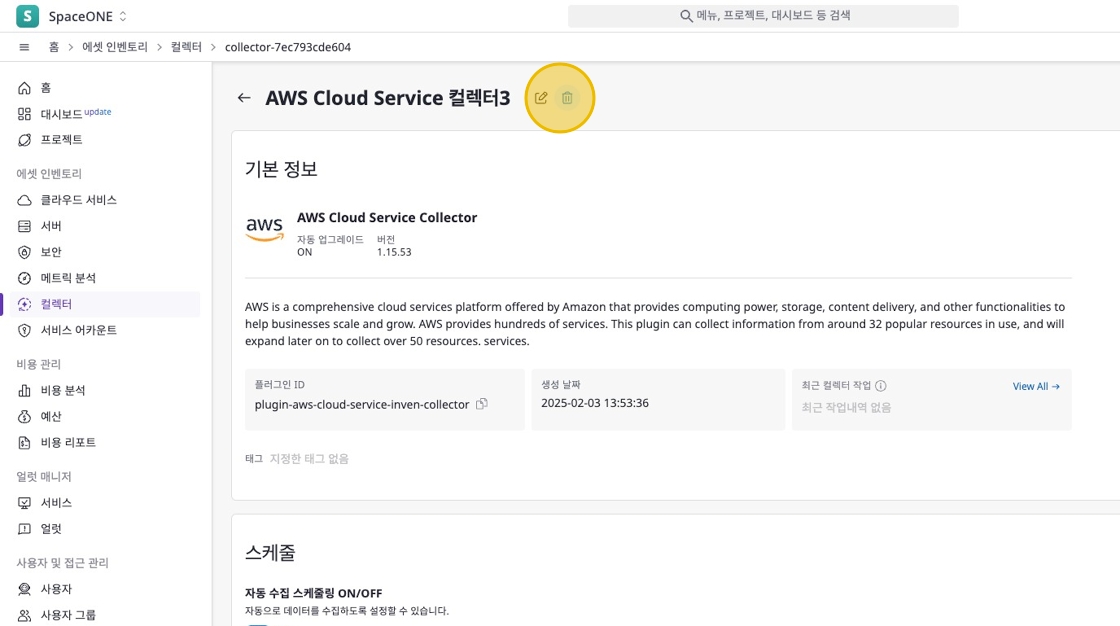
Modifying a Collector
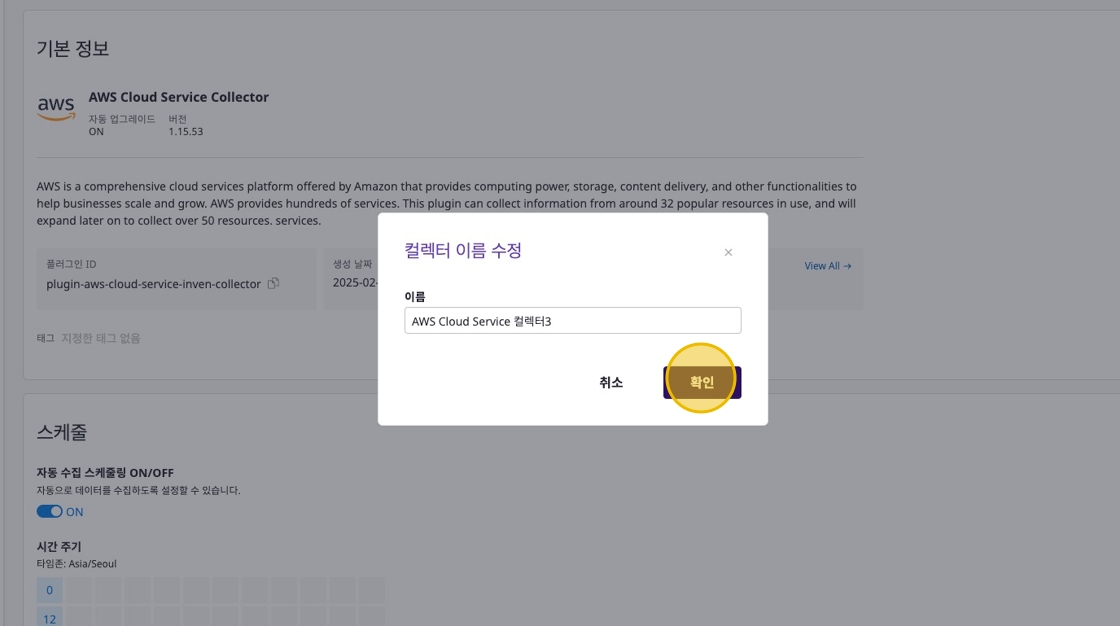
Edit Collector Name
Click the [Edit] icon at the top to modify the collector name.
Edit Basic Information
Click the [Edit] button on the right in the basic information section.
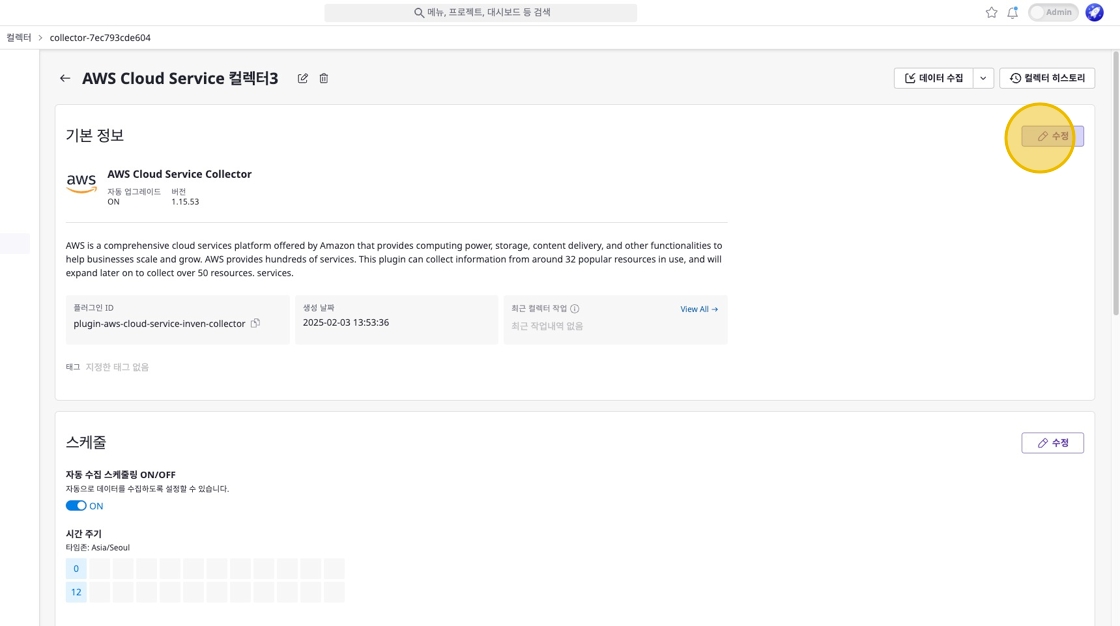
Modify the collector’s version, tags, etc.
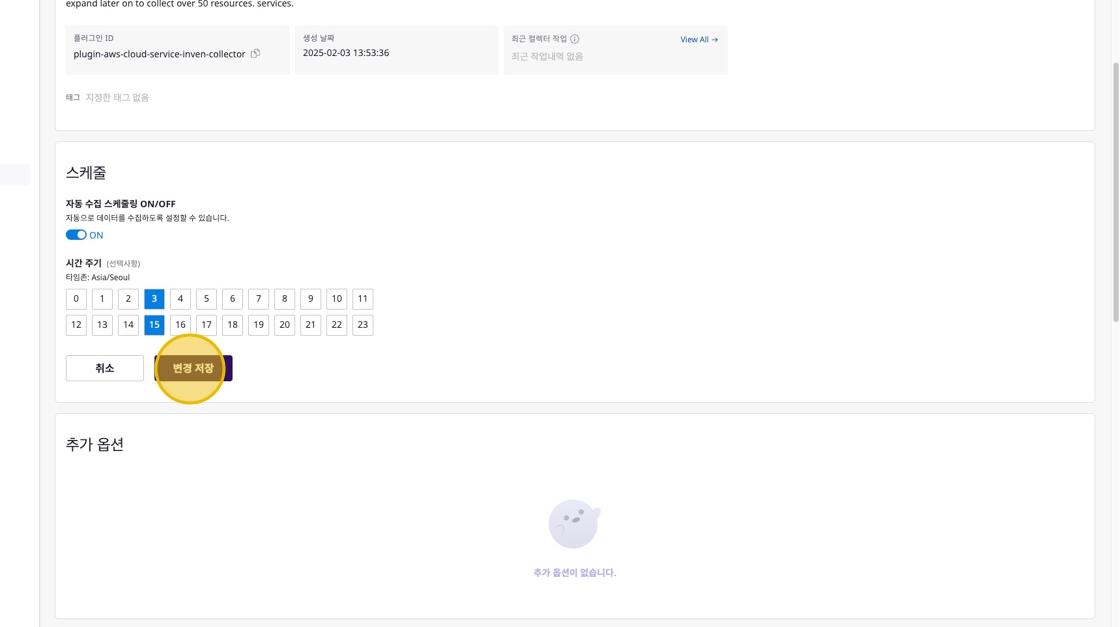
Edit Schedule
Click the [Edit] button on the right in the schedule section.
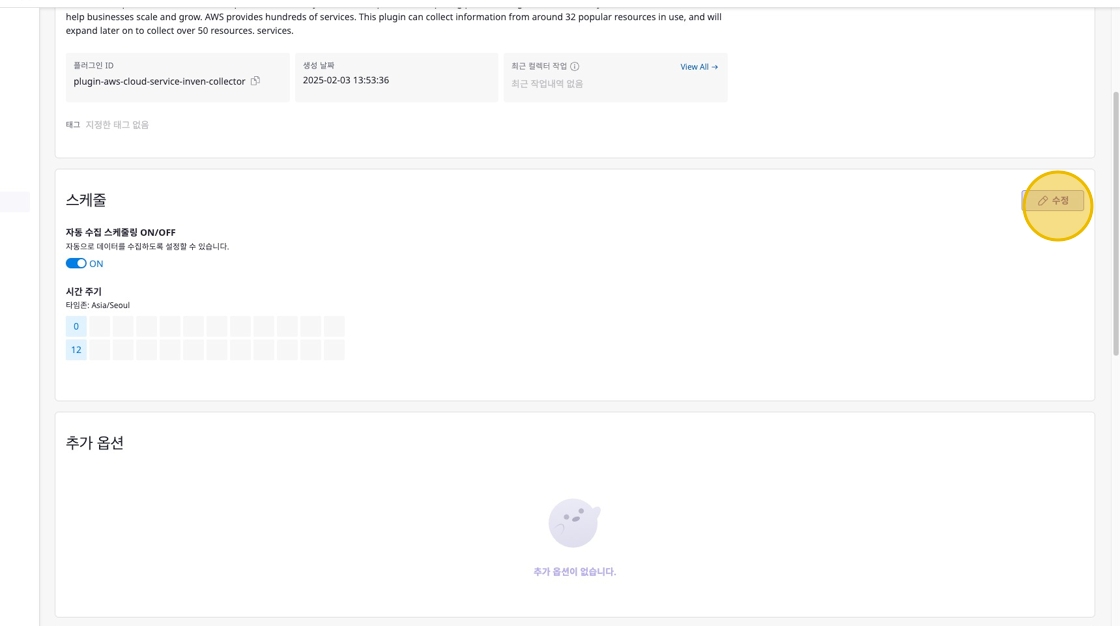
Modify the schedule.
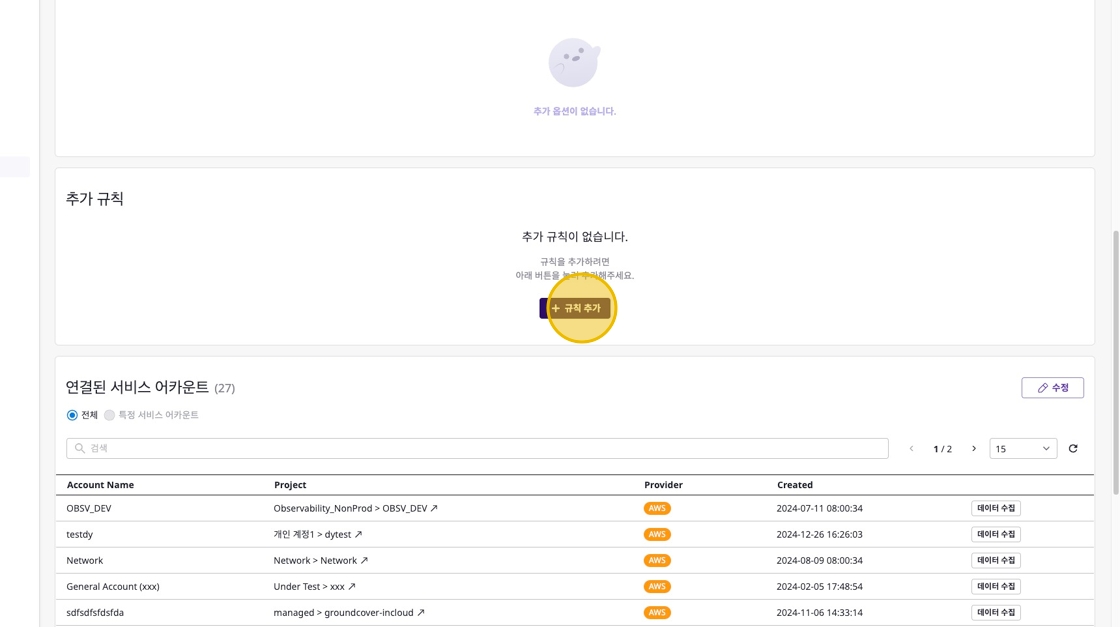
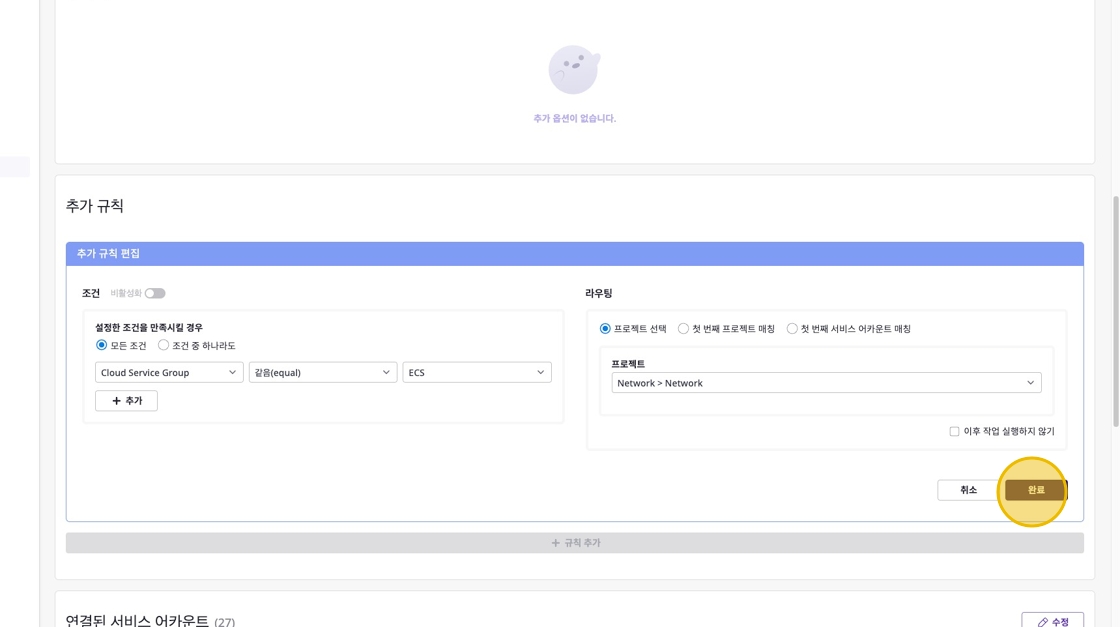
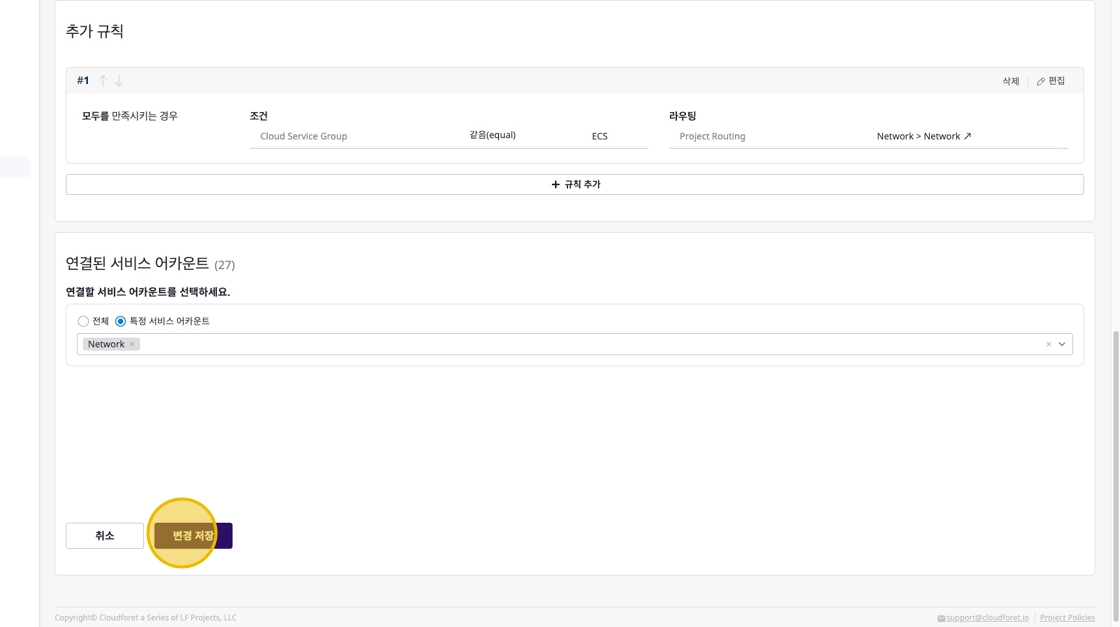
Configure Additional Rules
Click the [+ Add Rule] button in the additional rules section.
Set rule conditions and routing, then click the [Complete] button.
Edit Connected Service Accounts
Click the [Edit] button on the right in the connected service accounts section.
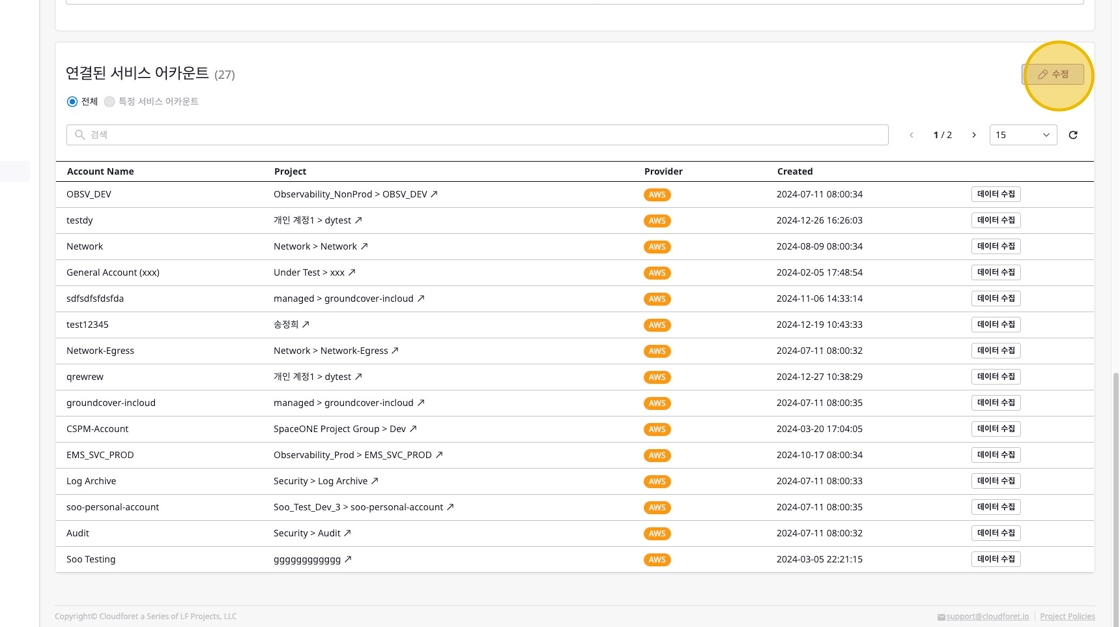
Modify service accounts and click the [Save Changes] button.
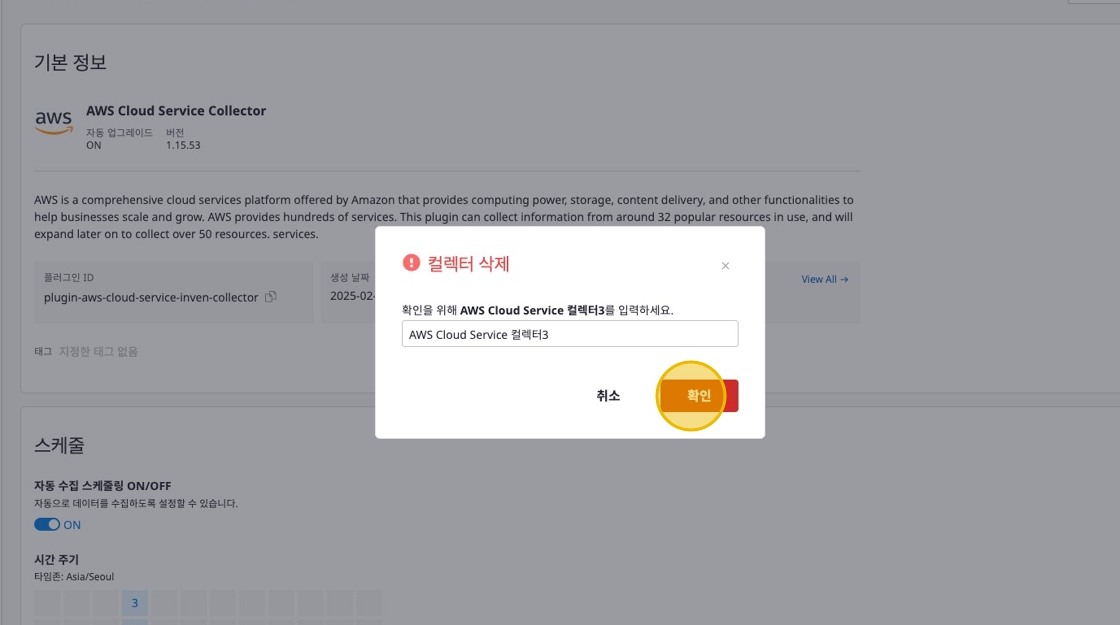
Deleting a Collector
Click the [Delete] icon button at the top of the collector detail page.
Enter the collector name and click the [Confirm] button.