Notifications
Creating Notifications
By creating notifications, you can receive alerts through specified channels when certain events occur.
Click [Create] Button
Click the [Create] button in the top right of the [Notifications] tab.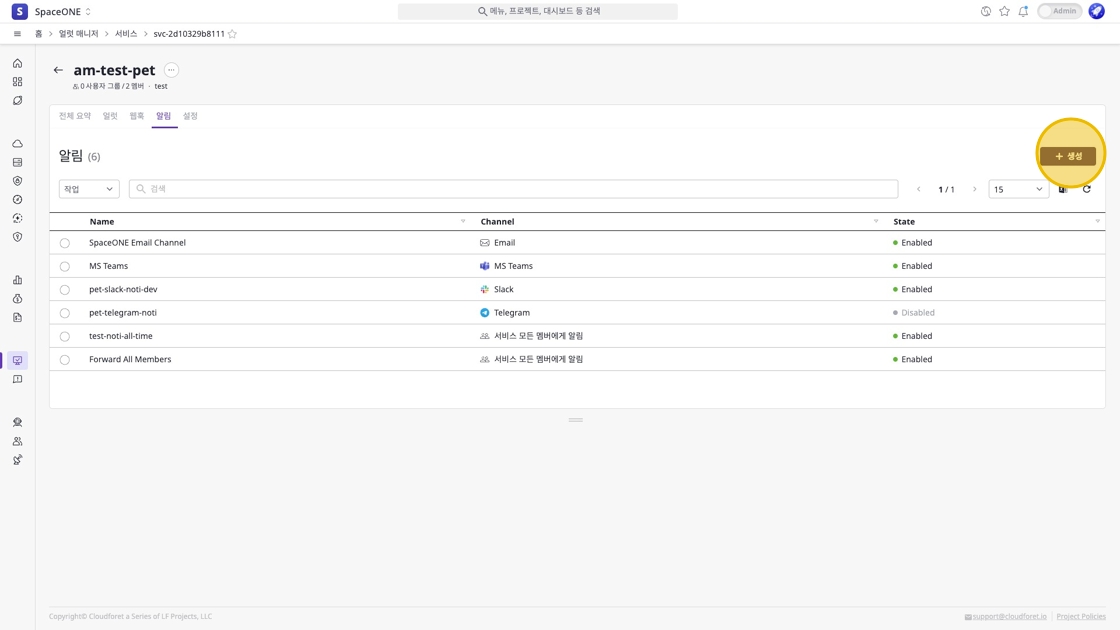
Select Notification Channel
Select the channel to receive notifications, then click the [Continue] button.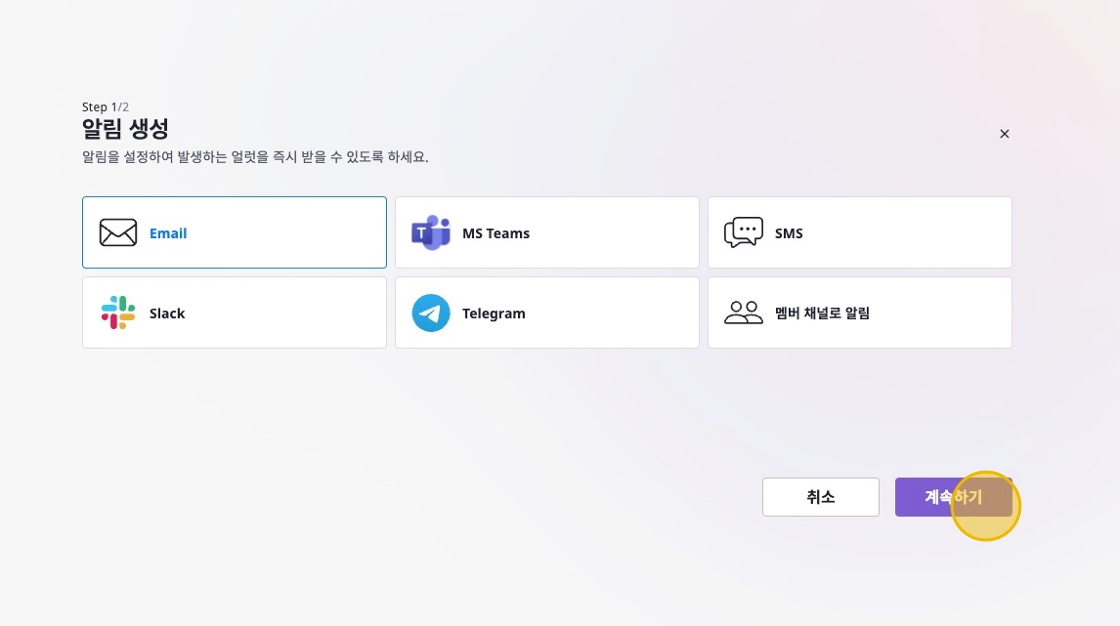
Enter Notification Information
Enter the required information according to the notification channel. For example, if you select the email channel, set up the email address and schedule.
After completing the settings, click the [Create] button.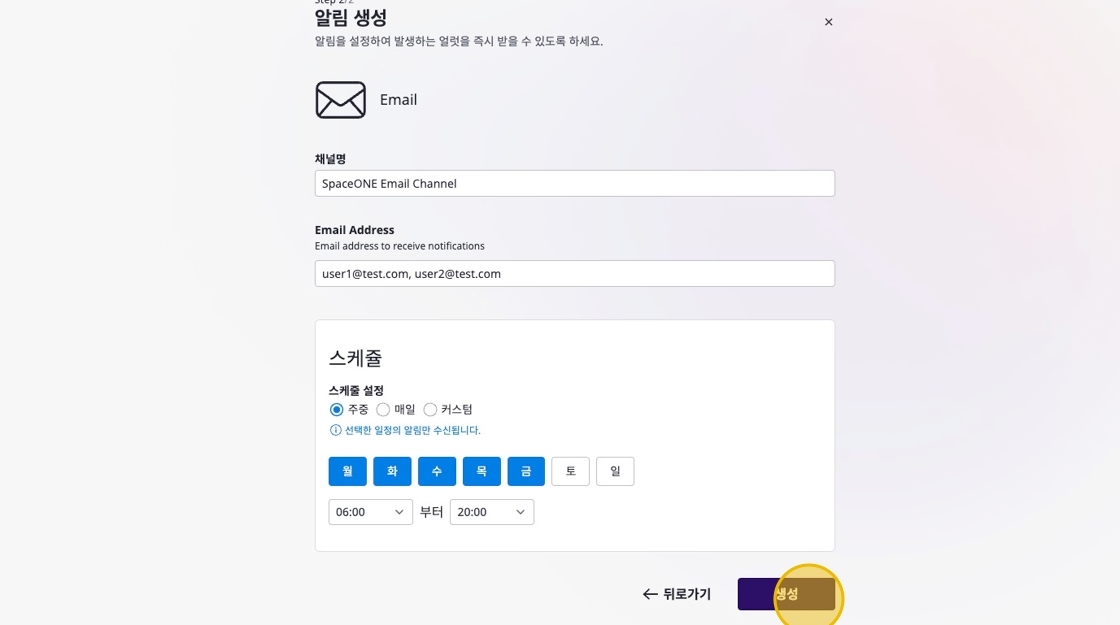
Viewing Notifications
You can check detailed information by selecting a specific notification.

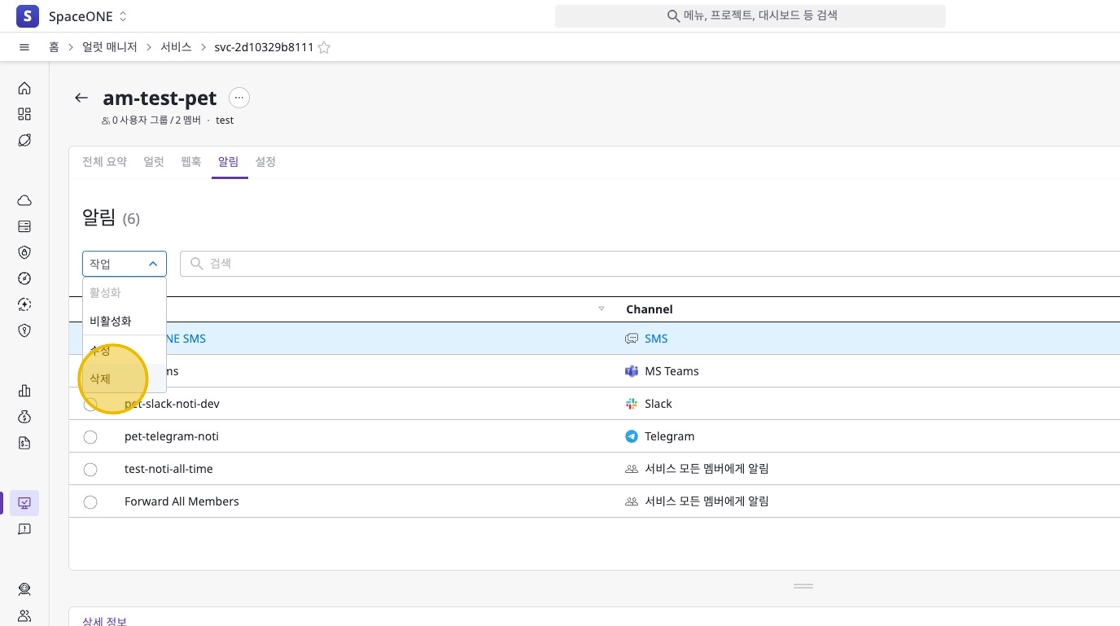
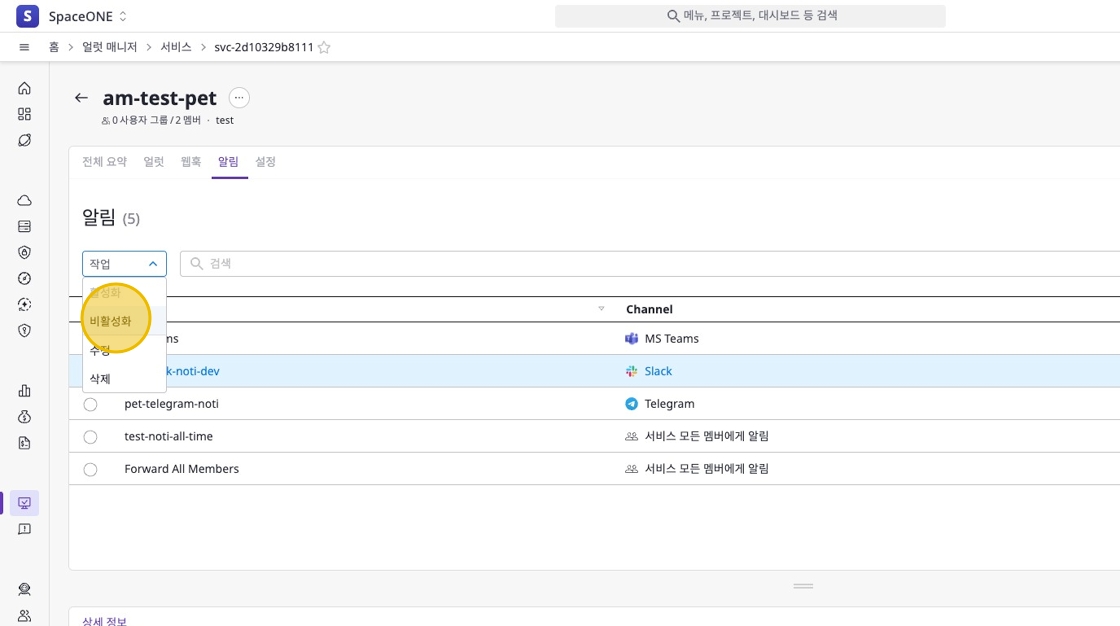
Managing Notifications
You can change the status, modify, or delete specific notifications by selecting them from the notification list.
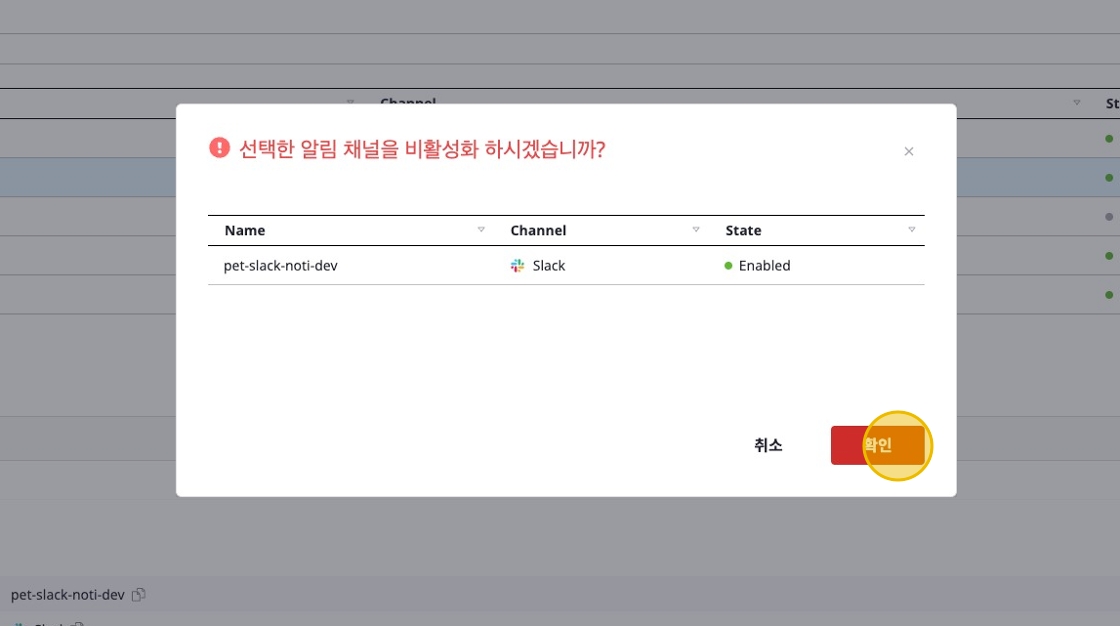
Enable/Disable Notifications
Registered notifications can be enabled or disabled as needed.
When a notification is enabled, notifications are sent normally according to the configured conditions. When disabled, notifications are not sent.
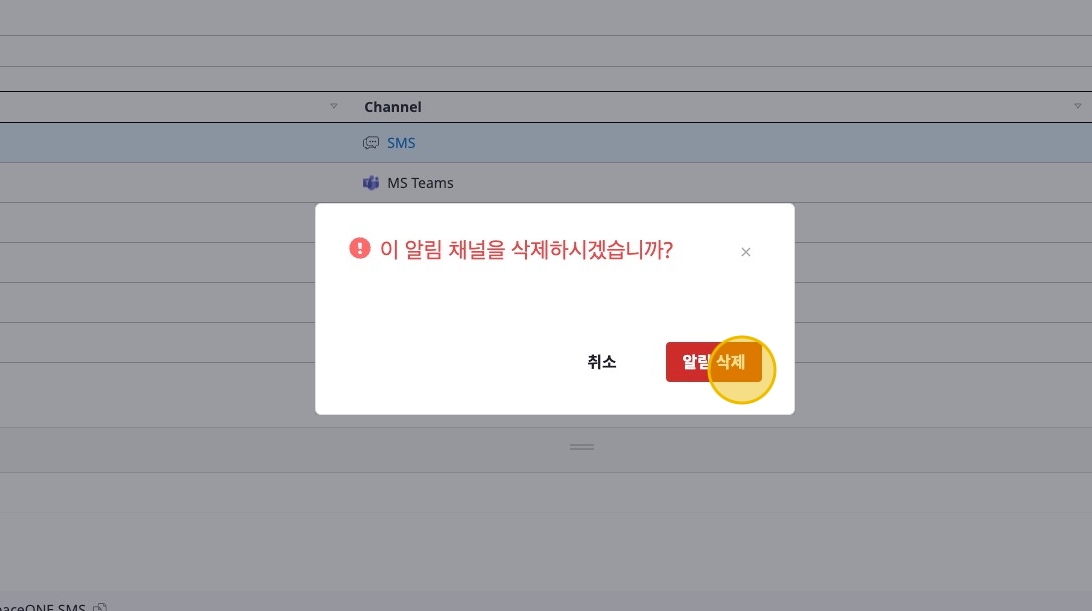
Deleting Notifications
You can delete registered notifications when they are no longer needed.
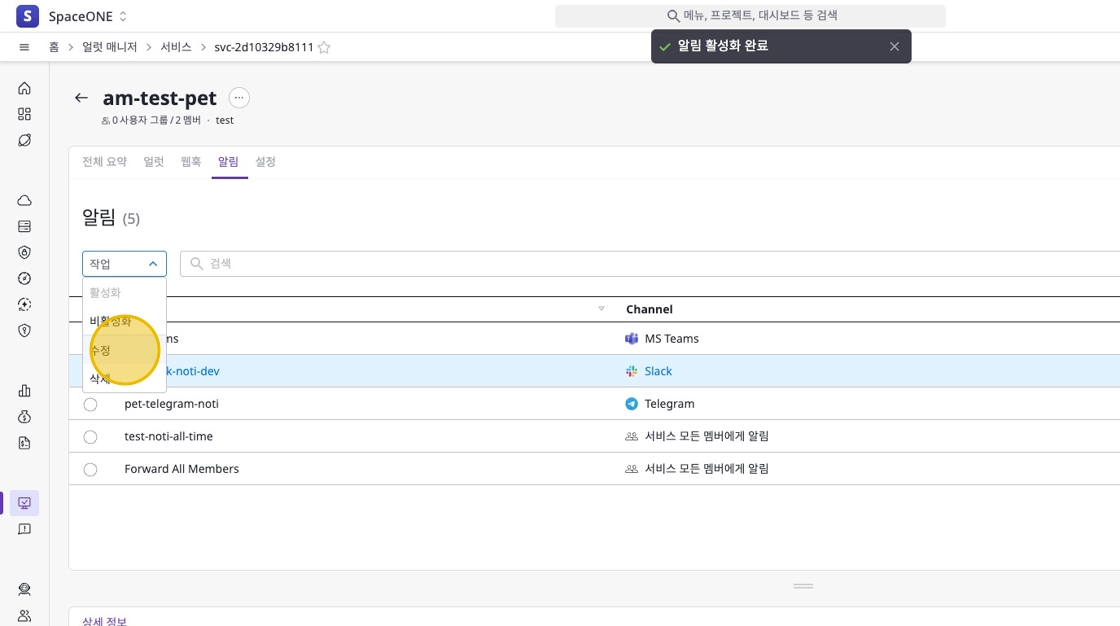
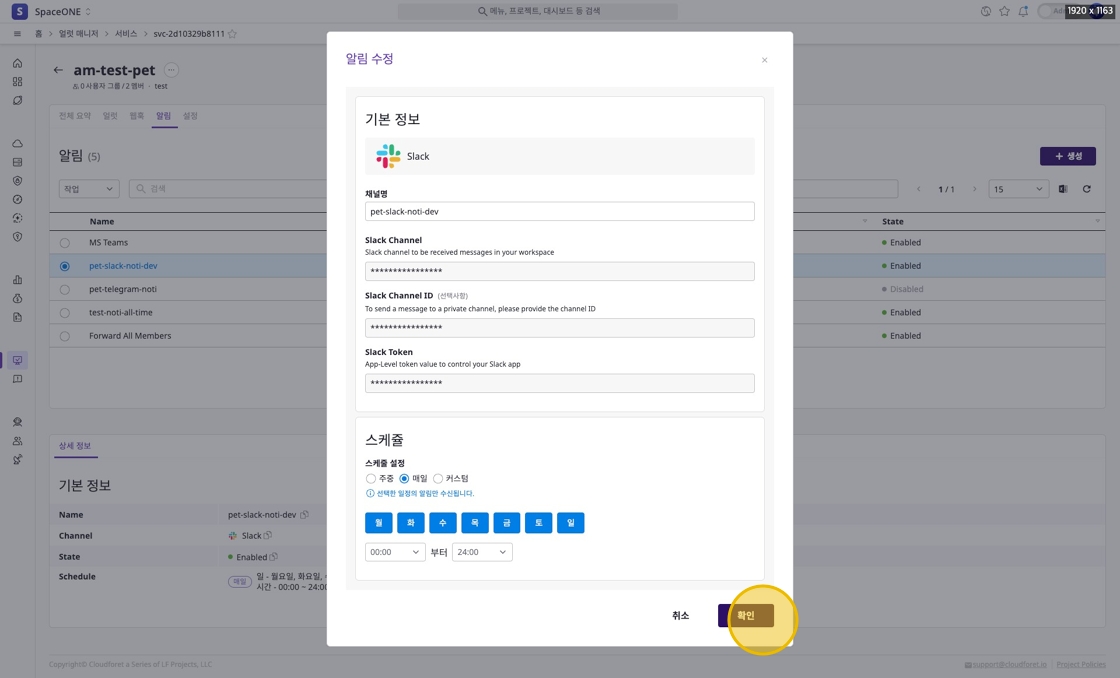
Modifying Notifications
You can use the modification feature to change the information of registered notifications.
When modifying notifications, you can change the channel, delivery target, schedule, etc.