Masking
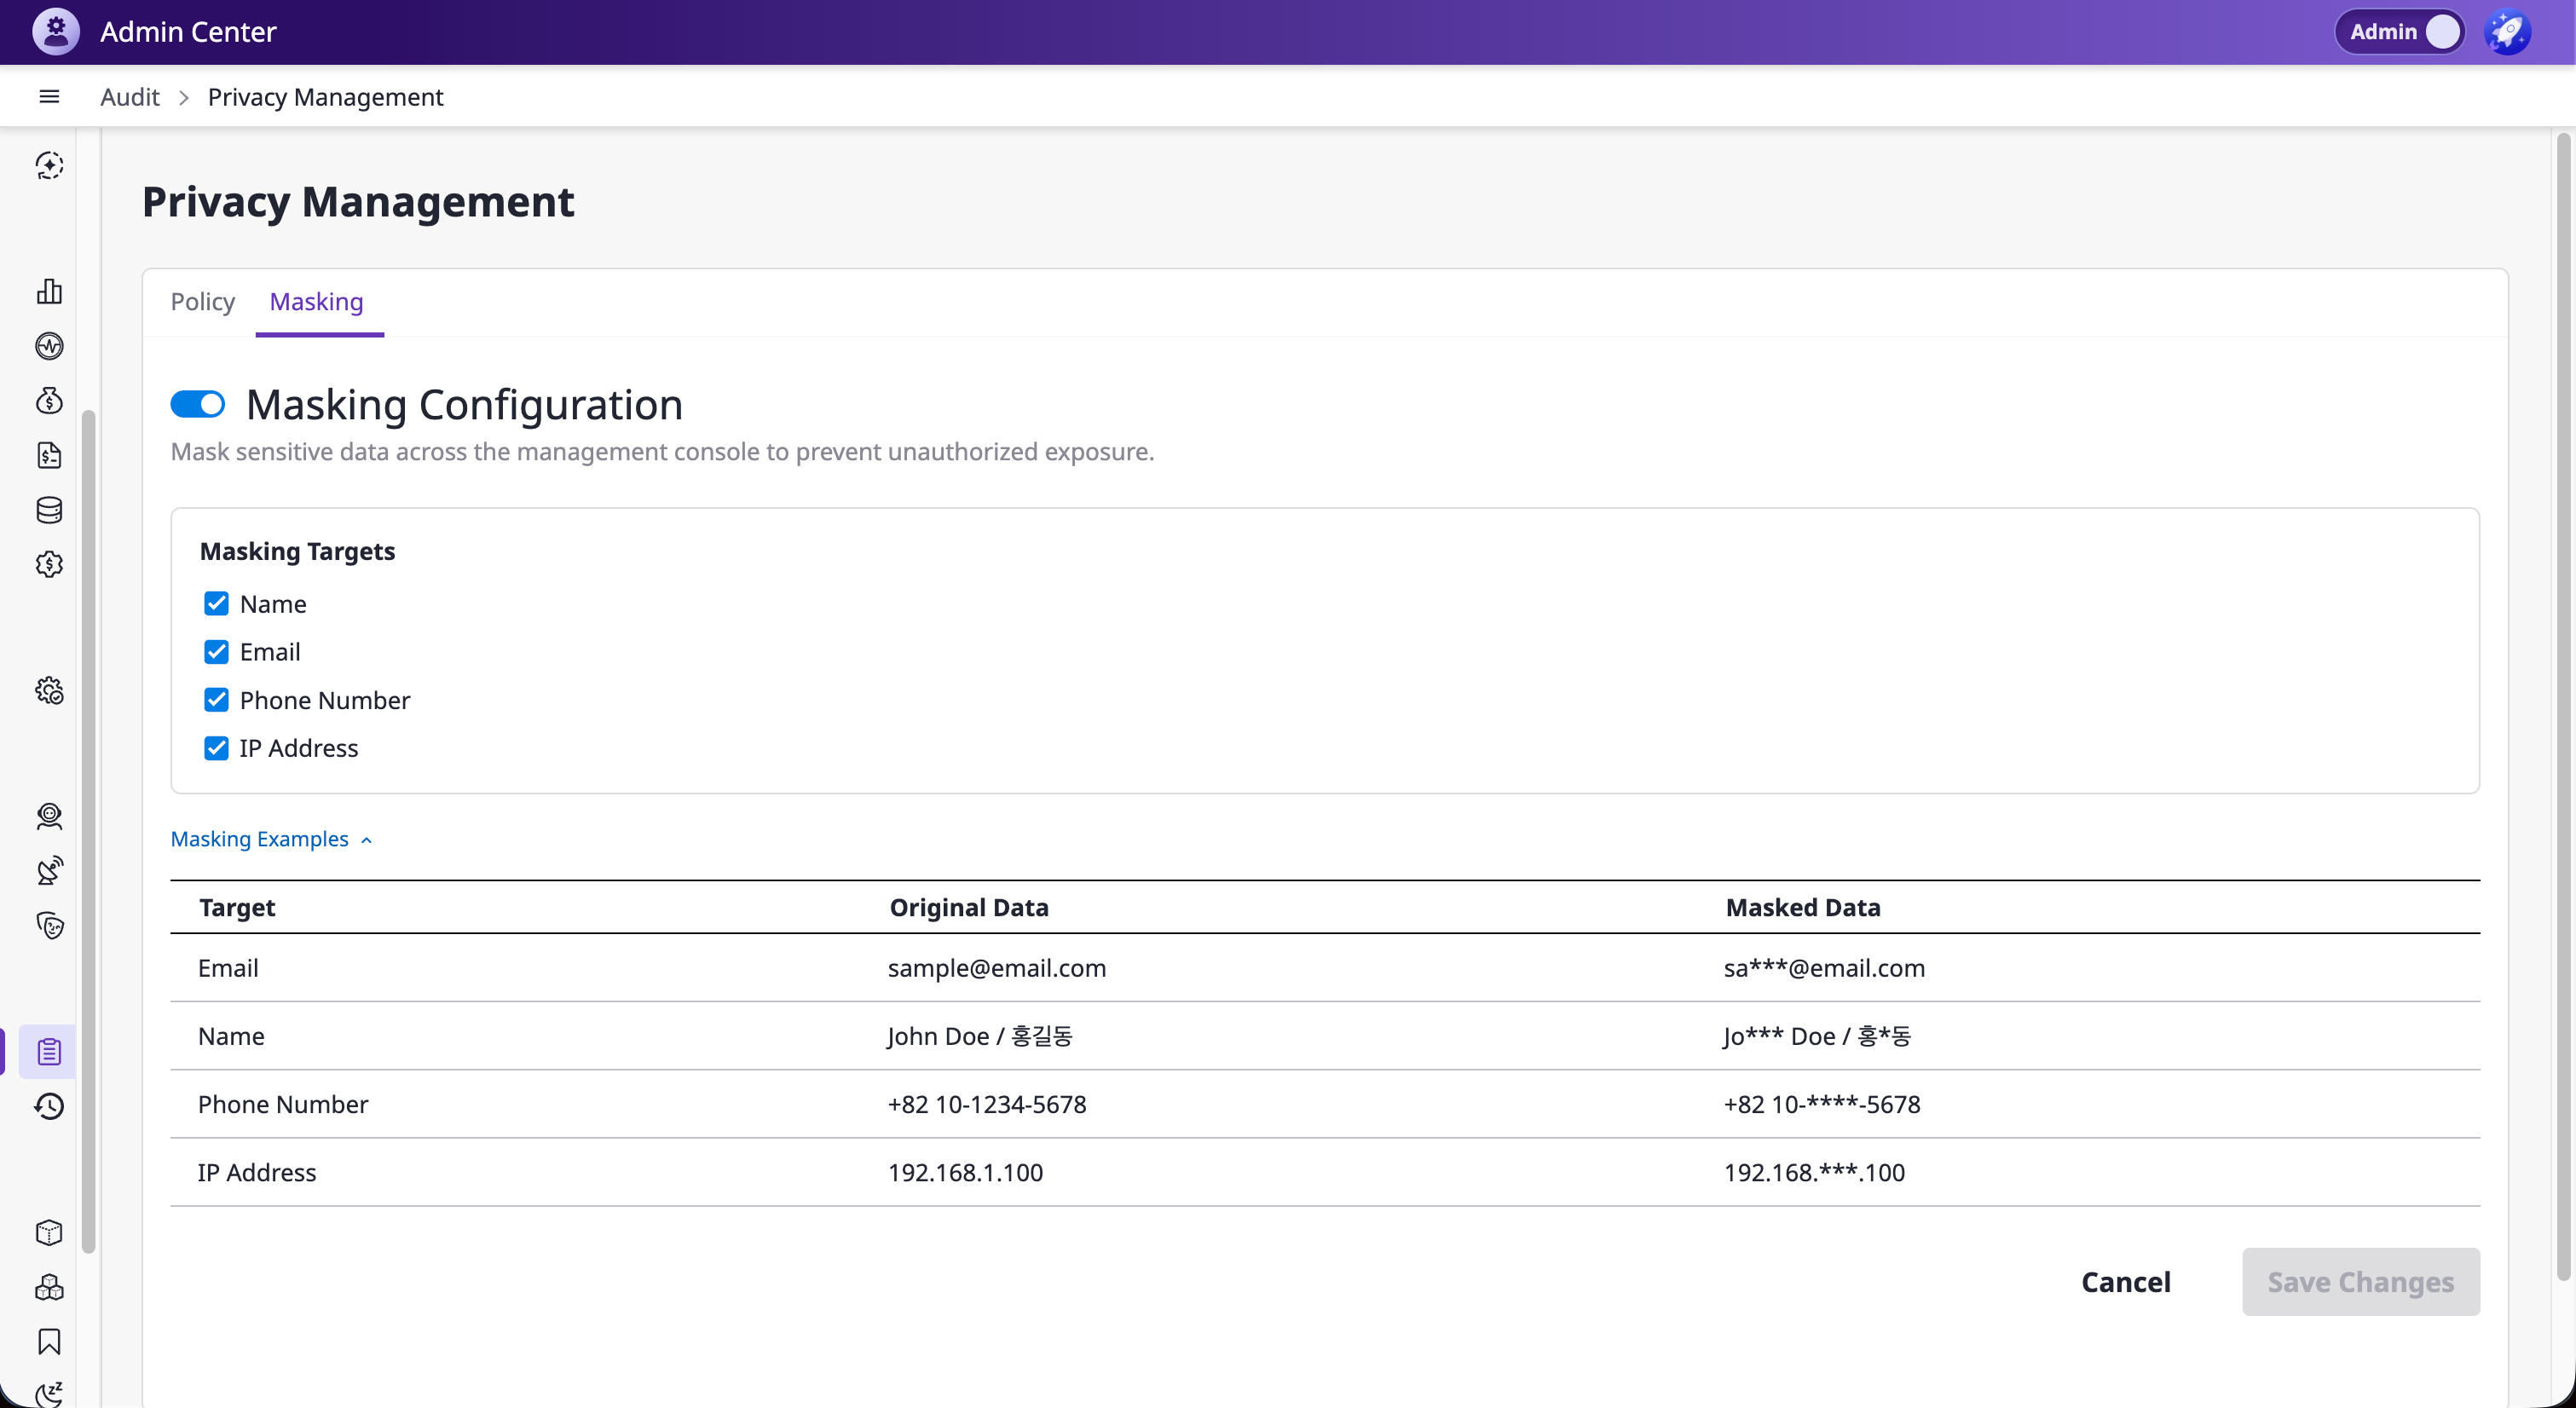
You can configure data masking settings for your domain in the [Audit > Privacy Management > Masking] tab.
When masking is enabled, sensitive personal information such as names, emails, phone numbers, and IP addresses are partially hidden across specific pages.
ℹ️
Masking configuration is only accessible to users with the Admin role type.
However, even Admins cannot access this menu if their role has Restricted Access that blocks the Audit menu.
However, even Admins cannot access this menu if their role has Restricted Access that blocks the Audit menu.
Masking Options
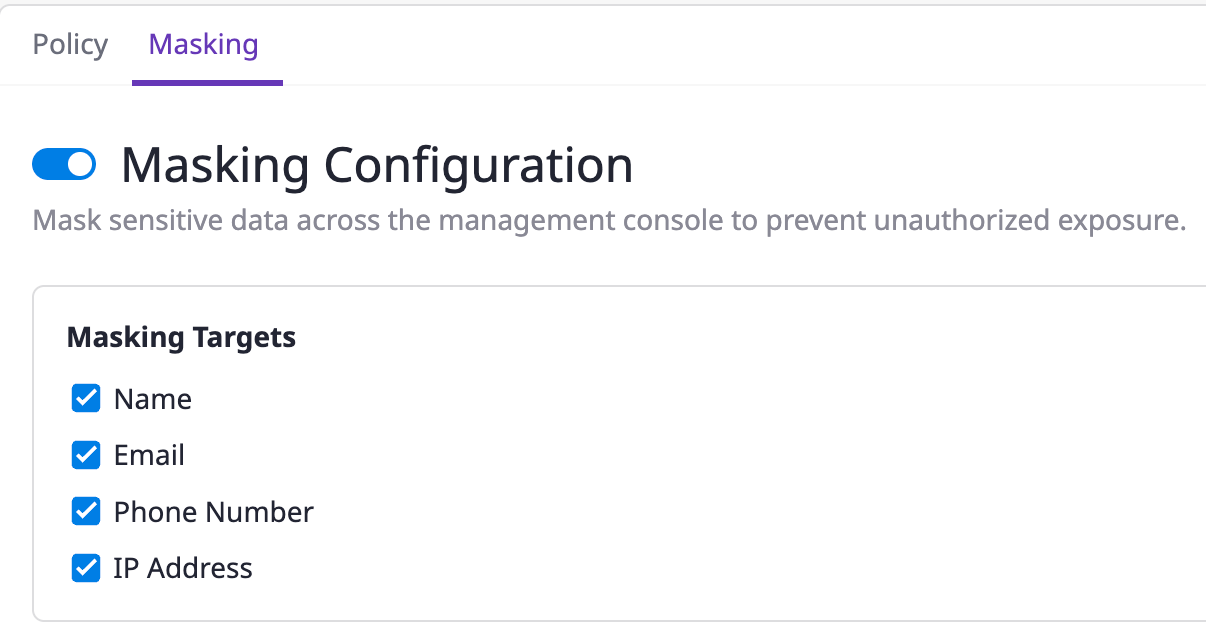
You can enable or disable masking globally, and configure each data type individually.
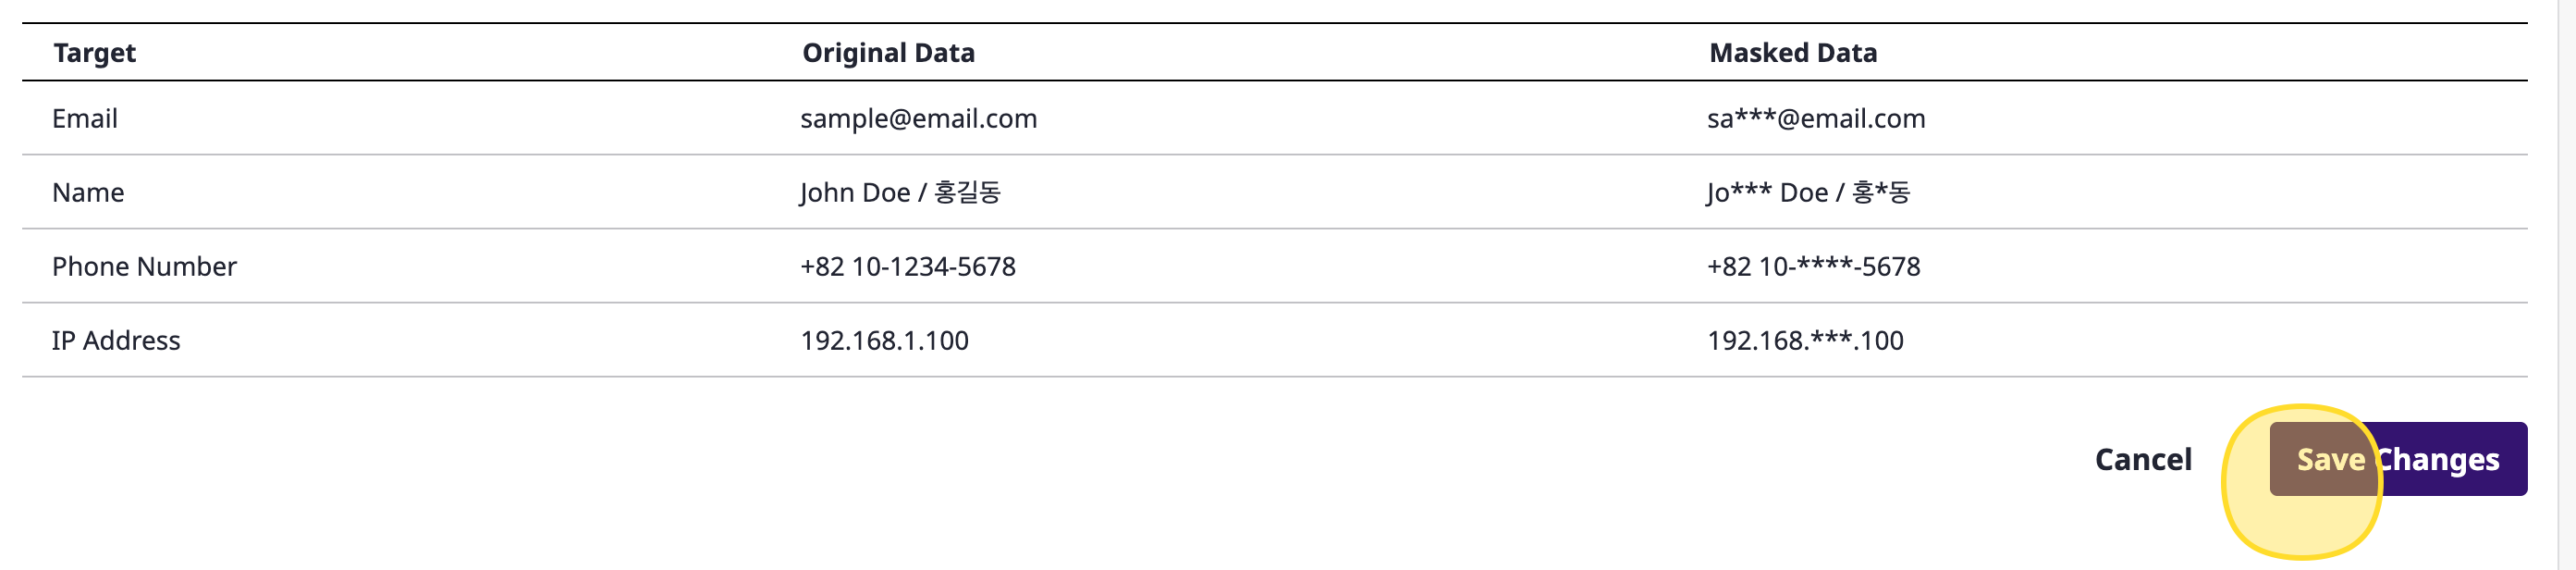
| Option | Description | Original Data | Masked Data |
|---|---|---|---|
| Name | Masks user names. | John Doe / 홍길동 | J**n D*e / 홍*동 |
| Masks email addresses. | sample@email.com | sa***@email.com | |
| Phone Number | Masks phone numbers. | +82 10-1234-5678 | +82 10-****-5678 |
| IP Address | Masks IP addresses. | 192.168.123.100 | 192.168.***.100 |
ℹ️
Each masking option can be toggled independently. For example, you can mask only emails and phone numbers while leaving names visible.
Configure Masking
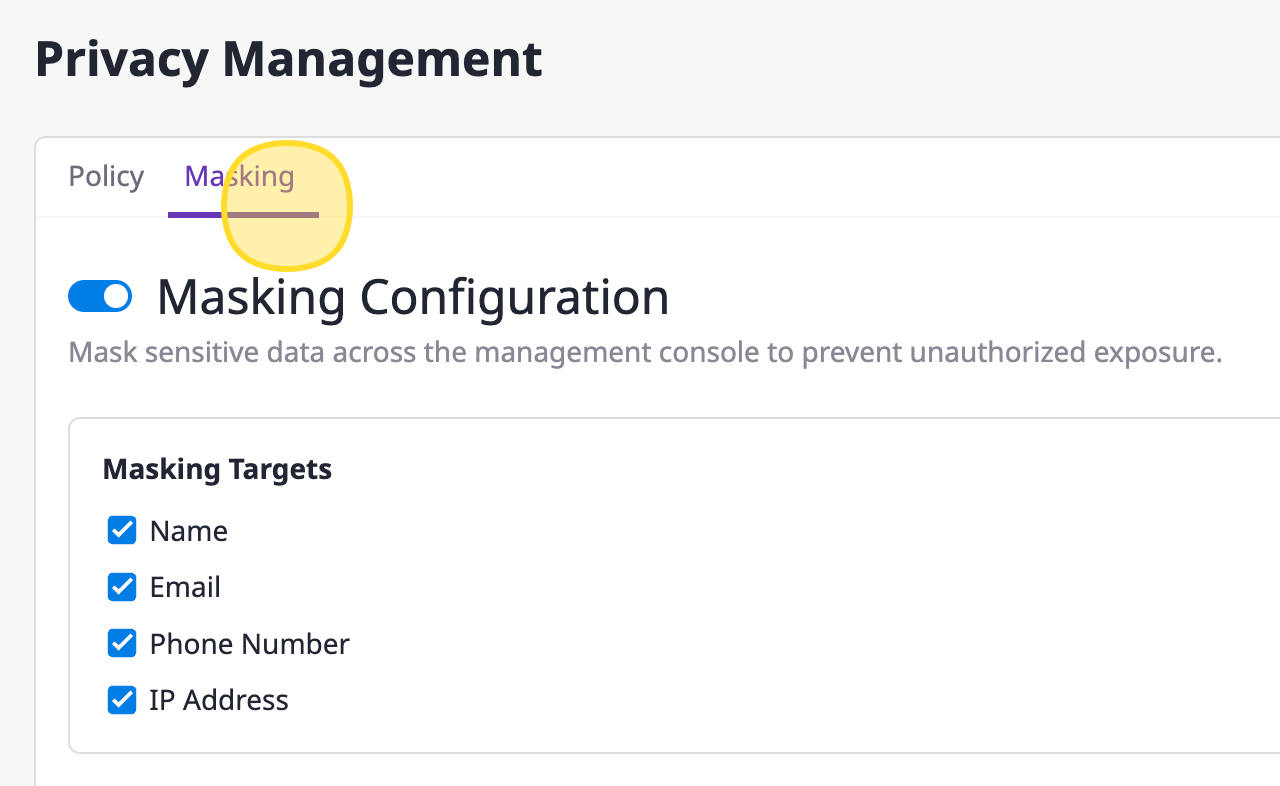
Navigate to Masking Configuration
Go to [Audit > Privacy Management] and select the Masking tab.
Set Masking Options
- Toggle the global masking switch to enable or disable the feature.
- Toggle individual options (Name, Email, Phone Number, IP Address) to enable or disable each one.
Save Changes
Click the [Save Changes] button to apply your configuration.
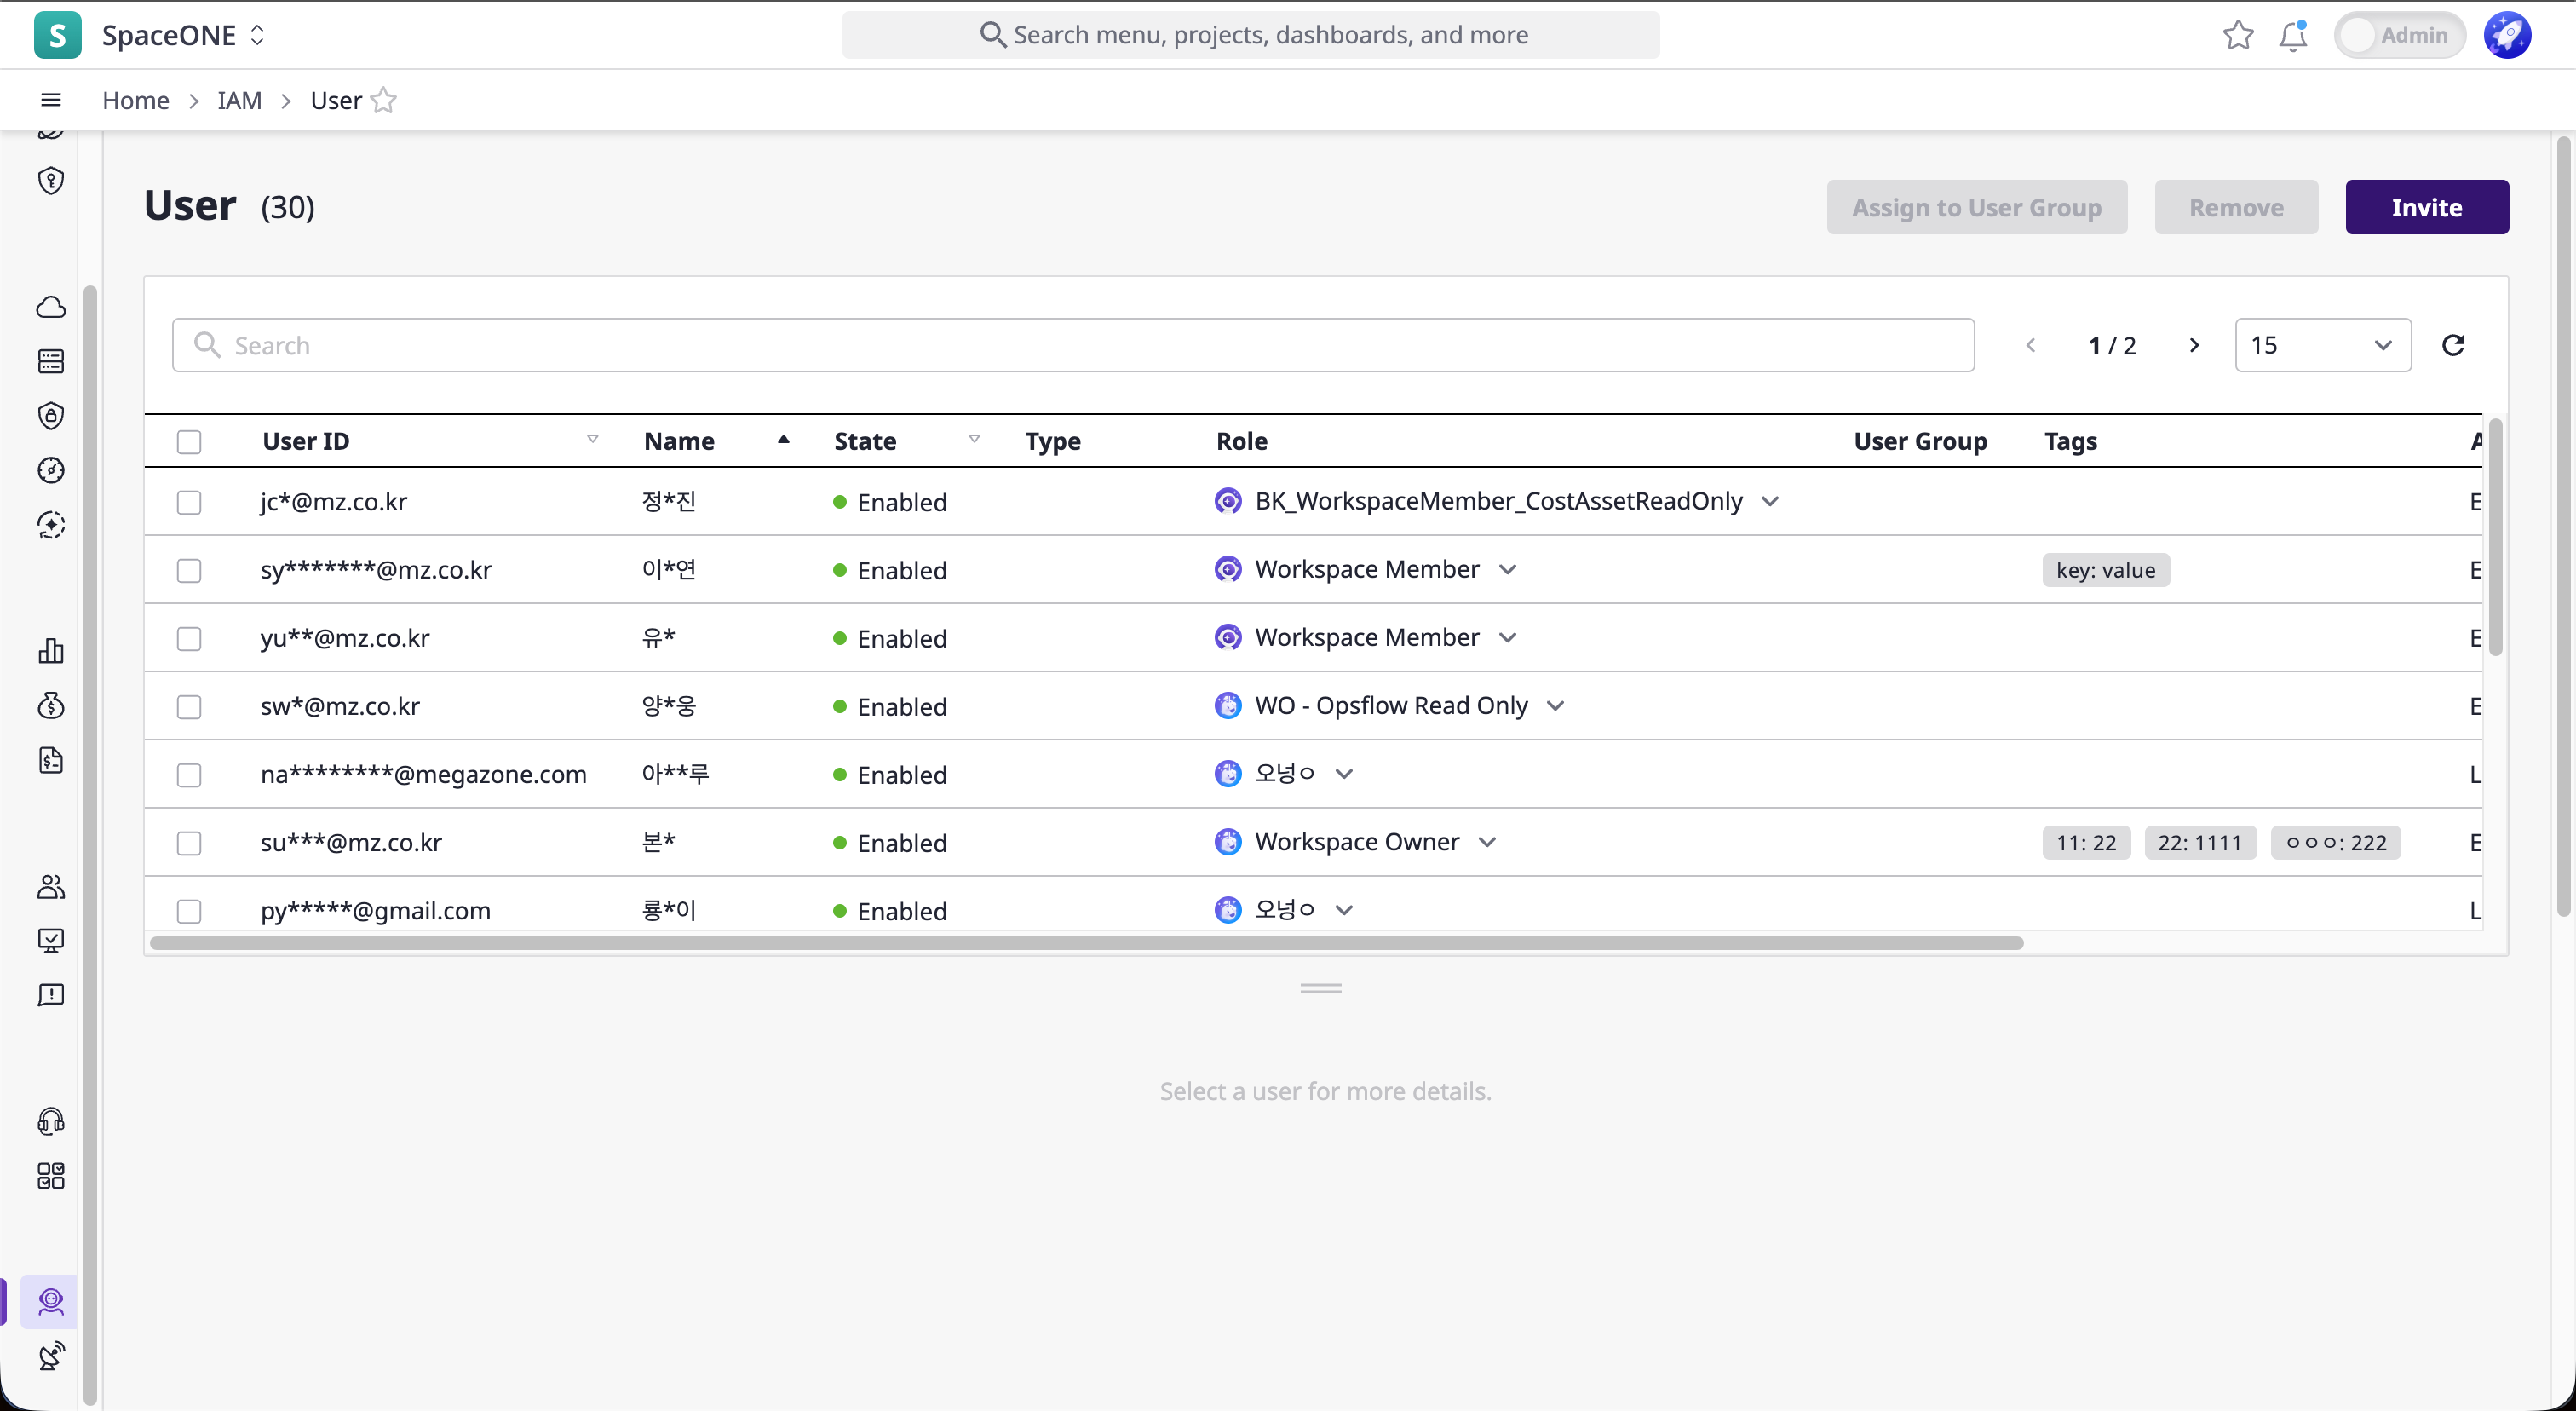
Pages Where Masking is Applied
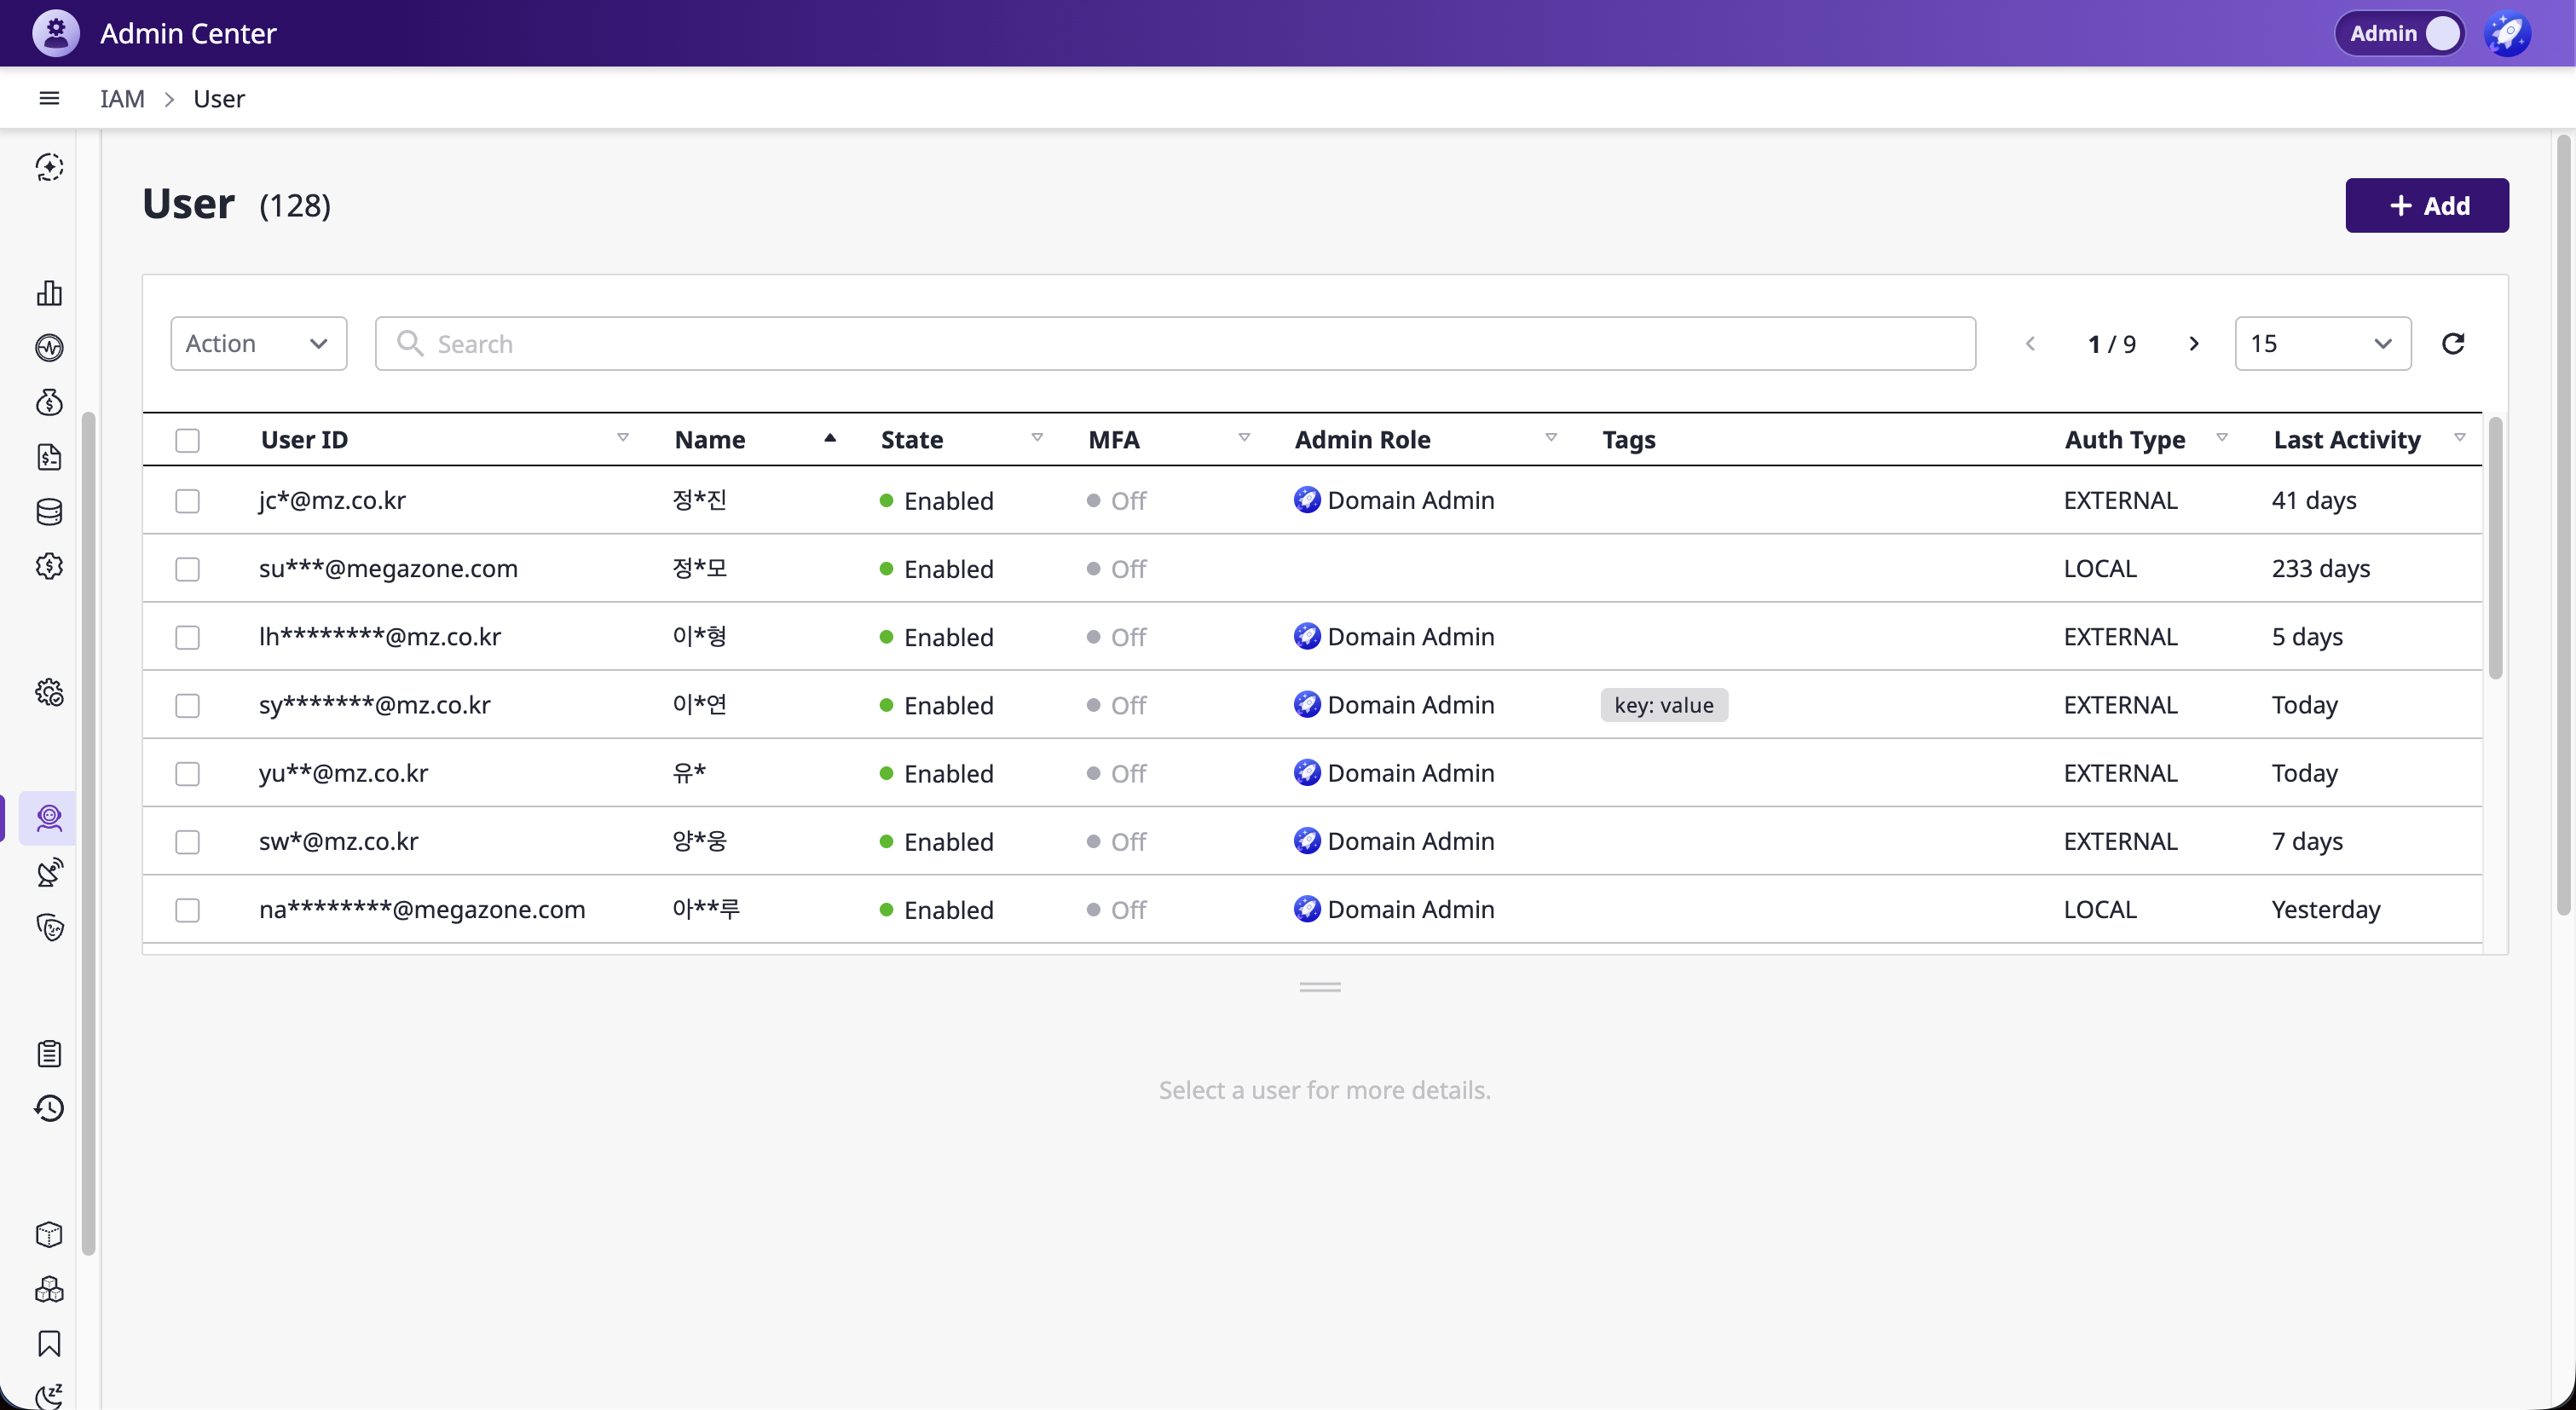
When masking is enabled, the following pages display masked data.
Admin Mode
| Page | Masked Data |
|---|---|
| User | User information in the user list table |
| Workspaces | User information in the workspace member list |
| Workspace Group > Group User | User information in the group user table |
Workspace Mode
| Page | Masked Data |
|---|---|
| User | User information in the user list table |
| User Group | User information in the user group member table |
ℹ️
Masking is applied only to the pages listed above. Other pages display data without masking regardless of the configuration.